

The Carmen landing page gives you an overview of your courses in CarmenCanvas and provides instructors with access to tools to manage their courses.
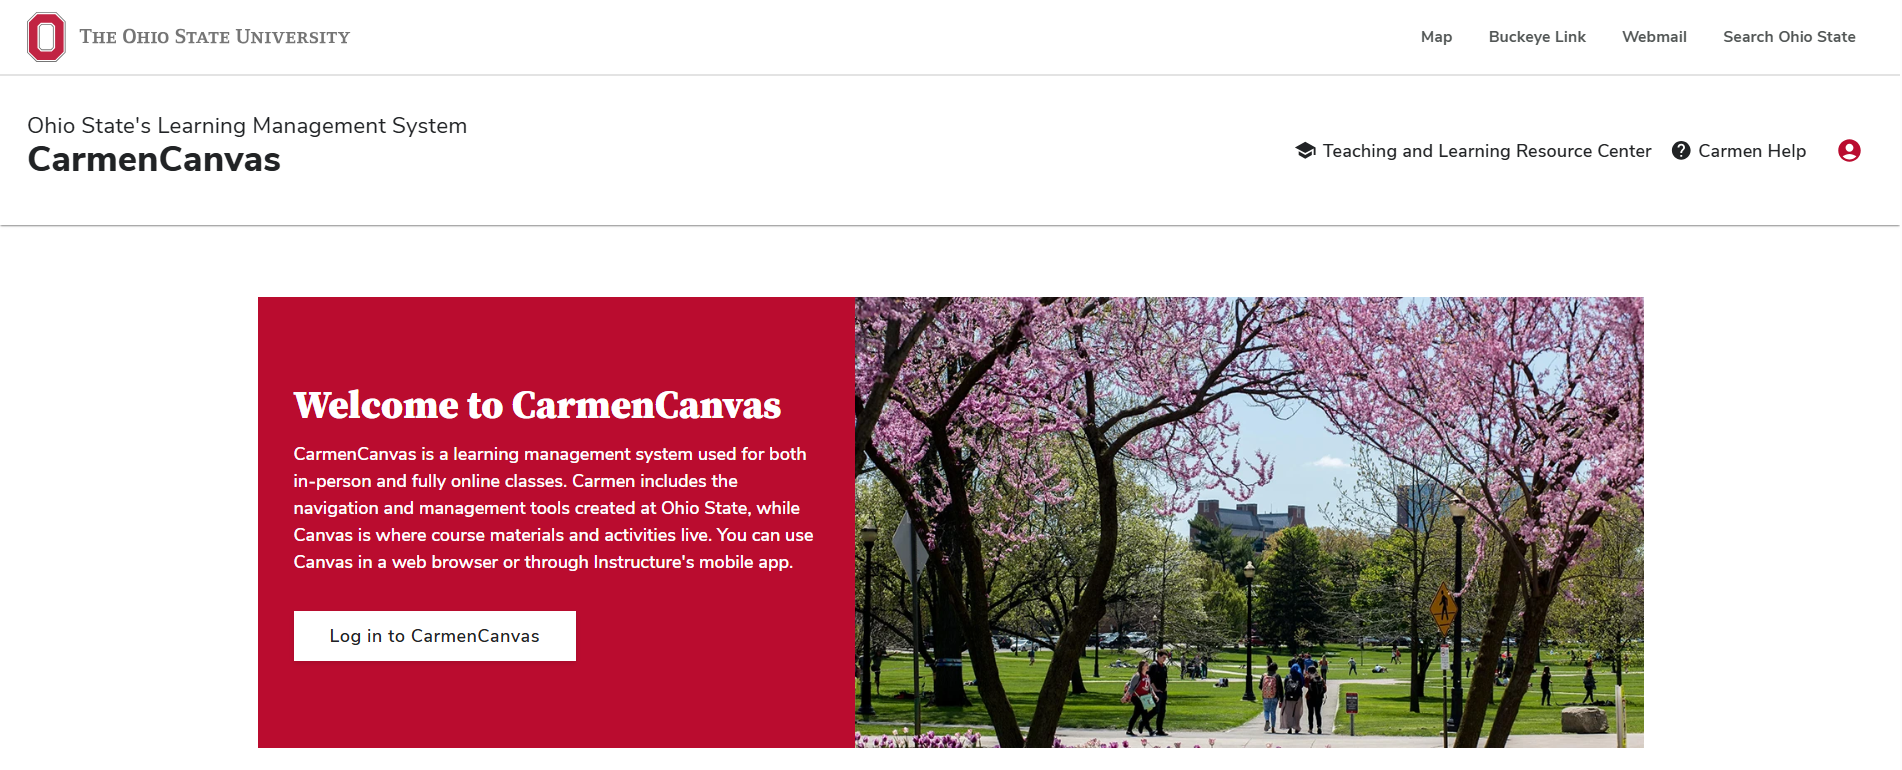
Click the Log in to CarmenCanvas button to enter the landing page.
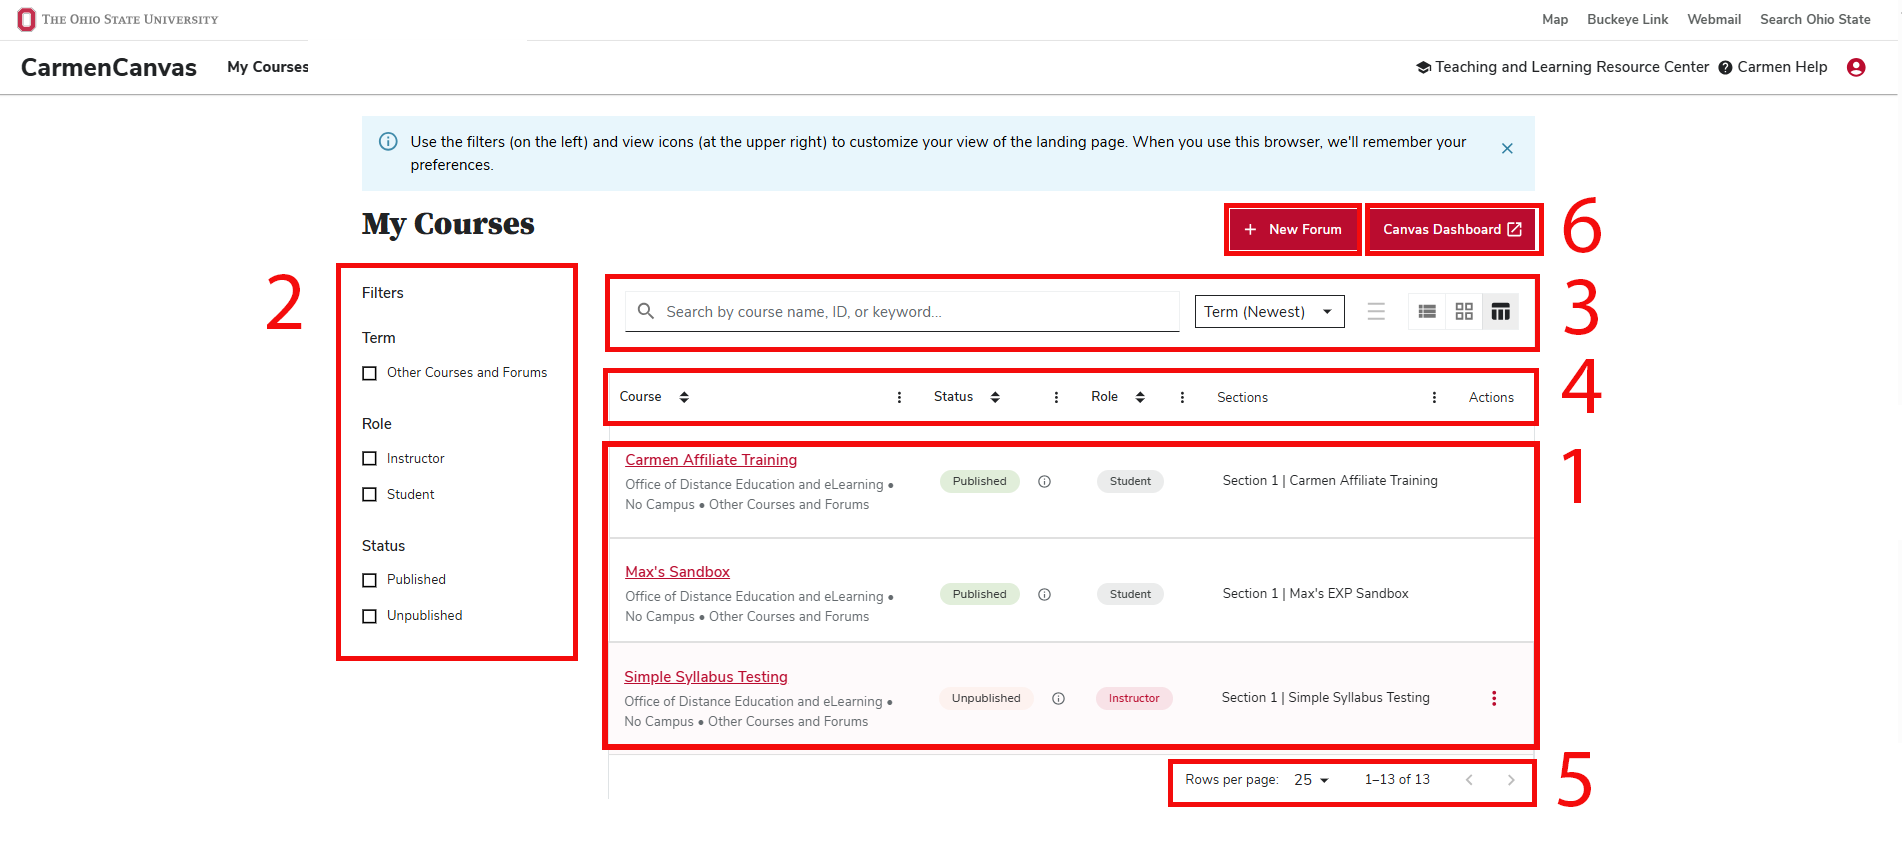
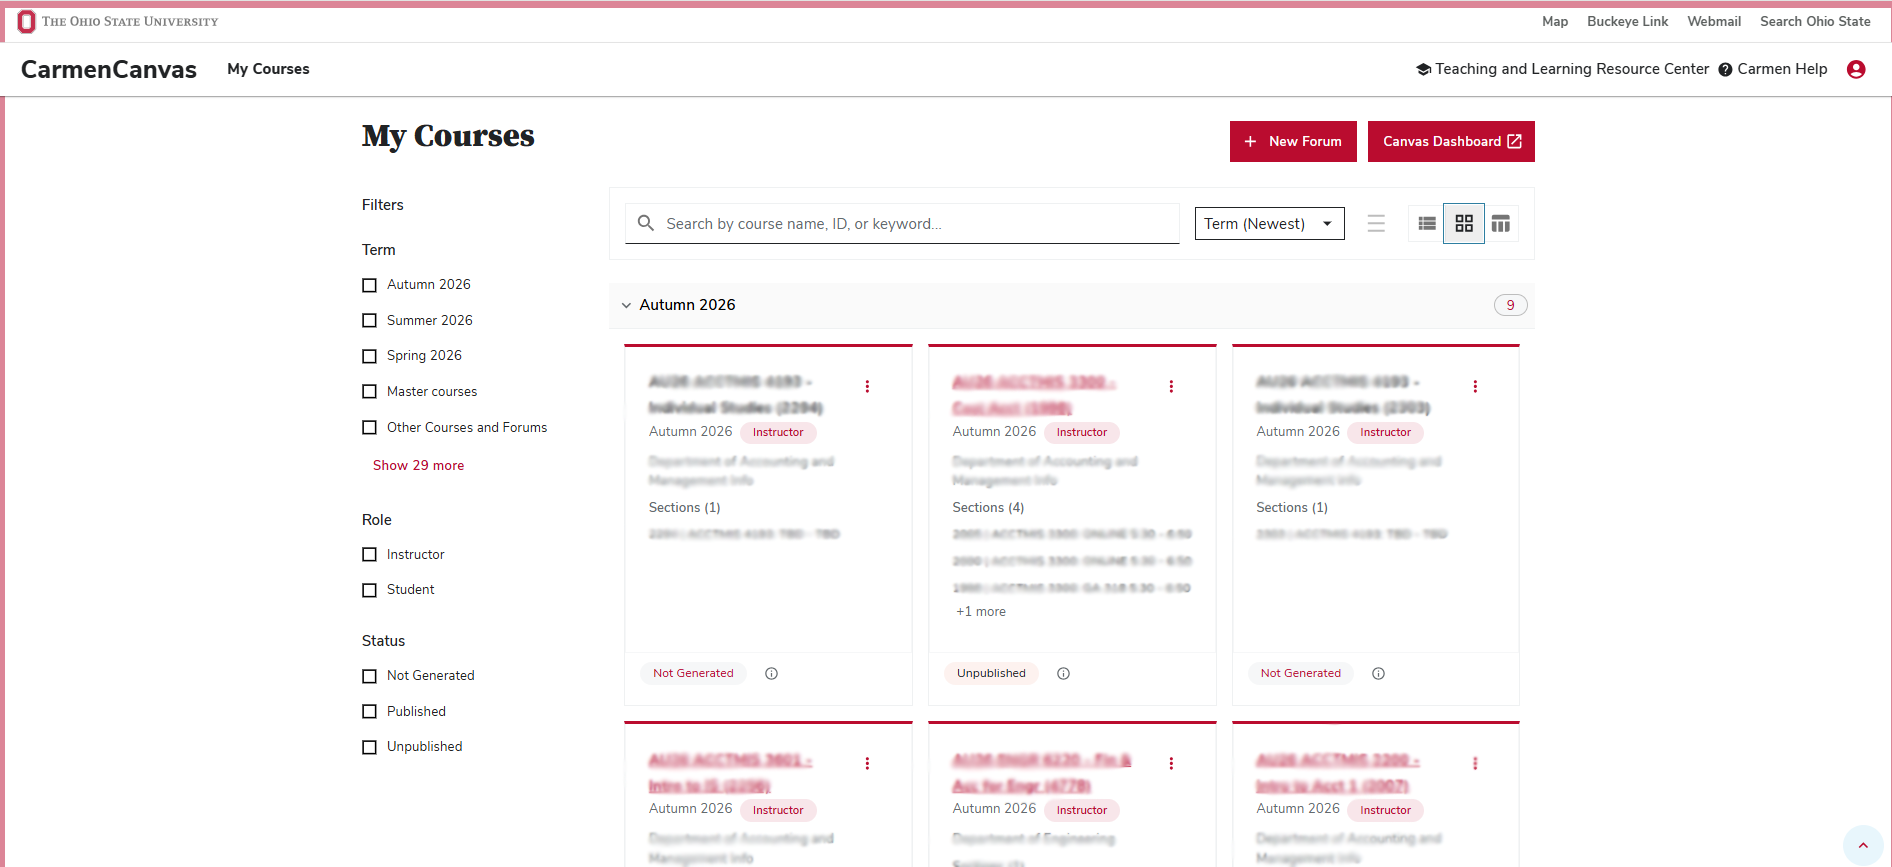
Once you have logged in, you will see your My Courses page. The courses page includes the following sections:
- Course Listing/Action Button.
- This display can be modified using the options described below (under section 3), but all displays show the same information.
- The course title will be a link if the course is one to which you have access; clicking on the link will take you to the course in Canvas itself.
- The Action button is where you can access Manage Participants, download your course roster, generate your academic course shells, and transfer final grades.
- My Courses filters.
- Search and Display Options.
- Sorting and Course Listing Settings.
- Pagination.
- Dashboard and New Forum Request Button.
Expand each section below for more information on each section.
Course List and Action Button
Course List
Your course list displays the courses you are enrolled in. You can control which courses you see by using the Filter options and Search bar. Leaving the Filter options unchecked and entering nothing in the search bar will display all courses you are currently enrolled in.
Actions Button
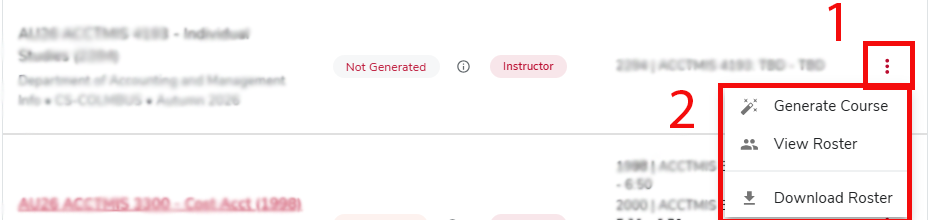
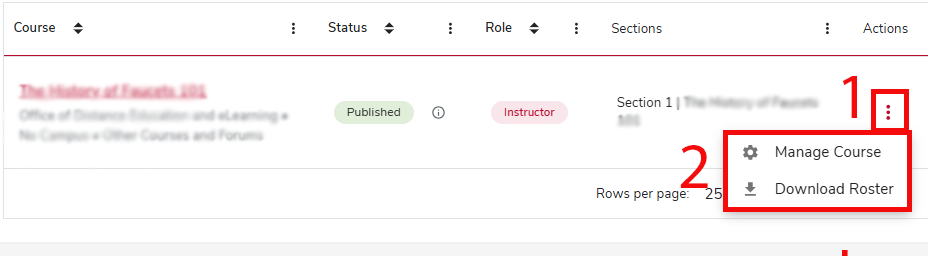
The Actions button allows you to manage your courses and appears as a three-dot button on the right side of the course listing.
This button will appear for courses in which you are the instructor. It will have different options depending on the status of the course and whether the term is active. If you have not generated a course in an active term, you will be given the option to do so. The option to transfer final grades appears only for active term courses.
If you have generated your course, you will see the option to Manage your course, using Manage Participants, transfer final grades (for current semester courses), or download your Roster.
My Courses Filters
The My Courses filters area displays several options to limit which courses are displayed. If no options are selected, all courses you are enrolled in will be shown. You can choose to filter courses by which term they are in, what your role is in the course, and the status of the course.
- Term: By default, the terms that will be options here are the present term, the most recent past term, the upcoming term (if it exists) (Active Terms), and Other. You can click to see more terms if desired.
- Role: The Role section lets you filter by your current role in a course.
- Status: The Status section lets you filter by the current state of the course.
- Not Generated - The course has not yet been generated in Carmen; the instructor is responsible for this step.
- Unpublished - The course has been created in Carmen, but student access has not been enabled.
- Published - Student access to this course is enabled.
Search and Display Options
You can enter the course name you wish to search for in this bar. Be aware that your filter settings can determine your results. If you are not certain which term, what role, and what status to use, leaving the filter boxes unchecked will allow your search to apply to your entire list of enrolled courses.
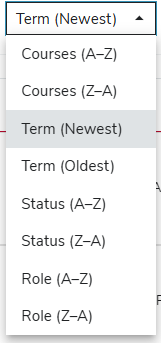
You can click the drop-down menu labeled “Term (Newest)” (which is the default option for this setting) to adjust how you want your courses to be sorted. The list of options includes the following:
- Courses (A-Z)
- Courses (Z-A)
- Term (Newest)
- Term (Oldest)
- Status (A-Z)
- Status (Z-A)
- Role (A-Z)
- Role (Z-A)
The three buttons on the right of this area determine how your course list will display.
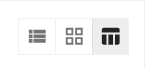
The options from left to right are: List View, Card View, and Table View (Default).
Table View:
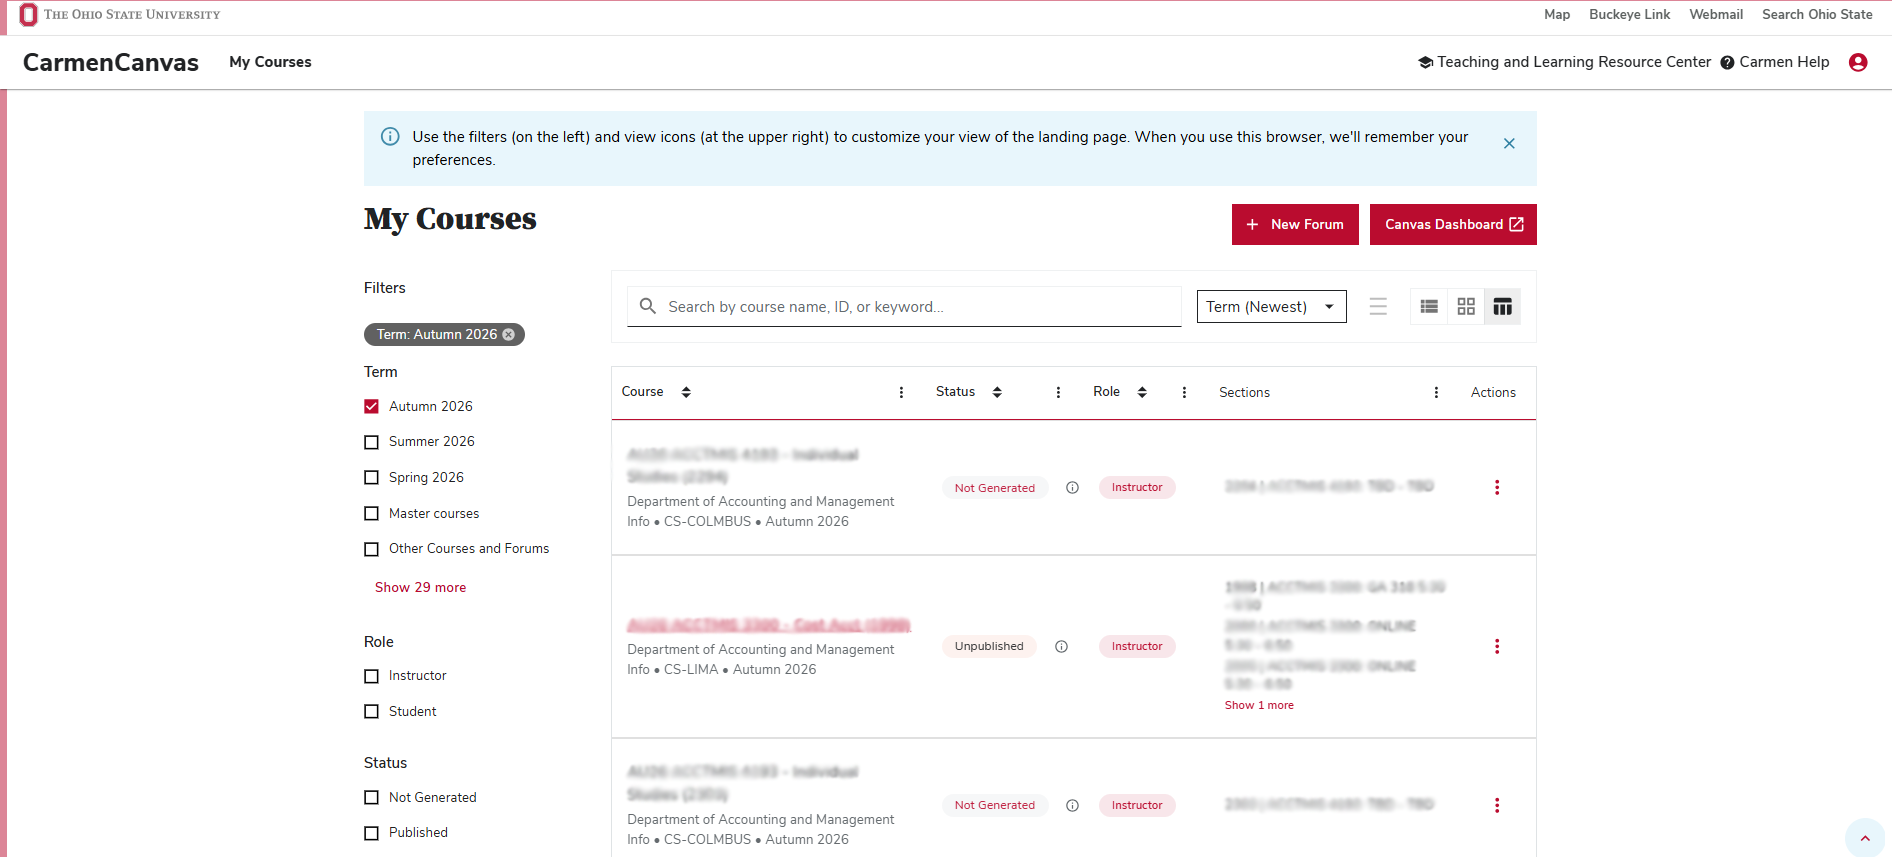
The Table View provides a robust set of details about your course. Department, campus, and term information is included under the course title. Instructor will see all sections included in the course. Students will see only the sections in which they are enrolled. You can sort by course, role, or status by clicking on column headings. You can see an example of the Table view below:
List View:
The List View includes the same information included in the table view but hidden under a dropdown arrow. Terms can be displayed or closed, depending on what you want to see. You can sort using the sort option dropdown menu. You can see an example of the List View below:
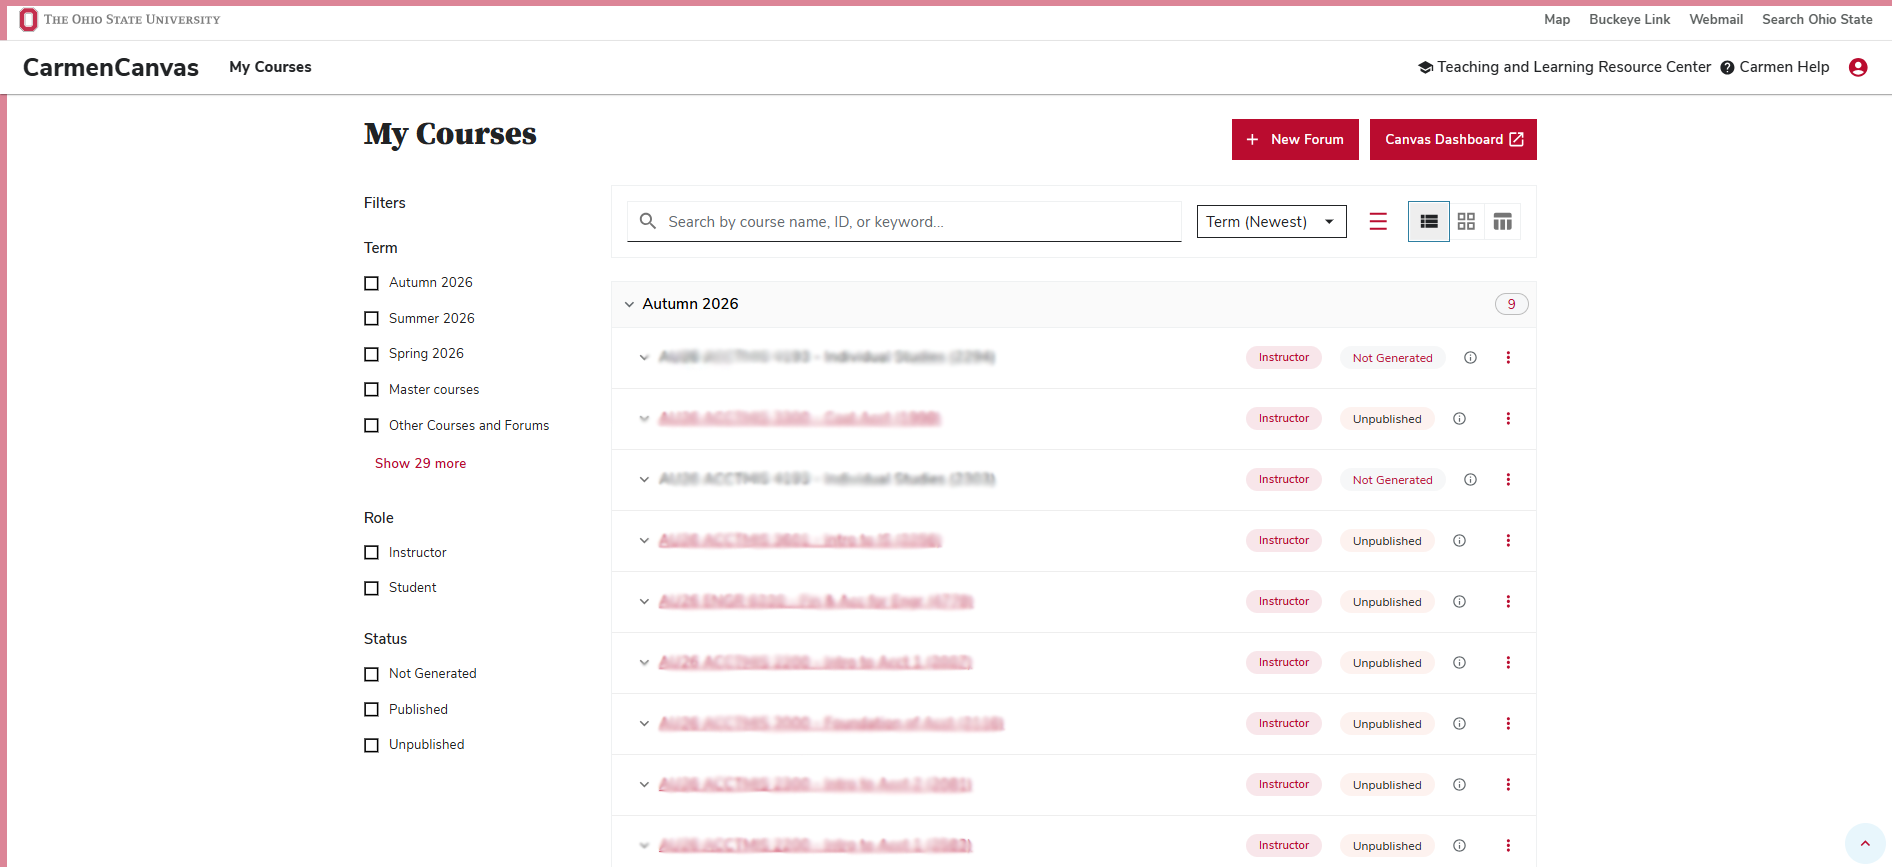
The List View can have its density adjusted by clicking on the three-line button next to the view settings buttons.

Card View:
The Card View displays course details in a vertical rather than horizontal layout. Terms can be displayed or closed, depending on what you want to see. You can sort using the sort option dropdown menu. You can see an example of the Card View below:
Sorting and Course Listing Settings
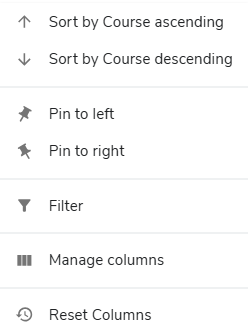
This area allows you to adjust how you want your course list to be displayed. In the table view, you can click on the arrows next to the areas for Course, Status, Role, and Sections, to adjust how you sort your course list.
Click a column heading and then hover over the divider between columns to reveal the option to resize columns. You can also cllick-and-drag to re-order columns.
Finally, click on the three dot buttons next to each column heading for additional settings. These settings include pinning columns to the left or right side of the table, filtering the table, and hiding columns. There is also an option to reset columns to the default.
Pagination Controls
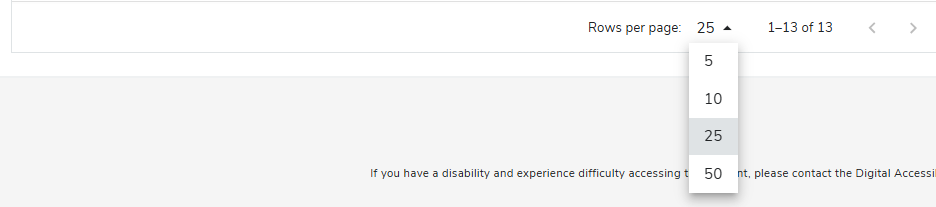
At the bottom of the screen, you can find the pagination controls. You can click on the drop-down menu on the left to determine how many rows per page. Click on the arrows on the right to move between the pages.
Dashboard and New Forum Request Button
Dashboard
This link will take you directly to your CarmenCanvas Dashboard so you can navigate between your courses within CarmenCanvas itself.
New Forum Course
The New Forum Course button on the Carmen landing page directs users to the create a forum course option in Aegis. This option is only available for instructors.