

This guide uses the GE Launch Workbook as an example, but the process is the same for mapping evidence to any workbook in Pebble+.
- Log into PebblePad via the login page or click the PebblePad link in your course navigation menu.
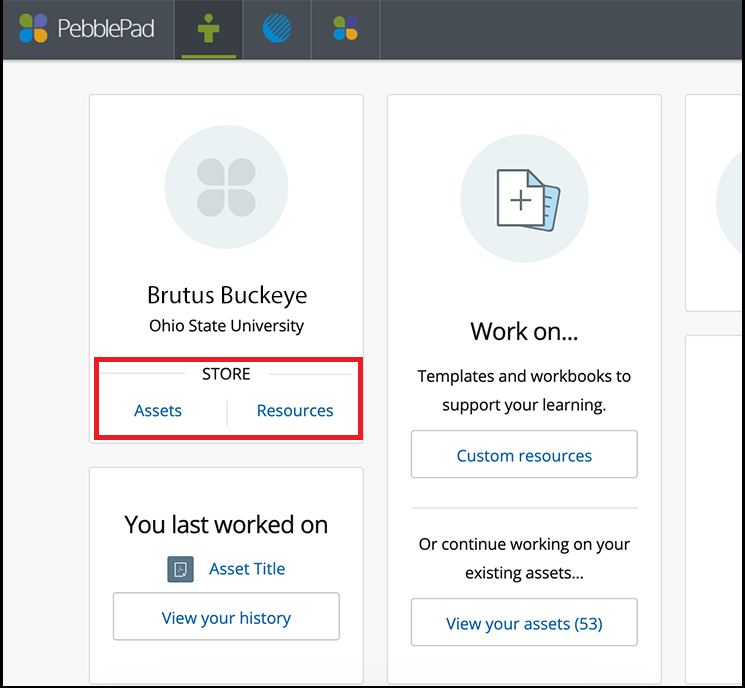
From the Pebble+ home page, under your name in the Store card, click the Assets link.
- From the list of Assets, find the asset you want to map (attach) to the GE Launch Workbook. Assets can be documents, images, videos, etc.
Click the "i" icon to the far right of the asset you want to map.
Image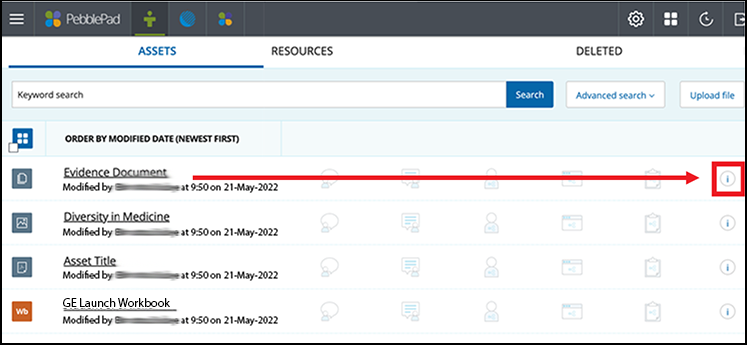
- In the sidebar dialogue box, click the Mapping link. You will see a notice that this asset has not been mapped yet or, after you map it, where the asset has been mapped to.
Click Create Mapping.
Image
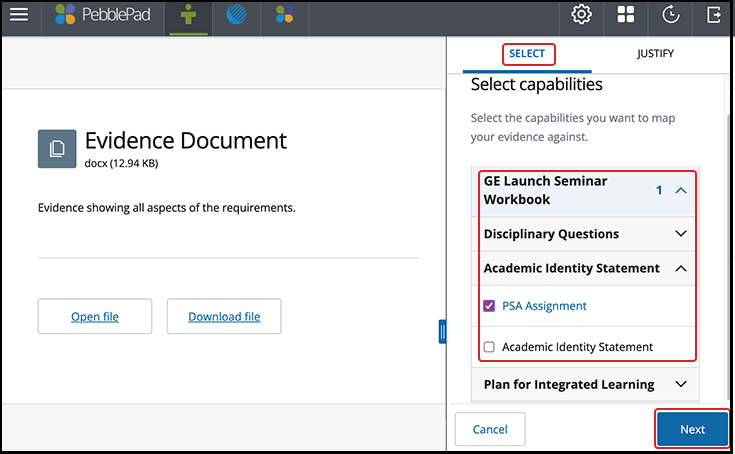
- Click the Select tab in the sidebar dialogue box. You will see a listing of pre-defined capabilities associated with the GE Launch Workbook. Capabilities refer to the spaces in the Workbook where you add evidence to.
- Click the GE Launch Workbook to expand it.
- In the expanded list, click the name of the tab of your GE Launch Workbook you want to map the chosen asset to. For example, if you are mapping your PSA evidence to your Academic Identity Statement, expand the Academic Identity Statement menu.
- Click the checkbox to the correct place you are mapping the asset to. This will map your asset file as evidence to the capability you have chosen in your GE Launch Workbook
Click Next.
- In the editor that appears below the name of the capability you have chosen, add additional information or context (justification) for why you believe the asset you are mapping constitutes evidence of your understanding of what you have been asked to show.
Click Save.

- Repeat this process for any additional file(s) you uploaded for the portion of the GE Launch Workbook you are working on
Note: Your asset has now been added to your Workbook as evidence. You can confirm this by going into your Workbook.