

Converting documents shared in modules into Canvas pages is a recommended approach to ensure better accessibility. PDF files often encounter issues when accessed online, making them challenging for users with disabilities. Additionally, Word and PowerPoint files aren’t always adaptable to viewing across different browsers and devices. Turning your documents into a Canvas page is a great tactic for enhancing the accessibility of your course.
You can use Ally’s Alternative Formats an an optional way to convert your documents into Canvas pages through a fairly simple process. Note this will not work for large, image heavy documents.
- In the Files section of your course, locate the file you want to convert to a Canvas page
- You can access the Alternative Formats for the file in two ways:
Click on the three-dot icon under the Actions column and select Alternative formats from the menu.
Image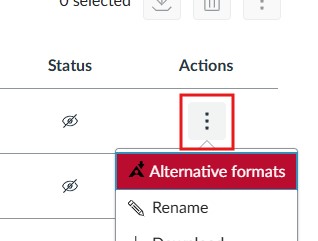
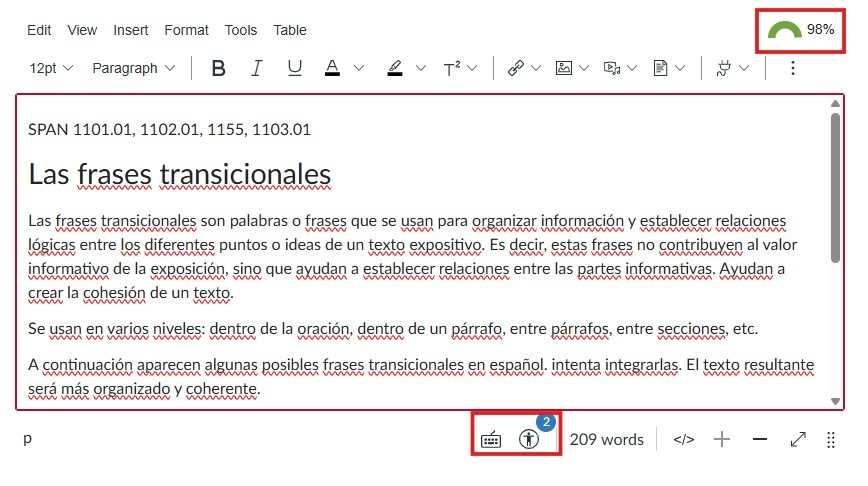
Or, click on the name of the file to open a preview page and click on the Ally icon in the upper right corner.
Image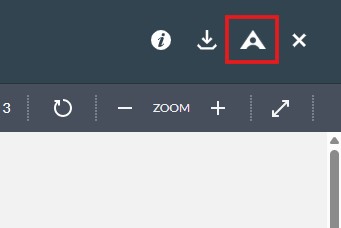
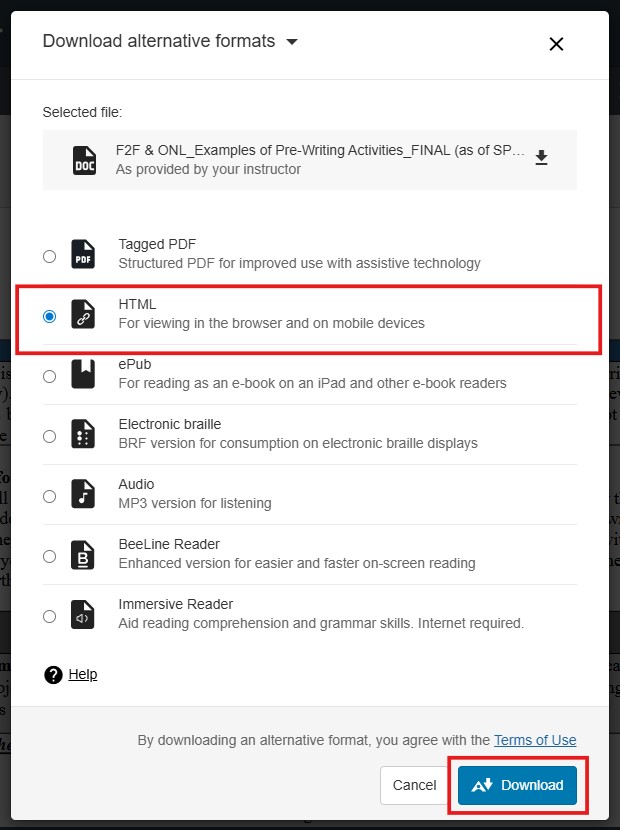
- Once the Alternative formats menu is open, select HTML and Download.
- Locate the HTML file you just saved to your computer and open it with a basic text editor like Notepad (Windows) or Text Edit (Mac). Select all of the text in the document and copy it to your clipboard.
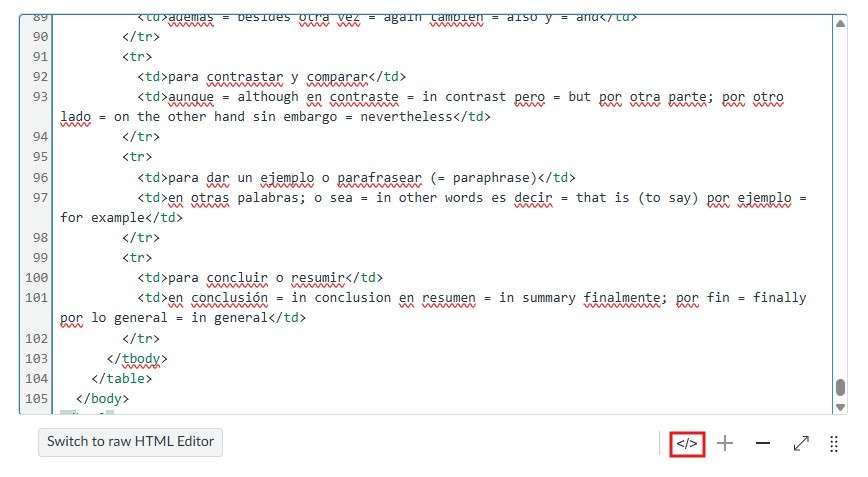
- Create a new page in your course and click on the HTML Editor icon.
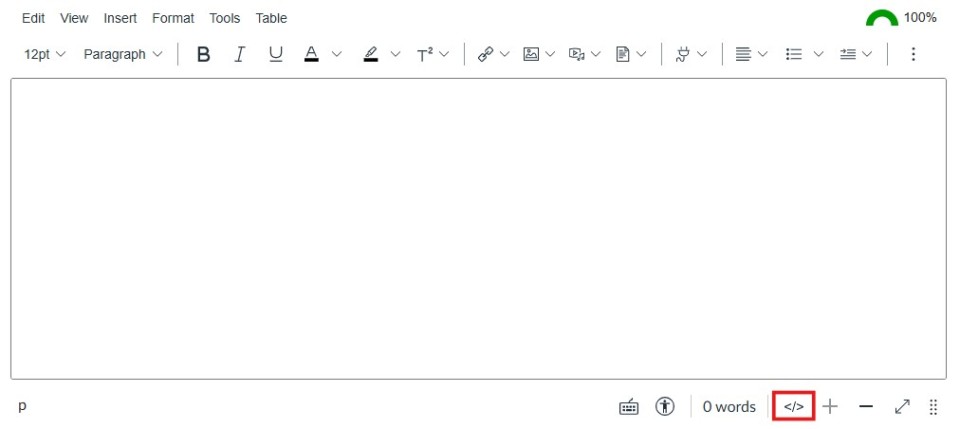
- Paste the HTML text you copied in step 4 onto the page and then click the HTML Editor icon again switch back to the regular editing interface.
- Now you can work through the accessibility issues using Ally and the Canvas Accessibility Checker.
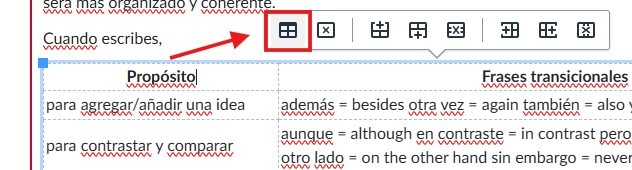
- If your document had tables, you’ll need to adjust the table properties so that it is visible. Click on your table and then click on the Table Properties icon.
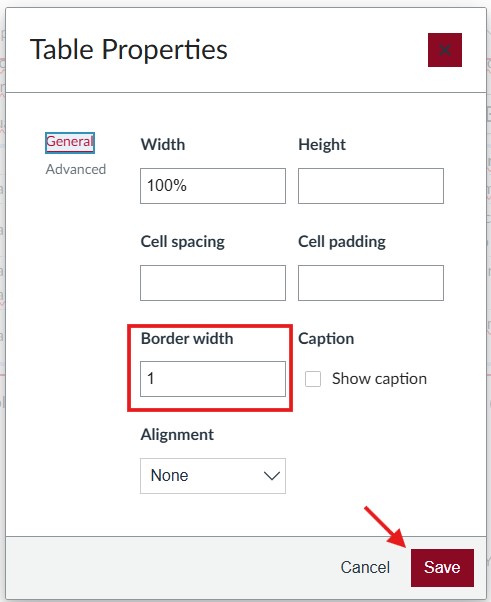
- In the Table Properties menu, set the Border width to 1 and then click save.
- Once you are satisfied with the accessibility and formatting of your page, click save. Locate where you have shared the original file in the course and replace the file with your new page.