

The Checkpoints feature in CarmenCanvas offers the ability to set multiple due dates in a graded Discussion. The most popular usage of Checkpoints is to set a due date for students to post an initial “Reply to Topic,” followed by a later due date for students to reply to a classmate (labeled as “Additional Reply Required" or "Required Replies").
To use the Checkpoints feature, the Discussion must be marked as Graded. Anonymous discussions cannot use Checkpoints. Checkpoints can be used with Group Discussions.
Creating Checkpoints
To set up Checkpoints in a graded Discussion:
- Create a new Discussion or edit an existing Discussion that does not already have student engagement.
- Check the Graded checkbox. This will cause the Assign graded checkpoints box to appear.

- Check Assign graded checkpoints.
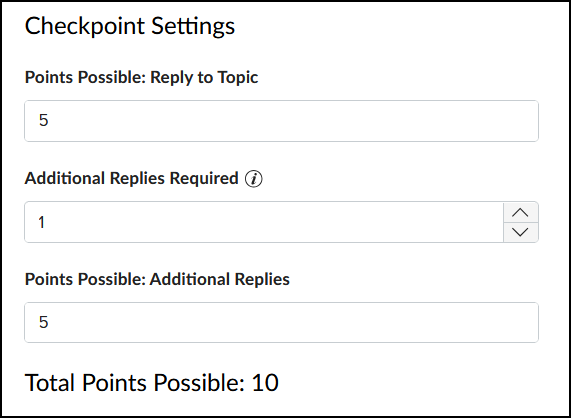
- Scroll down to Checkpoint Settings to assign the number of points possible for the Reply to Topic. Then enter the number of Additional Replies Required (between 1 and 10) and enter the points for additional replies in Points Possible: Additional Replies.
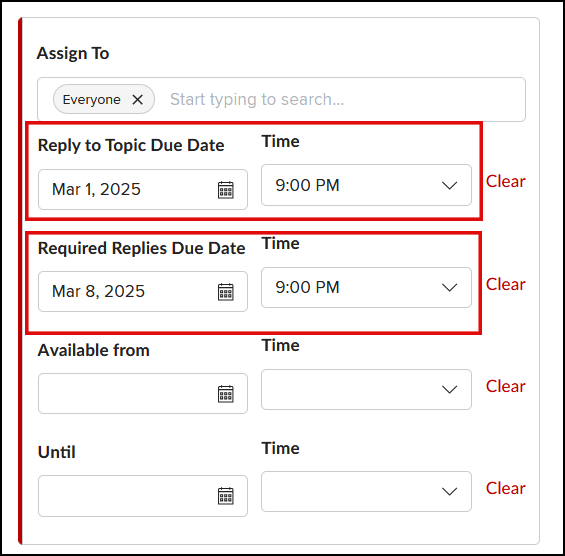
- When entering the due dates for the Discussion, specify a Reply to Topic Due Date and Time as well as and the Required Replies Due Date and Time.
- Complete any other settings selections for your Discussion, and then click Save and Publish or Save at the bottom.
Grading Checkpoints in Speedgrader
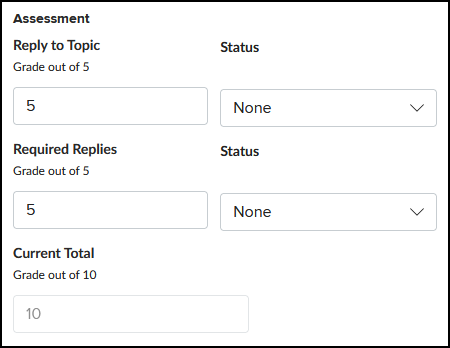
For discussions that use Checkpoints, only one grade will be recorded in Speedgrader. You will enter the points received for a student's original Reply to Topic response as well as the points received for the Required Replies. The grade awarded will be the sum total of those points.
For example, if a Discussion is worth 10 points total (five points for the Reply to Topic, and five points for one additional required reply), you will award the student five points in the Reply to Topic field, and five points in the Required Replies field (assuming the student earned full credit). CarmenCanvas will tabulate the Current Total as 5+5 = 10 points.
Grading Multiple Additional Replies
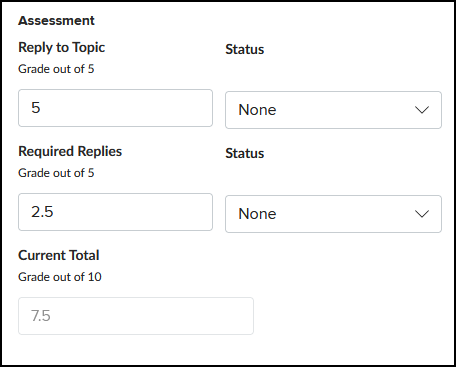
The Required Replies field is the only place to enter the total points the student received for the Additional Required Replies you set in Checkpoints. As such, you must mentally tabulate (or use a rubric to determine) how many points the student has earned for each additional reply.
For example, if you set two Additional Replies Required in Checkpoints, and the settings show that the replies are worth a total of 5 points, you will need to decide if each reply counts separately as 2.5 points, or if you will assess the overall quality of both responses together to determine the grade you enter in for Required Replies in Speedgrader.
Instructors are encouraged to inform students ahead of time how points for a Discussion will be divided and determined. Rubrics can be a great tool for communicating this. However, while rubrics can be used for Discussions with Checkpoints enabled, they cannot be used to automatically calculate the grade. You will need to use your rubric and then manually enter the grade.
Viewing Student Submissions in Speedgrader
There are two ways to view a student submission in Speedgrader. By default, you will see isolated student contributions, but you can also view the student contributions within the context of the entire discussion.
Individual student contributions (default view)
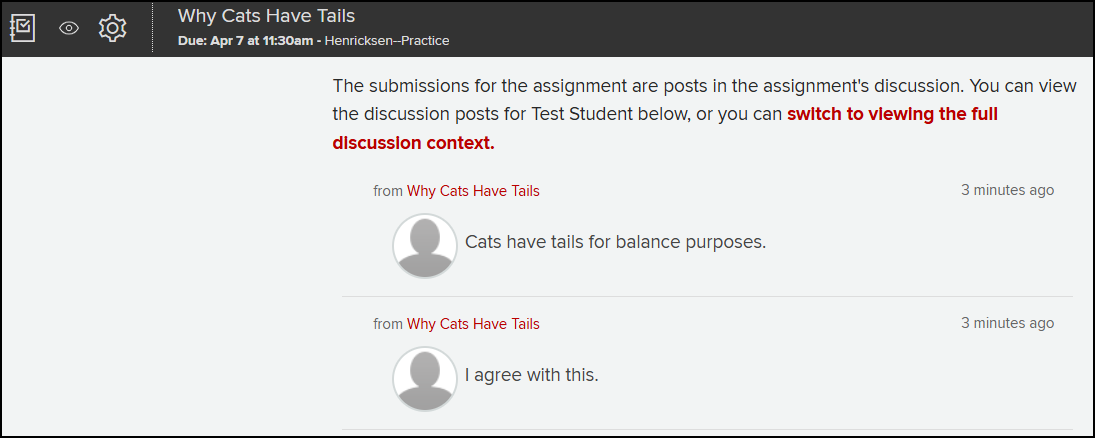
The default view shows what one student wrote, which can be helpful for isolating that student’s contributions to the Discussion. This view might help you quickly judge the length and depth of the student's response and whether or not they met the requirements for the number of posts. However, this view can be limiting because you cannot see the student's comments in the context of the larger Discussion thread.
Full discussion context
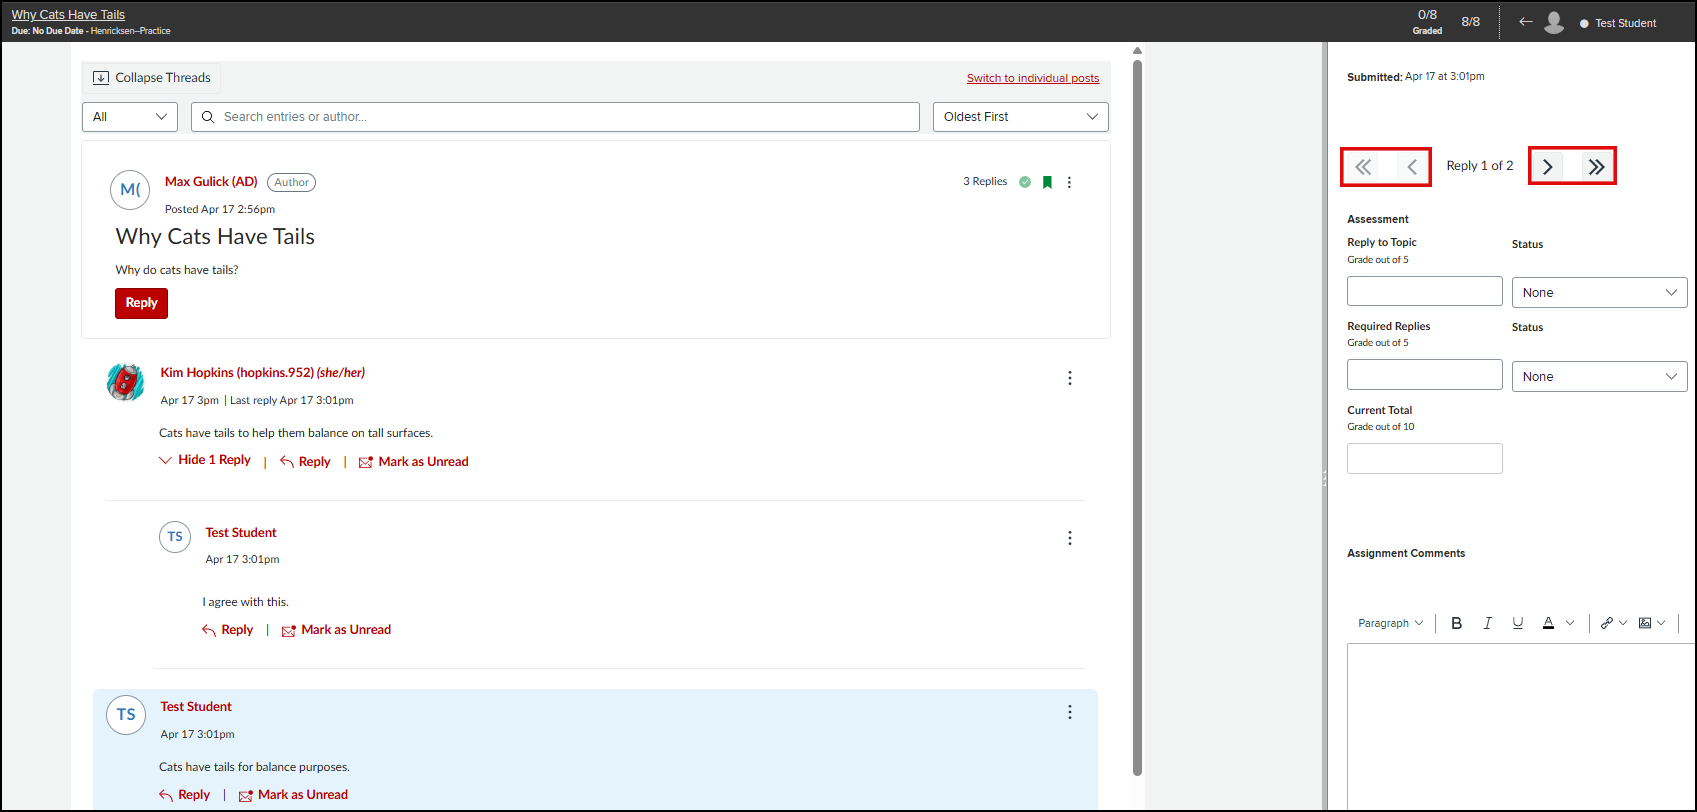
This view shows a student's replies in the context of the entire discussion. This can help you see the evolving discourse around the Discussion topic and judge how the students interacts with their peers.
Replies authored by the student will be highlighted (one at a time) in blue. The replies are numbered chronologically according to the order in which the student posted them. Thus, the first entry in blue may not be the original “Reply to Topic,” but could be the student's reply to a peer's post.
Use the arrow buttons on the right side of the screen to quickly navigate to the student’s next reply.
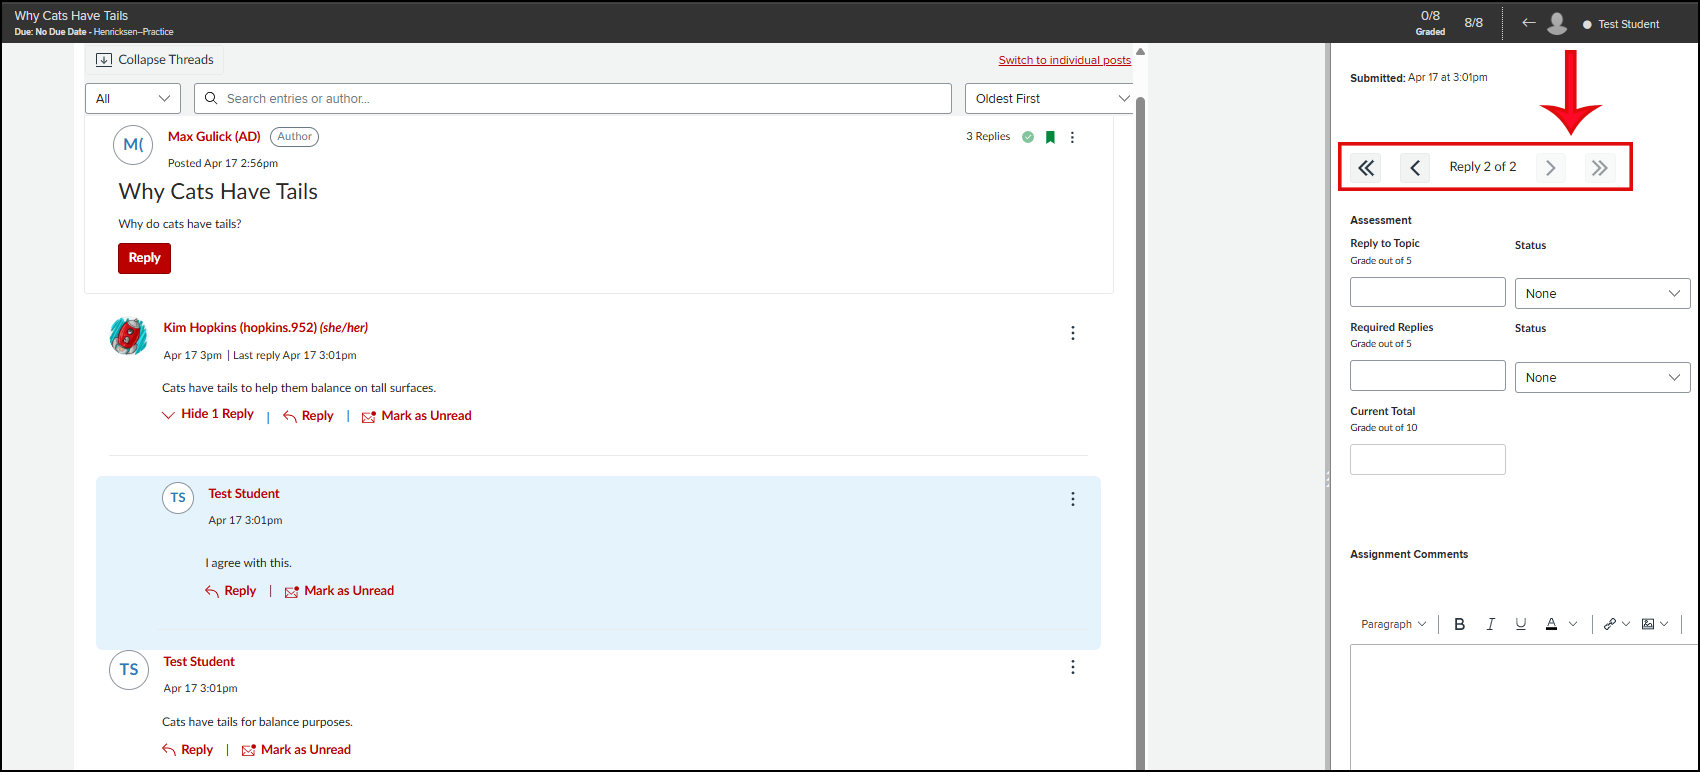
When navigating to the next (or previous) reply, the blue highlight move to the appropriate post. For example, the image below shows "Reply 2 of 2,” and the blue highlight has moved from where it originated in the previous screenshot.
You can also use your browser’s search bar (CTRL + F on a Windows keyboard, or Command + F on a Mac keyboard) to bring up the Find box in the bottom left corner. Then enter the student's name and click the arrows to skip from entry to entry for that student.
Switching ViewS in Speedgrader
As needed, you can switch back and forth between seeing a student's responses within context of the Discussion and isolated without context. If preferred, you can also change your default view in Speedgrader.
Switch from "without context” to “in full context”
For this Discussion Only:
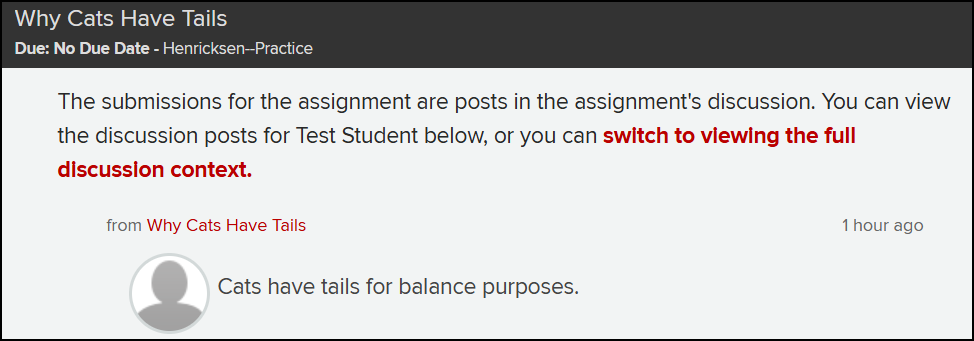
At the top of the discussion preview, click switch to viewing the full discussion context.
To Change Your Default View:
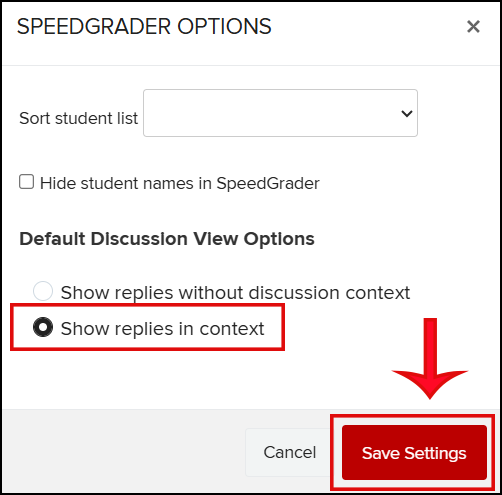
Click the gear icon in the top left corner to open the Settings, and then click Options. Select the radial button Show replies in context. Then click the Save Settings button.

Switch from "in full context” to “without full context”
For this Discussion Only:
At the top of the screen, click Switch to individual posts.

To Change Your Default View:
Click the gear icon in the top left corner to open the Settings, and then click Options. Select the radial button Show replies without discussion context. Then click the Save Settings button.