

A PebblePad Page is a single-page showcase webpage used to present stories about your activities, learning, personal profile, or any other number of topics. A Page can contain a range of elements, including text, images, and videos. It can also contain links to other Assets within your Assets store or to external items on the Internet.
Pages can be added to other projects you create within PebblePad including Portfolios, Collections, Activity Logs, Blogs, or as evidence in Workbooks or Templates. Pages can also be shared for Collaboration with others within Ohio State’s instance of PebblePad, to Atlas, or shared :"with the web" to be viewable to anyone with the share link.
To Create a New Page
- Log into PebblePad via the login page or click the PebblePad link in your Carmen course navigation menu.
You can open the Page Builder in two ways. You can select the Create a page option under the burger menu’s Get creative list.
Image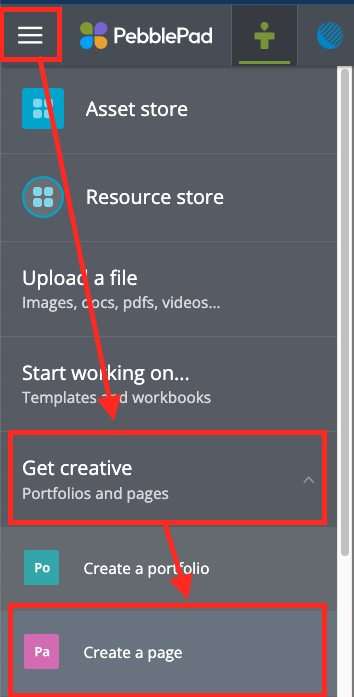
You can also click Get started under the Get creative tile on the dashboard, and then click the Create Page link.
Image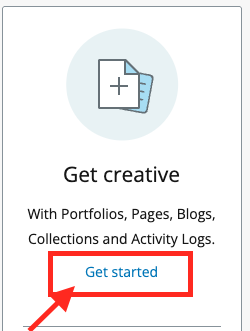 Image
Image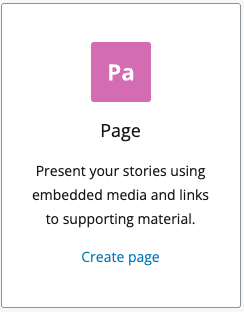
- Design your Page by adding or modifying content according to your preference or the instructions for an assignment provided by your instructor. See details below.
- Click Save to save the Page layout.
- Add the Page title and confirm the save.
- Save often to avoid losing work.
Once saved, your Page will be available to share. You can also find it in your Assets store for future edits, copying, etc.
Add Content to a Page
- Click the +Add Content button for a list of available content block options.

- Make your selection by clicking the desired block to add it to the bottom of the Page.
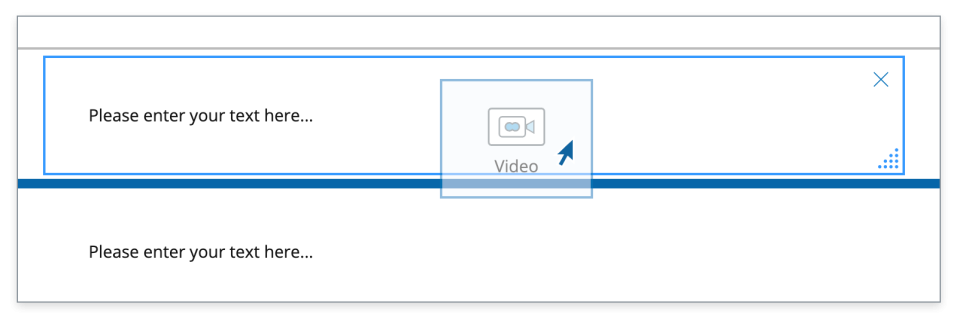
You can also click, hold, and drag a block to where you want it to show on your Page, and then release your mouse button to place it. The blue bar confirms the position where your block will be located. Note that this option is not available on mobile devices. Keyboard only users will need to add a block to the bottom, and then move the block. See the Reorder blocks dropdown below for more information.
Add banners
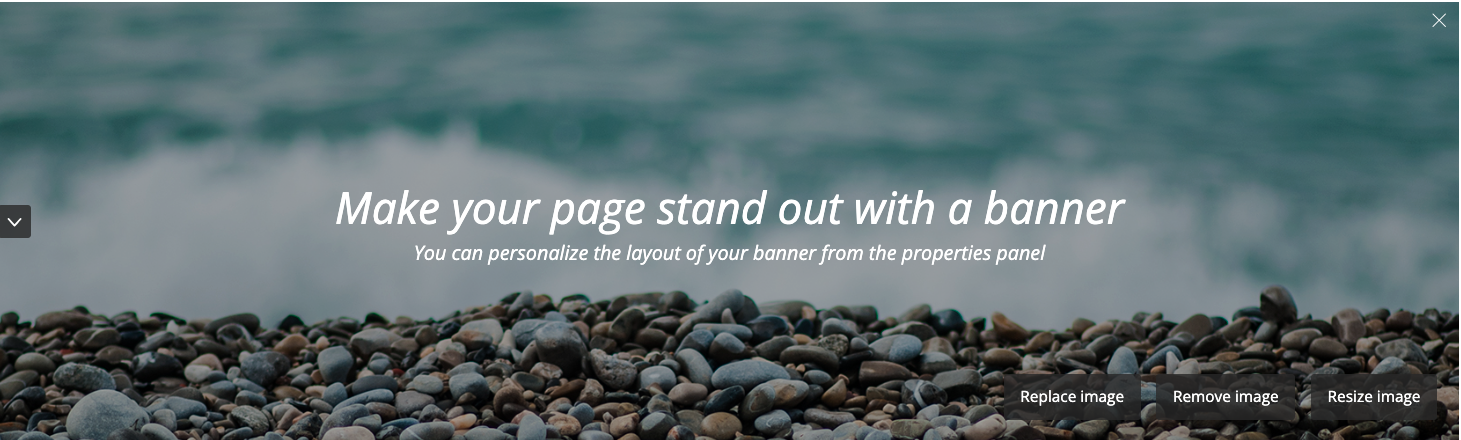
Banners can be used for the title of a Page or for section headers throughout the Page. An editable banner appears on your Page by default; you can add additional banners by clicking the banner block in the +Add Content menu.
To customize the banner, you can:
- Click the banner text to add your own title and subtitle.
- Replace the banner image with other built-in stock banner images, or add your own image from your device. Click the Replace image button within the banner.
- Remove the banner image by clicking the Remove image button. You can then change the background color under Properties or leave the banner as text only.
- Resize the banner by clicking the Resize image button.
Be sure to check out the Banner Block Properties for other ways you can customize banners, including where the text shows on the banner.
Add text blocks
Add text-based content to your Page by clicking the Text block in the +Add Content menu.
When you click a text block, you will see a Rich Content Editor toolbar that allows you to customize your content, including highlighting, coloring, resizing font, adding hyperlinks to outside websites or other PebblePad Assets, and more. Many options are found under the three-dot menu, so be sure to check those out.

Be sure to check out the Text Block Properties for ways to customize text blocks, including adding a title and changing the background colors, among other options.
Add images
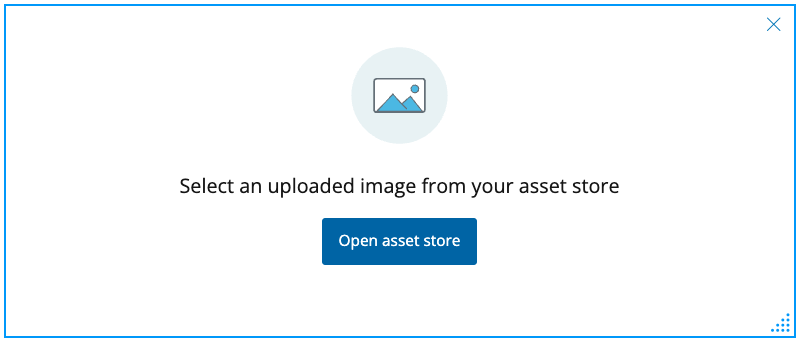
You can add images to your Page through the Image block in the +Add Content menu.
Click the Open asset store button to access image files you have already added to your Assets store or to upload new images.
Be sure to check out the Image Block Properties for ways to customize images including adding titles and captions and making your image a clickable link, among other options.
Add videos
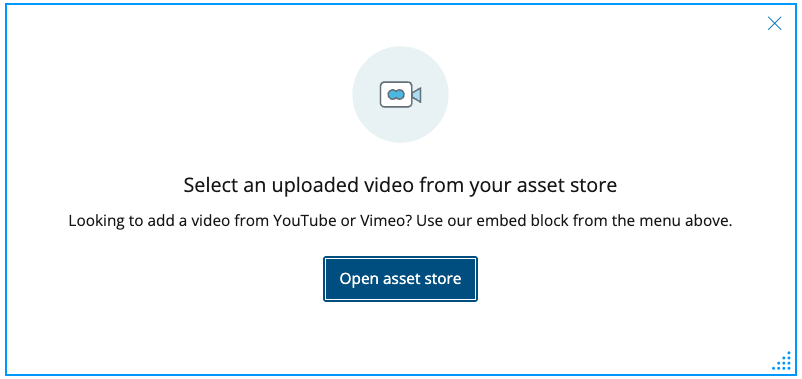
You can add your own video files to your Page by clicking the video block in the +Add Content menu.
Click the Open asset store button to access video files you have already added to your Assets store or to upload new videos.
Be sure to check out the Video Block Properties for ways to customize your videos, including adding titles and captions, auto play, loop video, and other options.
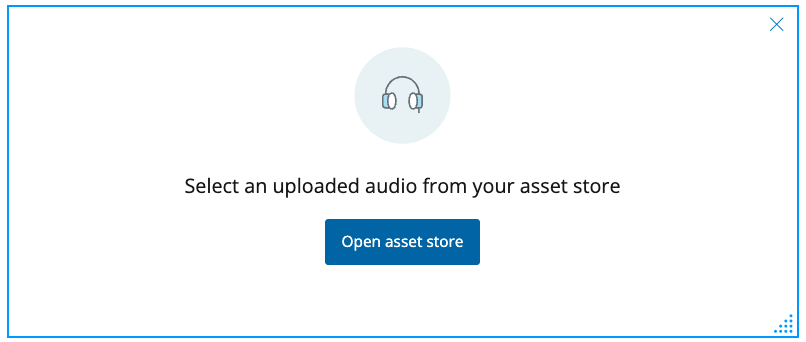
Add audio
You can add your own audio files to your Page using the audio block. Click on the Open asset store button to access audio files you have already added to your Assets store or upload new videos.
Be sure to check out the block properties for ways to customize the audio files including adding titles and captions, auto play or loop audio, among other options.
Embed projects
The Embed block in the +Add Content menu allows you to add embed codes from supported services directly onto a Page.
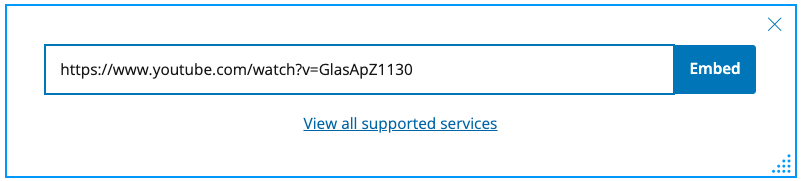
Thinkglink, Mediasite, H5P, Qualtrics, and Echo360 are Ohio State supported tools that can be embedded into a Page.
Some Microsoft 365 products (Word, Powerpoint, Excel) allow for you to embed projects, but they may not be accessible by anyone except for the creator because of third-party cookie issues and Ohio State permissions and restrictions. The Learning Systems teams is continuing to work with the vendor to address this issue.
Add quotes
Quote blocks can be used to highlight quotes from external sources or simply to make important content on your Page stand out visually. Quotes can be added throughout a Page using the Quote block in the +Add Content menu.
Be sure to check out the Quote Block Properties for ways to customize your quotes, including adding citations or changing the background color.
Modify Page layout or change block or Page properties
You can also modify the Page layout or change block or Page properties to include background colors, make images clickable, add titles or captions. and more.
Delete blocks
To delete a block from a Page:
- Click the block you want to delete.
- Click the “X” that appears on the top right of the block.
- Confirm that you want to delete the block.
Once deleted, there is no way to recover the content unless you exit the Page without saving. However, all other changes not saved will be lost.
Reorder blocks
Blocks added to a Page can be reordered in two ways:
Click the up and down arrow buttons on the left hand side of a block to move it up or down one position at a time. Note that this is the only option that works to reorder blocks from a mobile device.
Image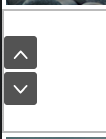
- Click a block and hold it until the block shrinks (indicating you have selected to move it). Then drag and drop the block to the desired location on the Page.
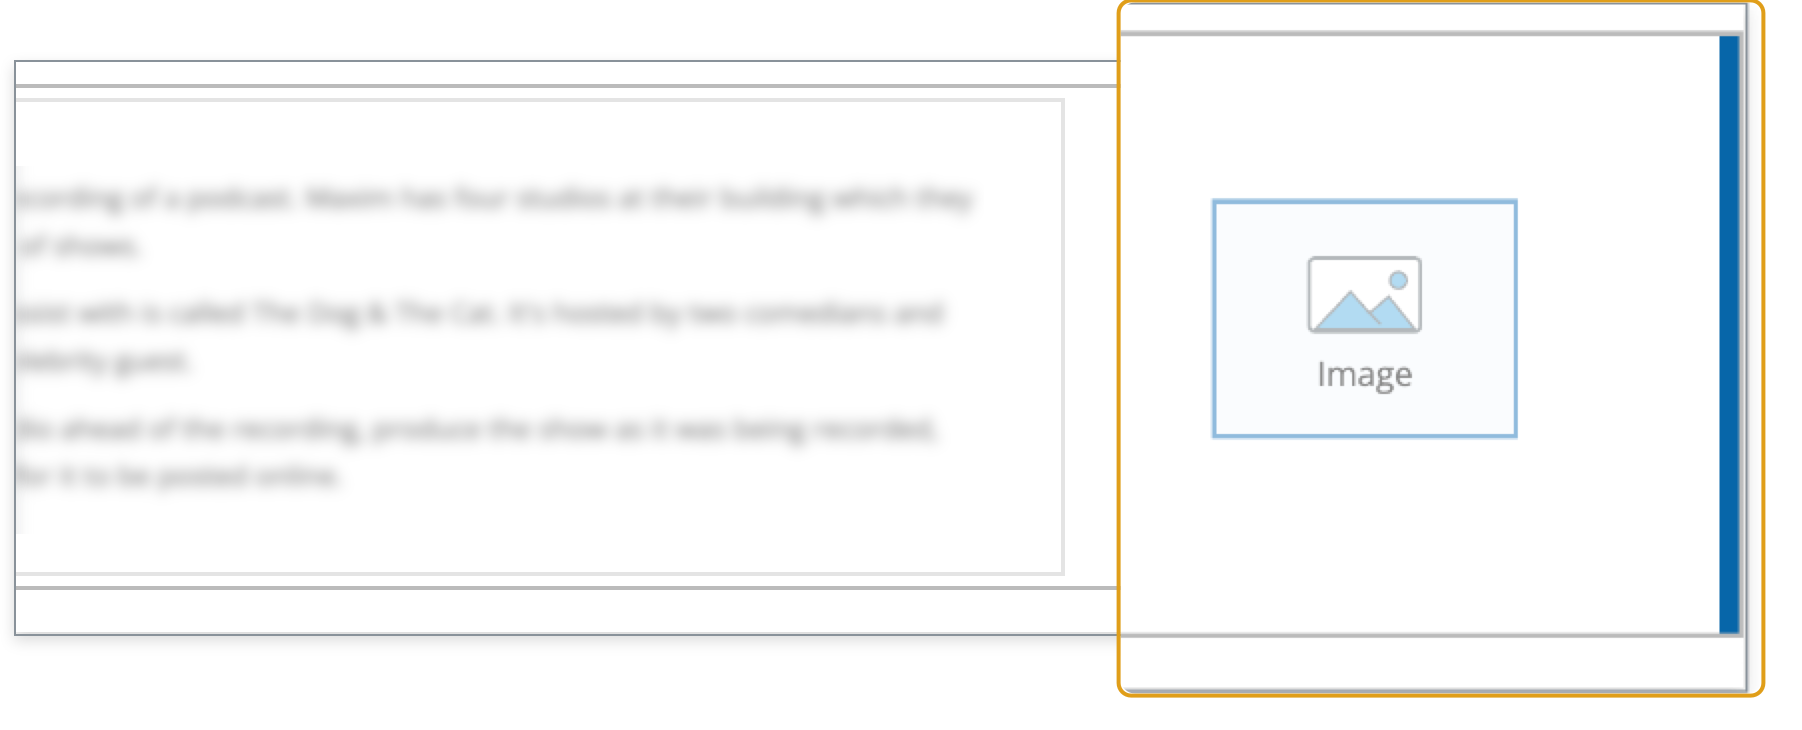
Align blocks side-by-side
Two blocks can be aligned next to each other on a Page. This option may not be possible from a mobile device or if only using a keyboard.
- Click a block and hold it until the block shrinks (indicating you have selected to move it).
- Then drag the block to the side (left or right) of another block.
- Once you see the blue bar indicating that you can place the block at that location, release the mouse.
By default, aligned blocks will be the same width. But this can be adjusted so that one block is bigger than the other. Click the corner of the block and drag your mouse left or right to adjust its size.

Change block and Page properties
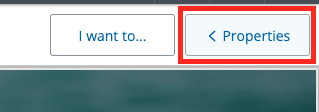
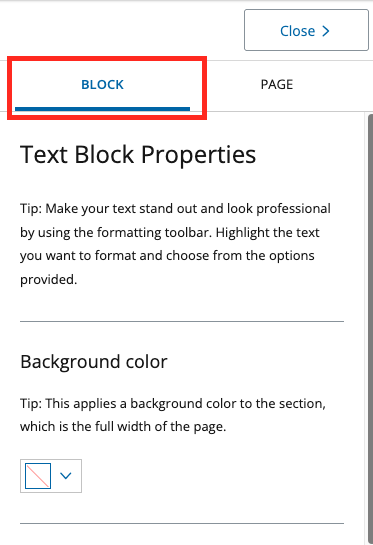
Each block has unique properties that you can adjust to customize its content. To access the properties, click on the desired block, then click on the < Properties button on the top right.
On the Block Properties side bar, select the Block tab to view and modify specific properties.
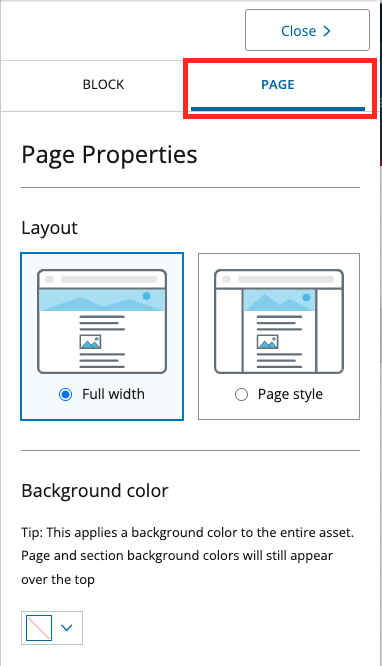
Select the Page tab to modify properties for the entire page.
See the Change Content Block Properties help guide for more details about the different properties available within the blocks.