

A PebblePad Blog is a personal blog space you can use to present stories about your activities, learning, personal profile, or any other number of topics. A Blog can contain a range of elements, including images and videos. It can also contain links to other Assets within your Asset Store or to external items on the Internet.
Unless you share your blog with others, it is private and no one besides you can view what you post there.
Instructors can add a blog placeholder page as part of a workbook. Blogs created in or added to a workbook will become visible to anyone that has access to the workbook.
PebblePad Blogs can be a useful tool to provide opportunities for students to reflect on learning. Refer to Helping Students Write Across the Disciplines and High-Impact Practices: Enhancing the Student Experience for more information on developing reflective practices in your course.
To create a Blog
- Log into PebblePad via the login page or click the PebblePad link in your Carmen course navigation menu.
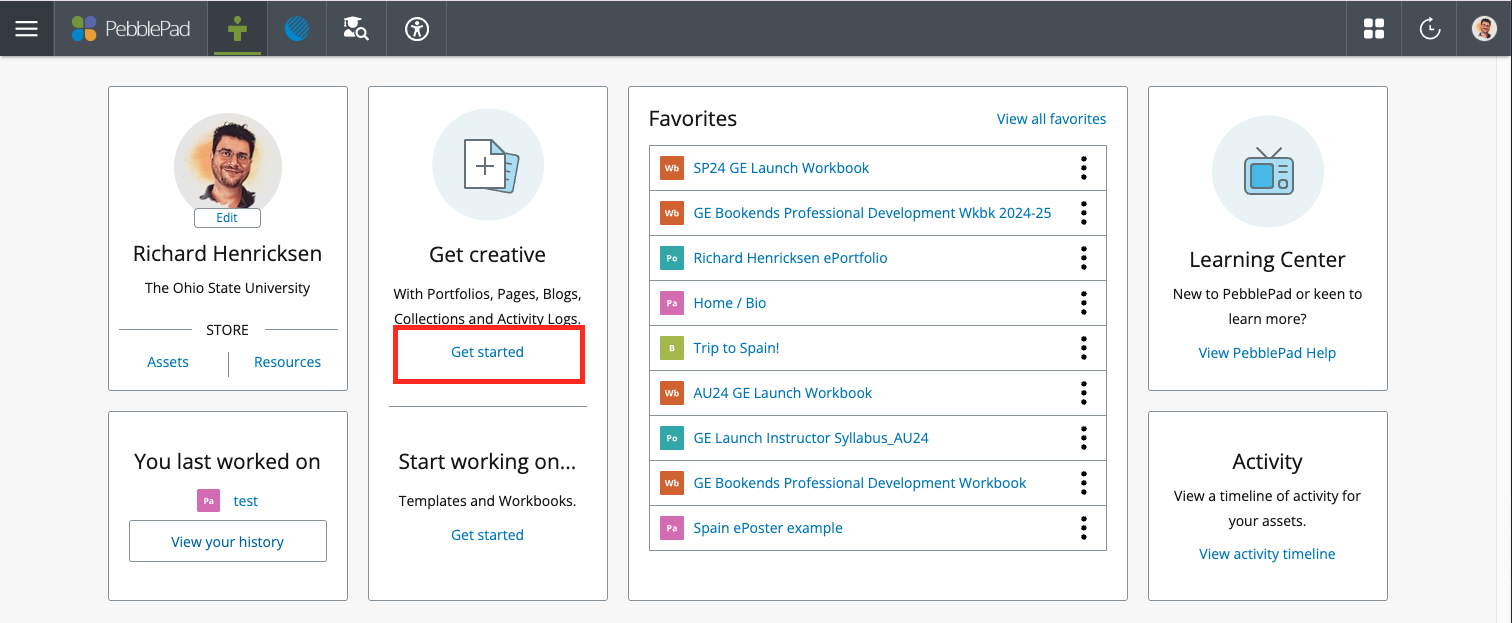
- In the Get creative tile, click the Get started link.
- Alternately, you can go to the Get Creative menu by clicking on the burger menu on the top left.
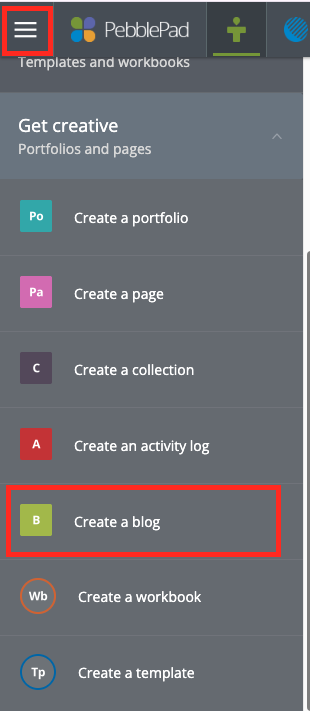
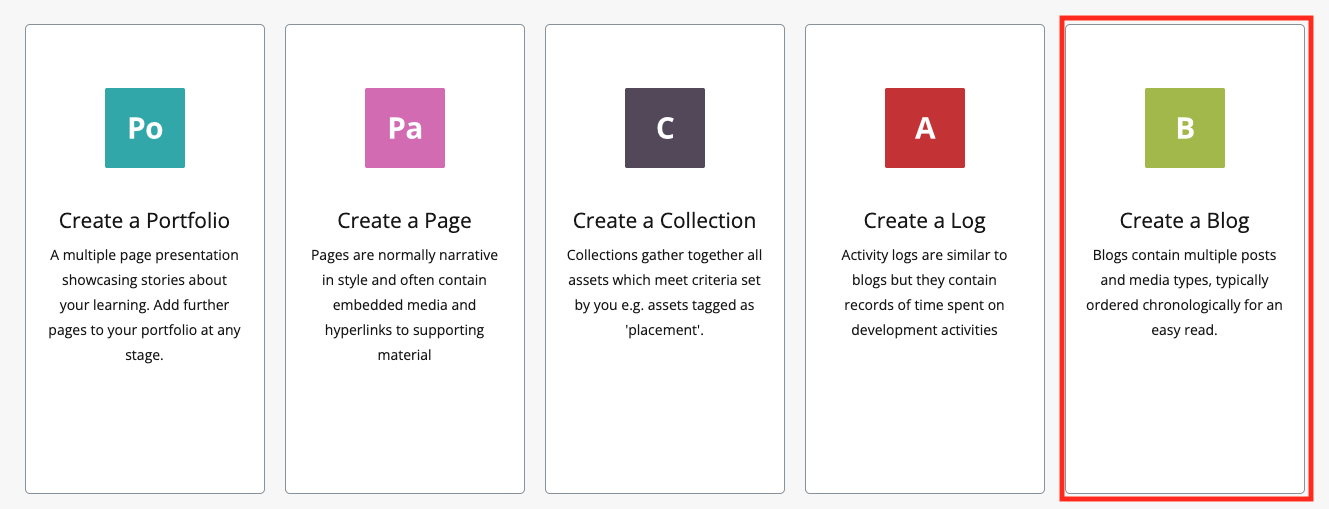
- Click the Create a Blog link in the Get Creative options.
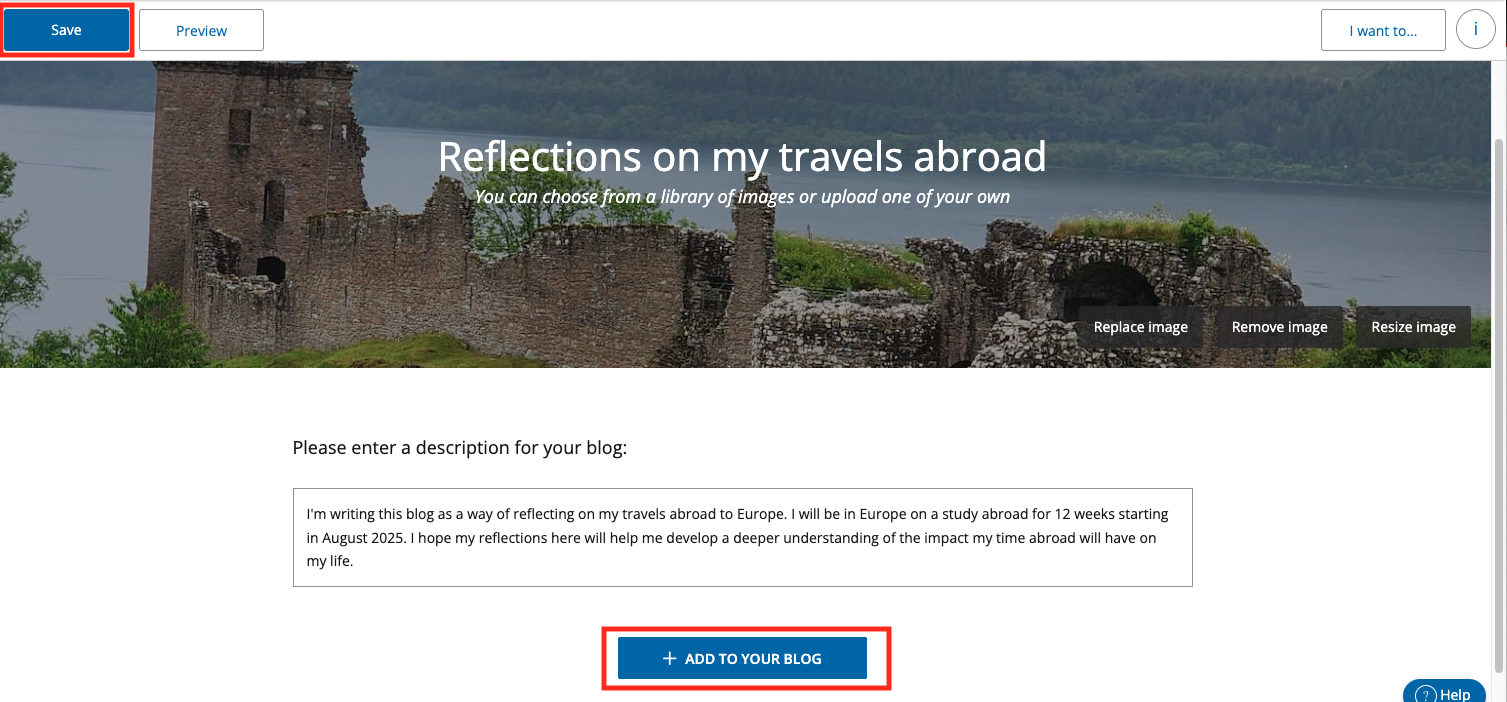
- Title your blog, change the image on the banner (optional), and enter a description.
- Save the blog.
- To add a post to your blog, click on the +Add to your Blog button.
- Select one of the three options below to add to your blog.
Add a Post
Add a Post allows you to create a new post from scratch.
- Click the Add a post option.

- Add a title to the new post.
- Add desired blocks and content using the +Add Content button on the top.

- Click the Save button.
- Click the Back to blog button to return to the main blog.

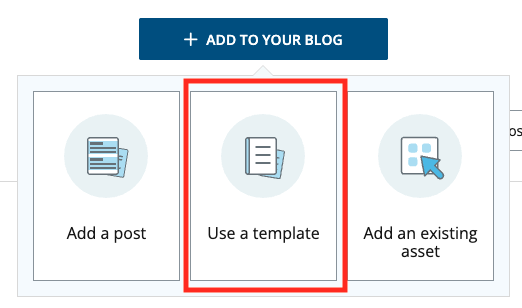
Use a Template
Use a template allows you to use a template (worksheet) that you have created or that lives in your Resource store. You can reuse the same template for multiple blogs or posts to create a uniform reflection experience.
- Click the Use a template tile.
- Select a template from the side panel, which lists all of the available templates from your Resource Store.
- Complete the template (worksheet).
- Click the Save button.
- Click the Back to blog button to return to the main blog.
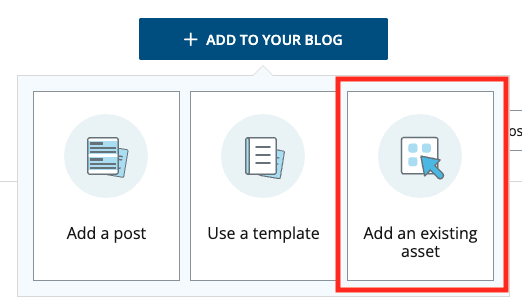
Add an existing asset
Add an existing asset allows you to add any asset that you have in your Asset store as part of your blog. Keep in mind that attaching assets does not create a new version of the asset; changes made will change the asset anywhere else that you are using it. Make a copy and add it to your blog if you want to customize an asset for your blog.
- Click on the Add an existing asset tile.
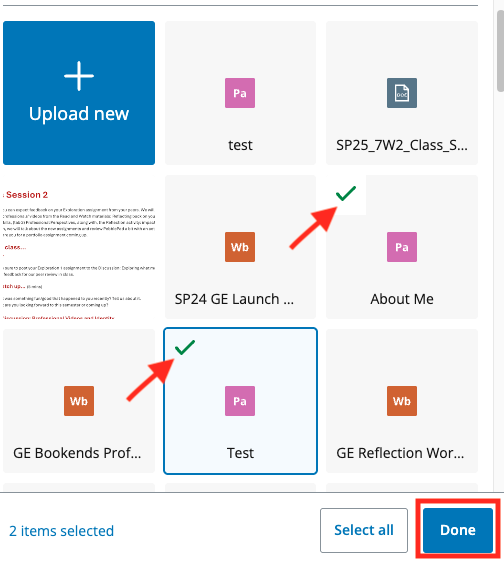
- Select the asset(s) that you want to add to your blog, or upload a new asset.
- Click Done. Assets will be added, and you will return to the main blog.
- On the main blog page, click the gear icon on the post to edit it, mark the post as private, or remove the post from the blog.

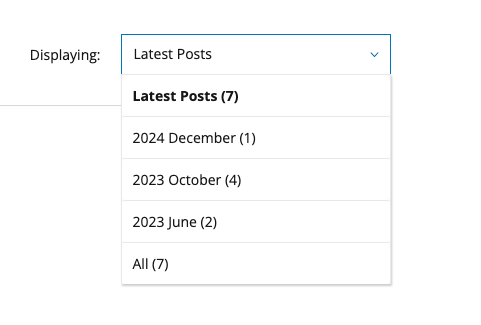
- The display options allow you to display the post that you want. Changing this setting does not impact the posts that people you share your blog with will see. They will be able to select which posts are displayed for their view using the display options as well.
- Share your blog, if desired.
At any time, you can click the Preview button at the top of the blog to see how it will appear once shared.