

You can upload your own recordings made using software other than the Mediasite.
Only one file can be uploaded at a time. Although users can select multiple files, only the last of the series will be successfully imported.
- Login to the My Mediasite portal.
Click Add Presentation on the left side of the page.
Image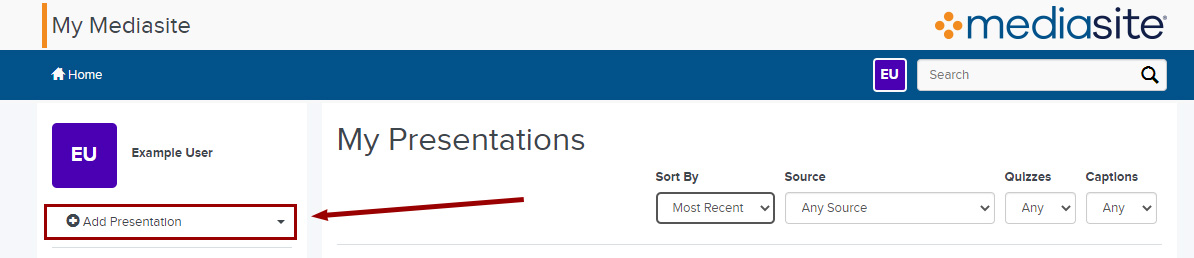
Select Browse Files.
Image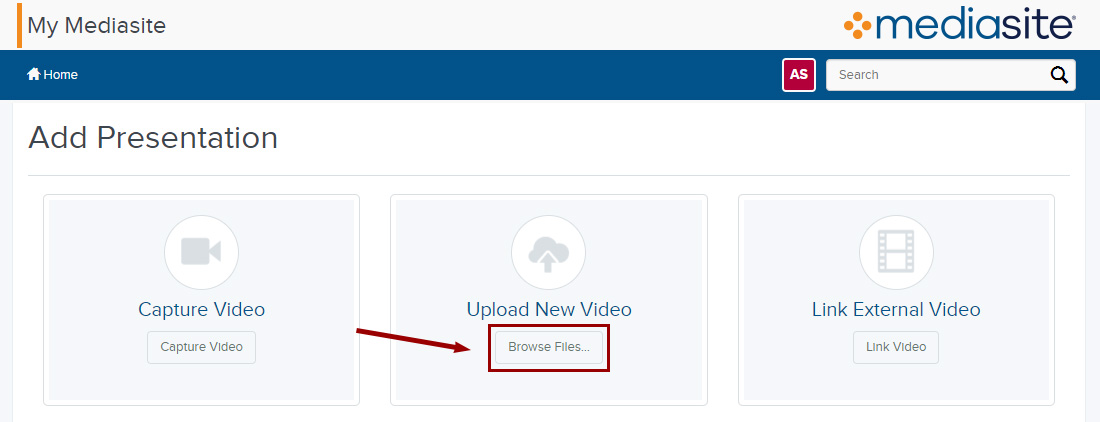
- Locate and choose the recording you would like to upload and click Open.
- Supported file types include: FLV, MP4, MP3, MOV, WMV and AVI.
- Provide the New Presentation Details by giving your video a Name and description. Then, select the destination by choosing the channel or shared folder where you wish to keep your recording. If you do not select a destination the presentation will by default appear in the My Drafts folder.
Click Create Presentation.
Image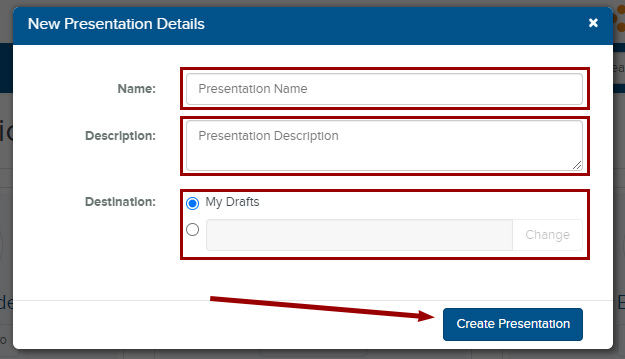
Your presentation will appear in your Mediasite portal. It will not be available for viewing until after it finishes processing and the OCR is complete.