Create a Channel
To create a channel, log in to your MyMediasite Portal.
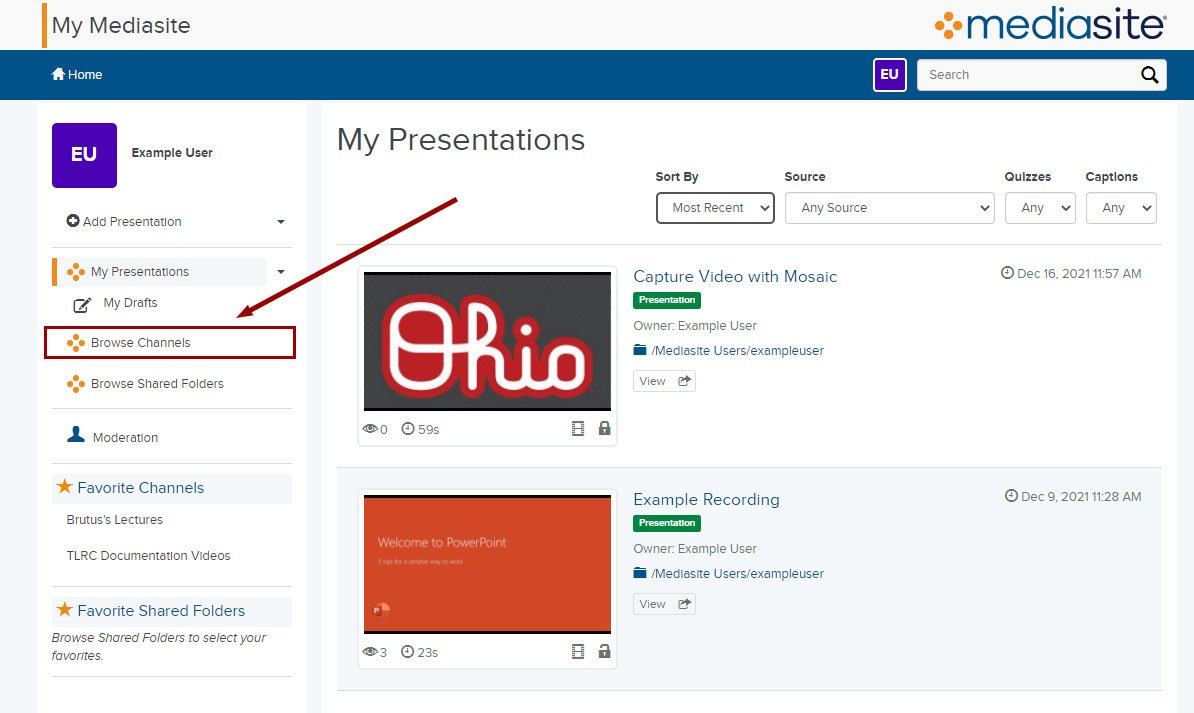
- Click on Browse Channels in the left navigation.
Image
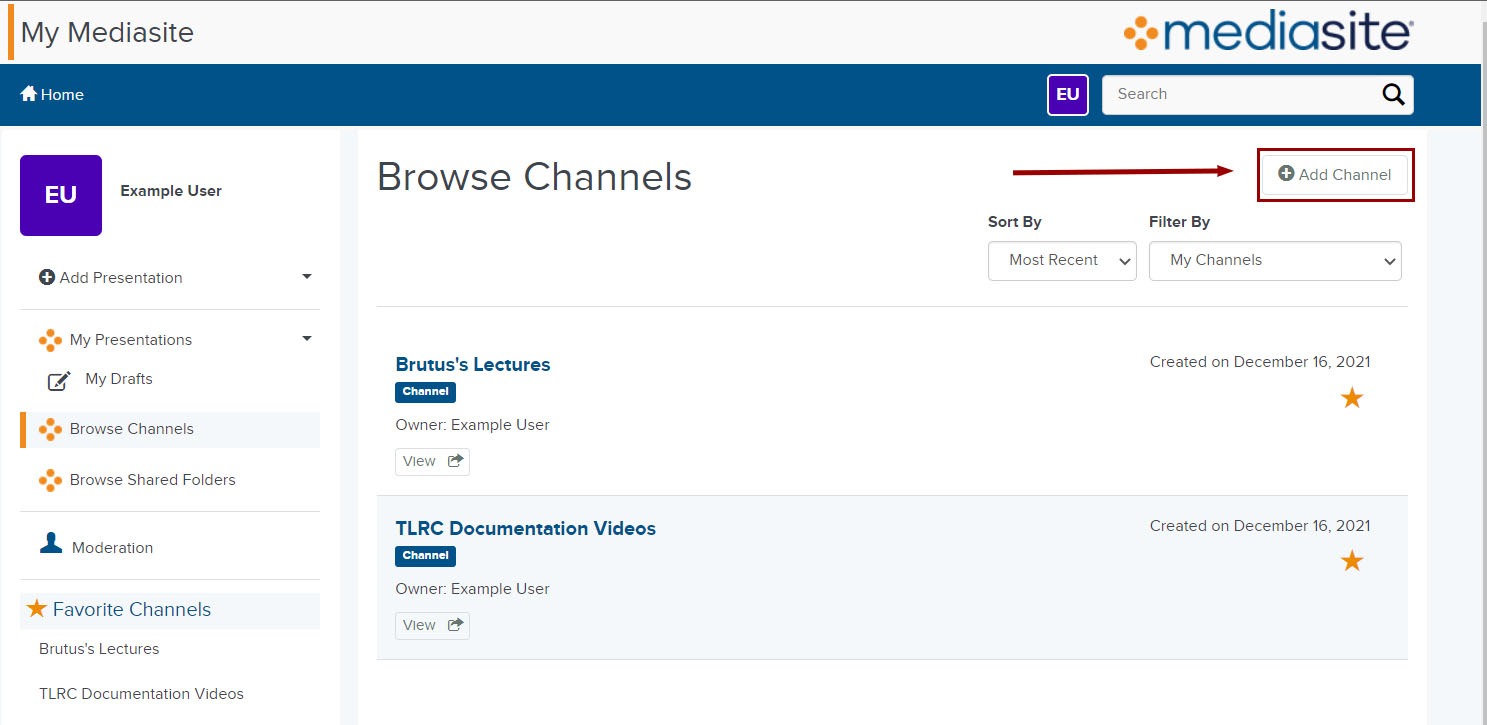
- Click on the Add Channel button in the upper-right corner of the window.
Image
- Enter a name for your channel. Be sure to give your channel a clear and specific name (e.g., Psych101_Section54897_AU14). You can also add a description for the channel. The Friendly Name will show up in the URL for the channel.
Image
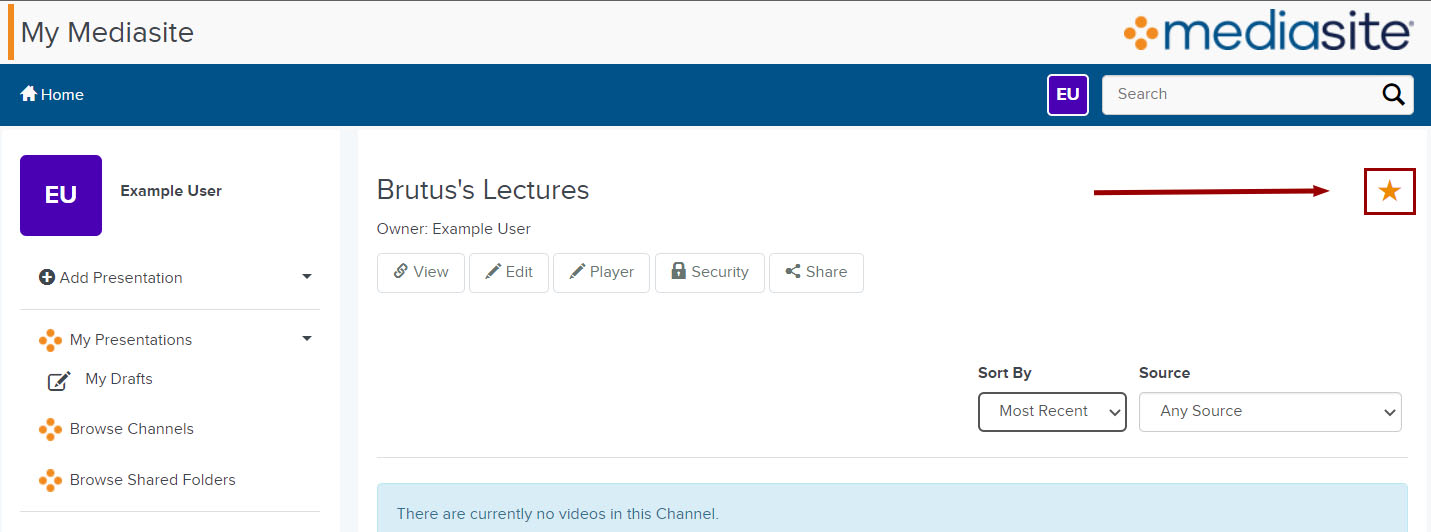
- Click the Create Channel button. Your Channel will appear, at which point you can start publishing presentations to it. You can also click the star in the upper-right corner to favorite the channel so it will show up in the left navigation menu for quicker access.
Image
Delete a Channel
You can delete a Channel at any time from its management page.
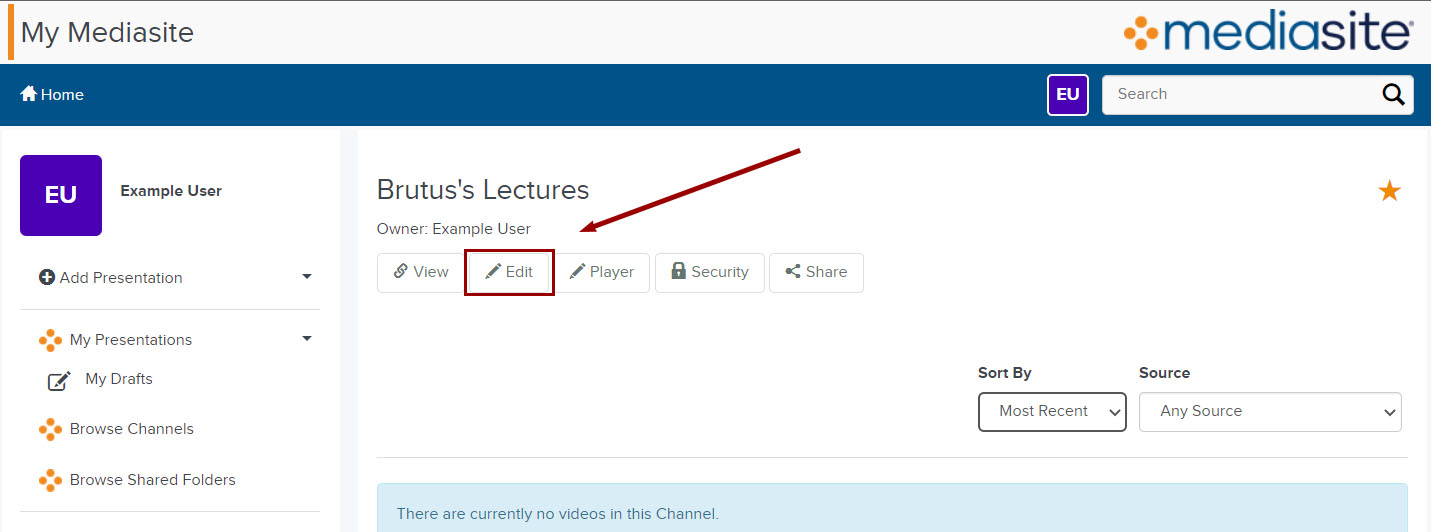
- Click on the Channel you want to delete, then click Edit.
Image
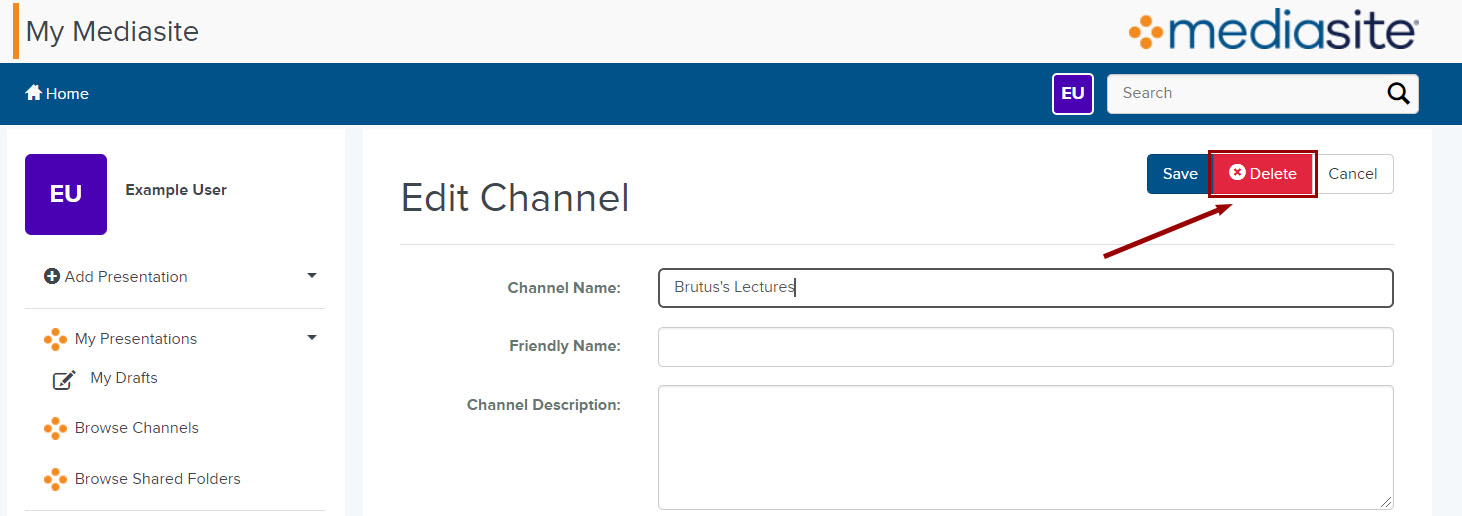
- Click on the Delete button in the upper-right corner of the page.
Image
- A window will appear asking you to confirm the deletion. Click Delete Channel to confirm.
Image
- A pop-up notification will appear on the bottom of the page confirming the deletion success.
Edit the Channel's Name & Description
Once you create a channel, you can edit its properties, view its contents, and publish presentations to it at any time.
- To access the channel you want to edit, click on Browse Channels in the left navigation and then use the Filter By menu to see all of the channels you own. Alternatively, you can click on any of your Favorite Channels that you own or manage.
Image

- Click on the Edit button under the channel's name.
Image

- On the page that appears you can change the name & description of the channel, as well as how it will appear to your audience.
Image
- Once you are done with your changes, click Save.
To let other people see your Channel, give them the URL of your Channel's viewing page. All those with an Ohio State lastname.# and password can view your Channel when they have your URL.

