Uses for Activity Logs
PebblePad Activity Logs allow you to track progress over time (hours spent or points earned) towards a particular activity, endeavor, or skill development related to coursework and learning.
For example, you could use an Activity Log to:
- track time spent engaging in a specific activity, such as hours spent in a lab, an internship, service in the community, or student teaching
- track time spent developing a specific skill, such as hours spent practicing a new language, instrument, or medical procedure
- track points earned toward attending specific on-campus or community events required by or related to your program of study
Any Asset can be added to an Activity Log as evidence of time spent or points earned. In addition, you can use the default template (worksheet) to detail the task and reflect on the learning that took place.
Like Collections, Activity Logs can be either static or dynamic.
- Static Activity Logs are those where you manually add to your log.
- Dynamic Activity Logs are those where you set up the log to aggregate Assets based on tags, Asset type, or the date that Assets are created.
Unless you share your Activity Log with others, it will remain private and no one besides you can view what you add to the log.
How can instructors use Activity Logs?
As an instructor, you can add an Activity Log placeholder page as part of a Workbook. When added to a Workbook, you can set the criteria (points or hours) students will work towards and what the expectations are for logging activities. Activity Logs created in or added to a Workbook will become visible to anyone that has access to that Workbook.
PebblePad Activity Logs can be a useful tool to provide your students opportunities to reflect on their learning and see their progress over time. Refer to Helping Students Write Across the Disciplines and High-Impact Practices: Enhancing the Student Experience for more information on developing reflective practices in your course.
Creating an Activity Log
- Log in to PebblePad via the login page or click the PebblePad link in your Carmen course navigation menu.
In the Get creative tile, click the Get started link.
Image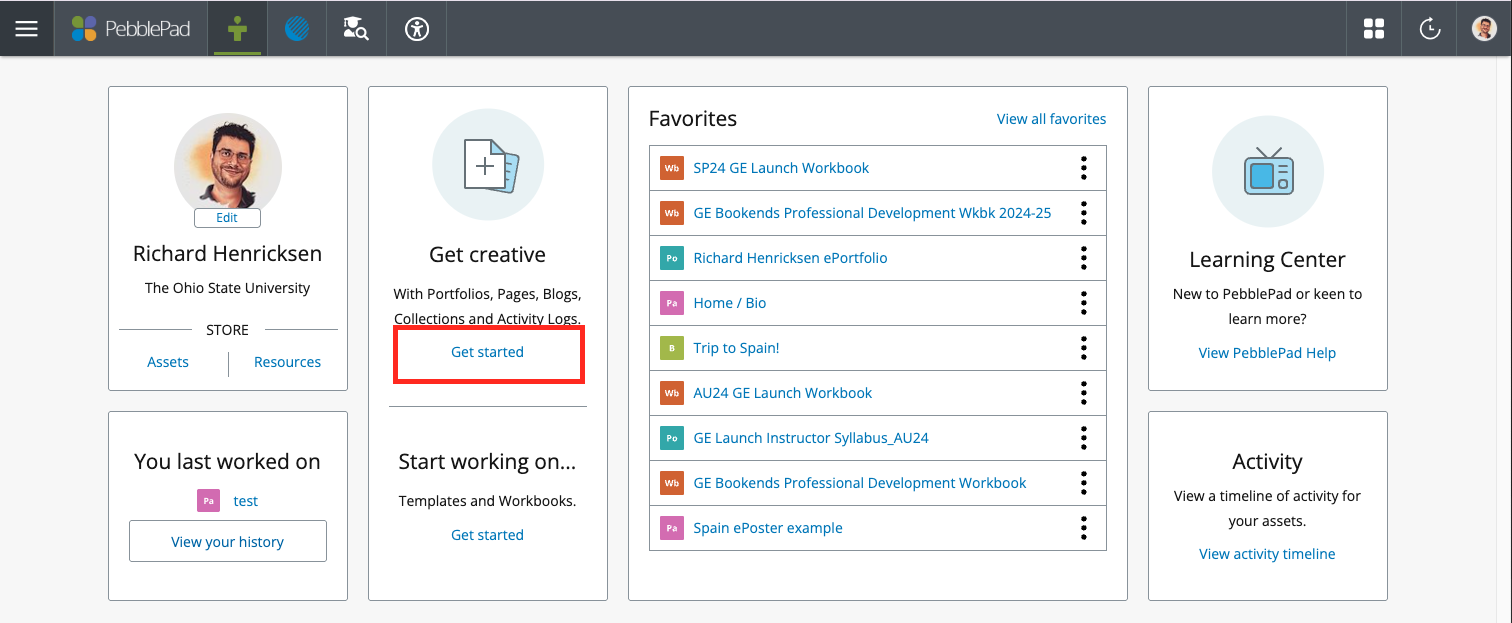
Or go to the Get Creative menu by clicking the burger menu icon on the top left.
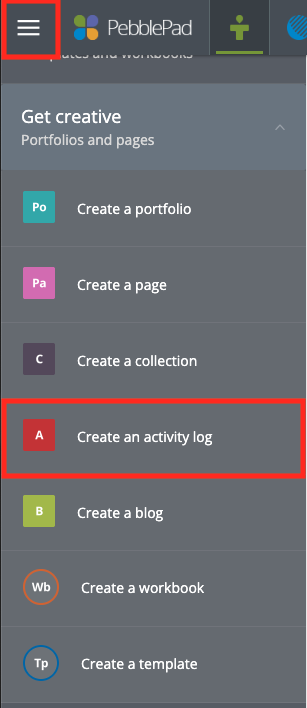
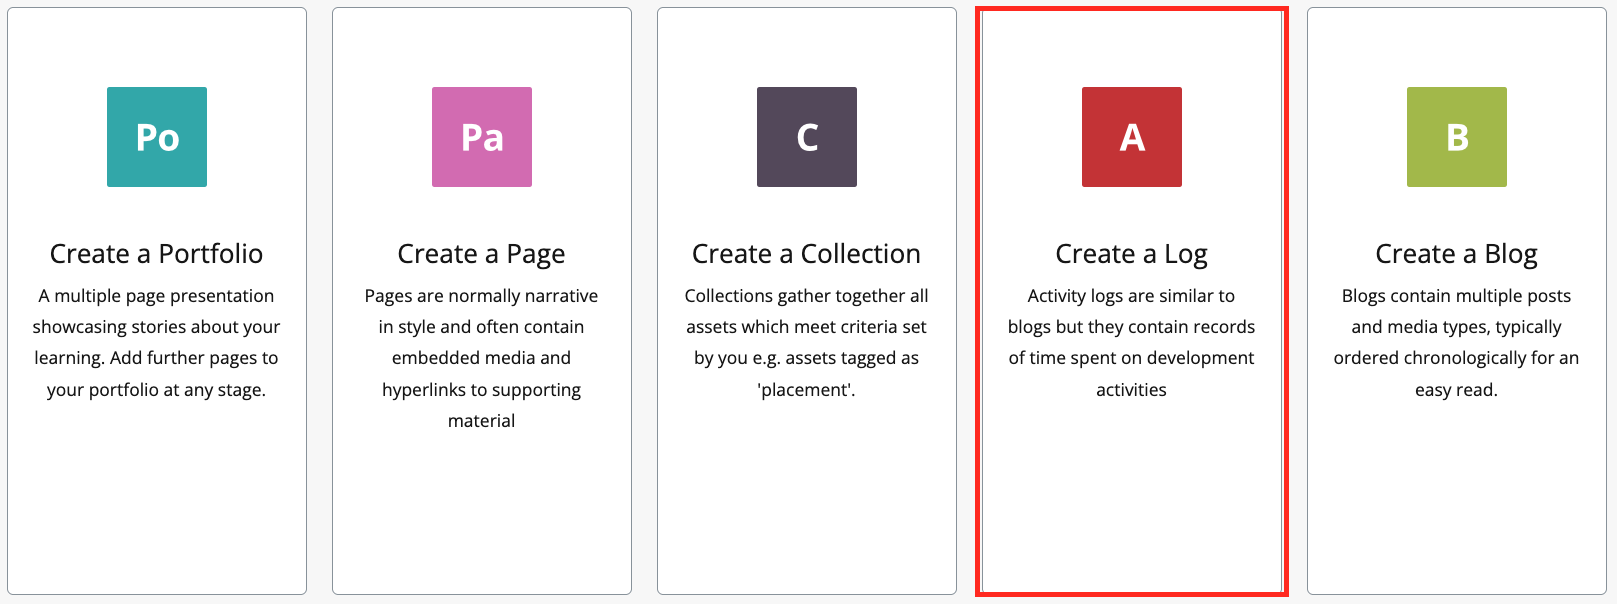
- Click the Create an activity log or Create a Log link in the Get Creative options.
- Title your Activity Log, change the image on the banner (optional), and enter a description.
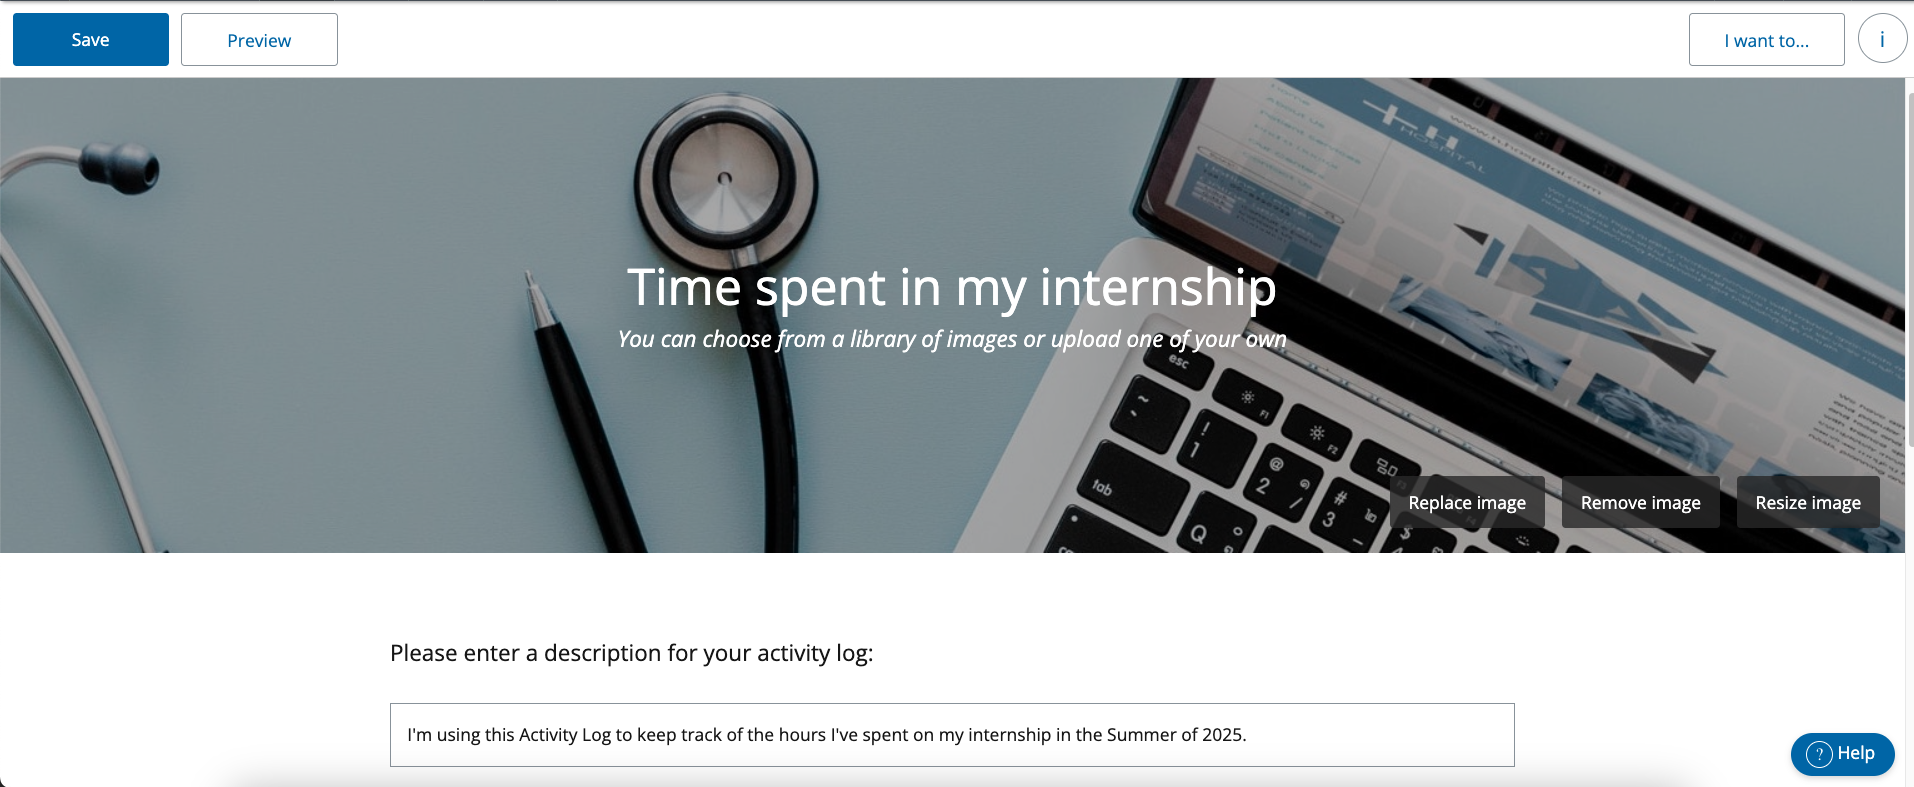
- Save the Activity Log.
- Select an option based on your activity and needs: Add target hours or Add target points.
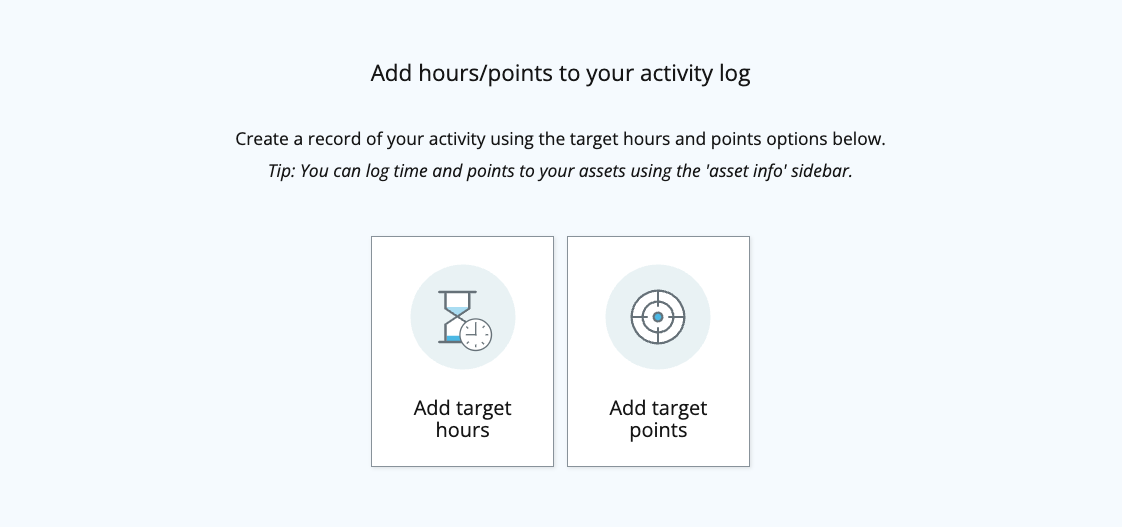
- Enter the target hours or points for the project or endeavor. Then click the checkmark to save.


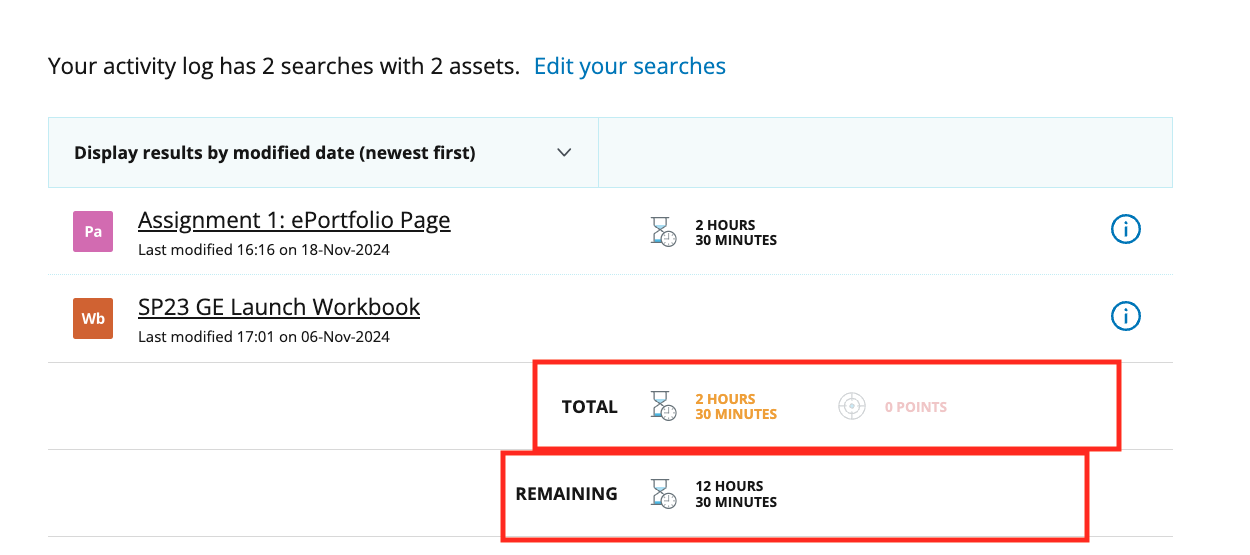
You will then see a running total of how many hours or points you have completed toward the target, and how many remain.
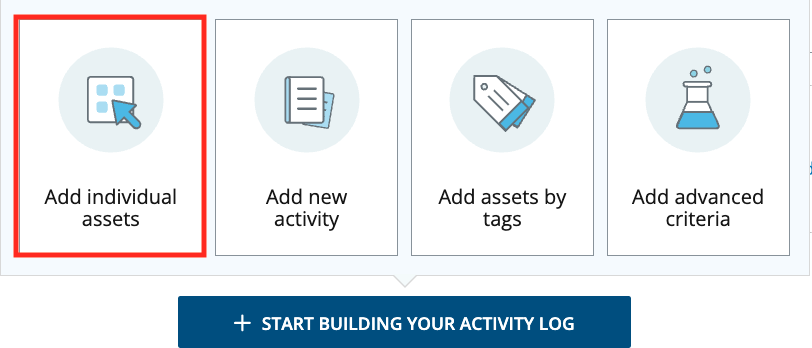
- To add to your Activity Log, click the + Start Building Your Activity Log button.

- Then select one of the four options to add to your Activity Log: Add individual assets, Add new activity, Add assets by tag, or Add advanced criteria. The nest steps for each of these options are outlined in the dropdowns below.
Add Individual Assets
This option allows you to add any Asset that you have in your Asset Store as part of your Activity Log. This creates a static Activity Log that requires you to manually add or remove Assets.
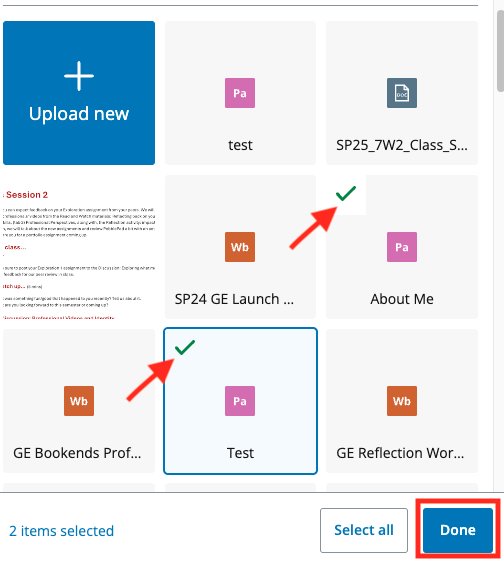
- Clic the Add individual assets tile.
- Select the Asset(s) you want to add to your Activity Log, or upload a new asset.
- Then click the Done button. The Assets will be added, and you will return to the Activity Log.
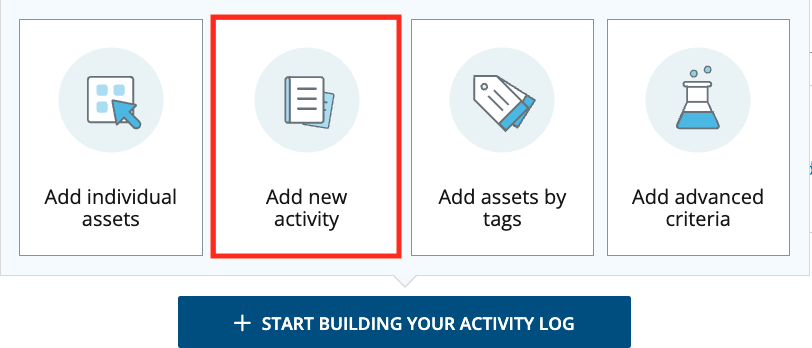
Add New Activity
This option allows you to use a default template (worksheet) to provide details of the activity or event and to reflect on what you learned or what skill you gained. This creates a static Activity Log that will requires you to manually add a new template (worksheet) for each new event or task.
- Click the Add new activity option.
- Add a title to the template (worksheet) and then complete it with details about the event or activity.
- Click Save to add it to your Activity Log.
- Click Back to activity log to return to the main log.

- Repeat this process for each new event or task you want to track.
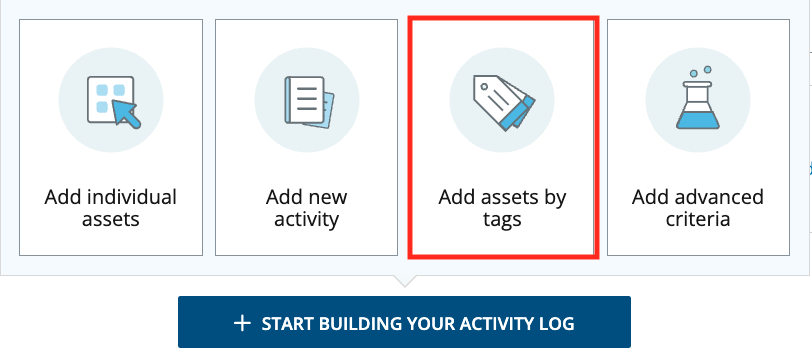
Add Assets by Tags
This option allows you to set tags as the criteria for which Assets will populate on your Activity Log. Setting this creates a dynamic Activity Log that will be updated anytime an Asset with the tags you select is added to the system.
Note that the system will add all Assets with your selected tags. If there are Assets with the criteria that you do not want to include in your log, you may need to use the Add individual assets option or adjust the tags on those specific assets.
- Click the Add assets by tags criteria option.
- Search for tags that you have already used or add new tags. You can add as many tags as you want.
- After making your selections and before confirming, scroll down to see which Assets will be added once the criteria is confirmed.
- Click Confirm when ready. The Assets will be added, and you will return to the main Activity Log.
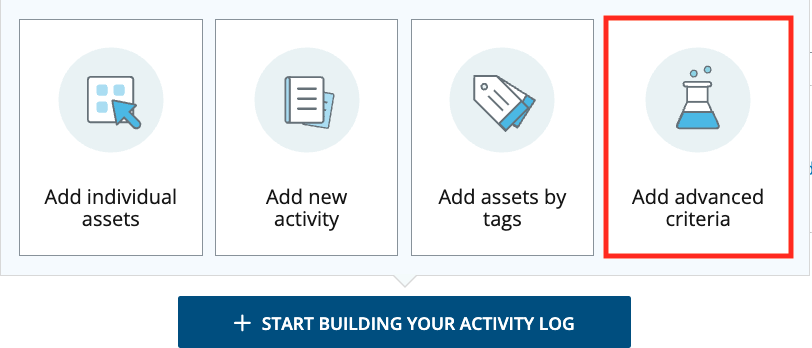
Add Advanced Criteria
This option allows you to set advanced search criteria for your Activity Log, including Asset type, creation date ranges, and tags. Setting this creates a dynamic Activity Log that will be updated anytime an Asset is added in the system that meets the search criteria you set.
Note that the system will add all Assets with the criteria you select. If there are Assets with this criteria that you do not want to include in your log, you may need to use the Add individual assets option or adjust the tags on those specific assets.
- Click the Add advanced criteria option.
- Select the criteria you want to set for automatically pulling Assets into your Activity Log. You can:
- Select by Asset type
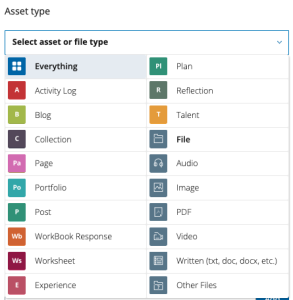
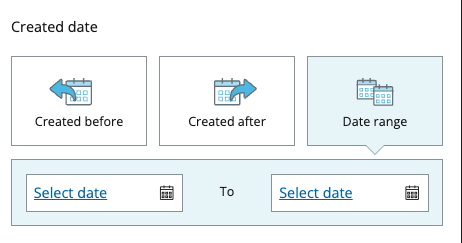
- Select by created date
- Select by tag (see Add assets by tags above for more details)
- After making your selection and before confirming, scroll down to see which Assets will be added once the criteria is confirmed.
- Click Confirm when ready. The Assets will be added, and you will return to the main Activity Log.
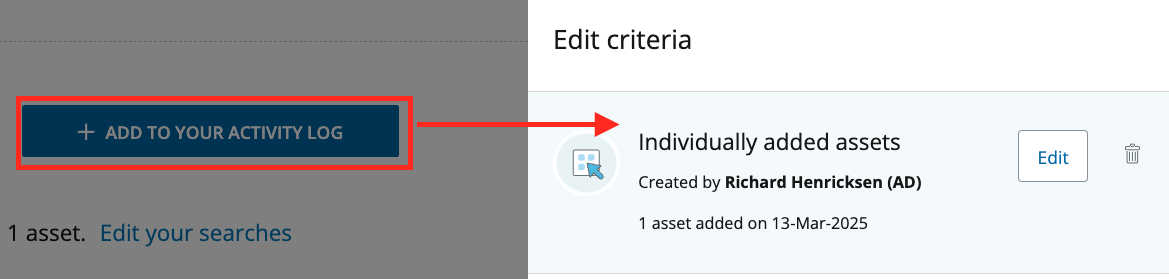
- You can add multiple search criteria for each Activity Log by clicking the +Add To Your Activity Log button and repeating the process as described above.
- To make changes to the Assets that appear in your Activity Log, click the Edit your searches link to change or remove search criteria.
- Share the Collection, if desired.
Adding Hours or Points to an Asset
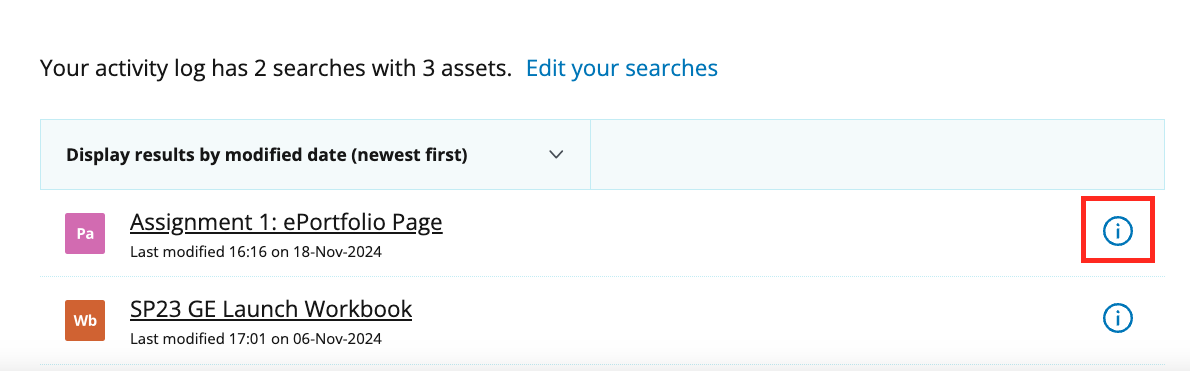
Once your Assets have been added to the Activity Log, you can add the hours spent or points earned on specific projects or endeavors. This can be done using the information button, or "circle-i icon," to the right of the Asset in the Activity Log, the Asset Store, or while working within the Asset.
- Click the circle-i icon.
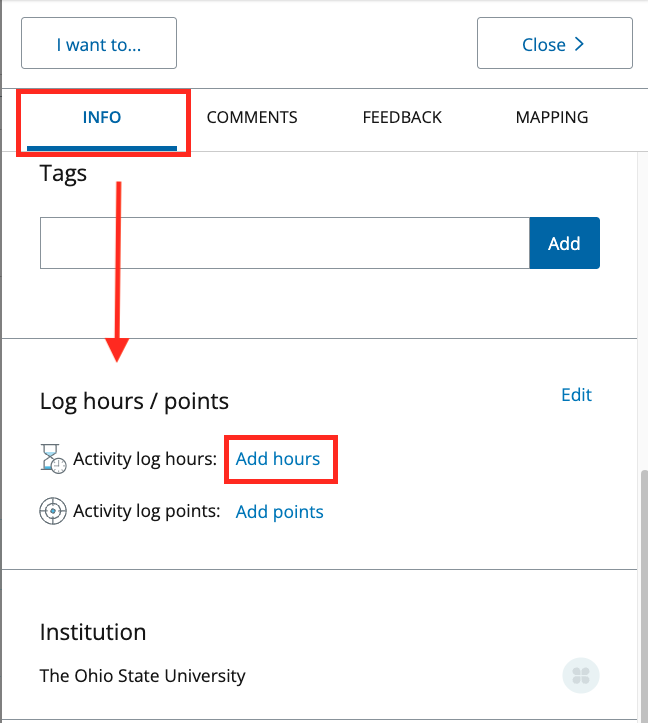
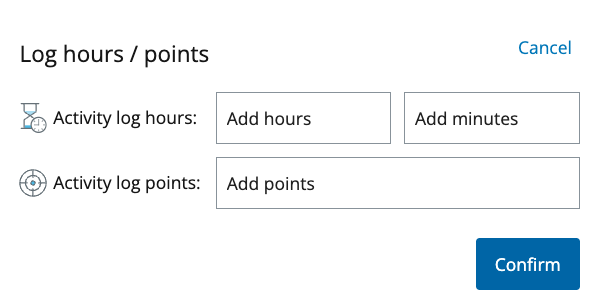
- On the Info tab, scroll down until you see Log hours / points.
- Click Add hours to add the hours spent on the project or endeavor, or select Add points to add the points earned.
- Enter the number of hours and minutes or points.
- Click Confirm.
- Return to the main Activity Log to see the total hours spent or points earned toward your target, and the remaining hours or points needed to meet your target.