

What is the due date for your Simple Syllabus?
The public facing components of your Simple Syllabus document must be published by the first day of the semester, starting with Autumn 2026. If you are teaching a course that starts later than the first day, the public components should still be published on the first day of the semester.
What courses need to use Simple Syllabus?
Courses numbered 5999.xx or below fall under SB 1’s syllabus mandate and therefore, must use Simple Syllabus. Independent study, thesis/dissertation, field placement, internship, study abroad, professional development courses, and so on must have a public syllabus if they are numbered 5999.xx or below, as SB 1 mandates that all undergraduate courses offered for credit must comply.
Courses numbered 6000 and above are not required to have public syllabi per SB 1, giving the instructors of those courses the choice to use Simple Syllabus if they wish.
How to edit your Simple Syllabus
The Simple Syllabus integration with Canvas allows you to edit the syllabus within your CarmenCanvas course, without the need to navigate to an outside system. If you prefer, you can work with your Simple Syllabus documents in the Simple Syllabus library. Regardless of where you edit your documents, only the content mandated by SB 1 to be public will be viewable by the public.
Open Simple Syllabus within Carmen
Navigate to your course and click on the Simple Syllabus tab in the course navigation bar. Unless it has already been moved, it will be located toward the bottom of the course navigation. Smaller screens and mobile devices may display buttons in different places.
Use Simple Syllabus outside of CarmenCanvas
Navigate to the Simple Syllabus platform. From your dashboard page, you will see cards displaying the courses for which you can manage syllabus documents. Click Edit to begin working on a document.
Editing your Simple Syllabus
This article is intended as a technical how-to guide for editing components in Simple Syllabus. For questions about SB 1 policy or departmental/college policies, please contact your academic unit. For technical help, please email syllabus@osu.edu.
- Formatting content: Material that is copy-pasted into Simple Syllabus will be stripped of most formatting. Use the rich content editor buttons at the top of each content box to format your text. Content is auto-saved as you work.
- Removing a component from student view: Except where called out below, leaving a component blank will remove it from the student view. If you have content in a component that you want to save for a future term but not display this term, toggle off the Visible setting in the top left to hide the content from students.
- Customized templates: Your college, department, or unit may have opted for a customized Simple Syllabus template. If so, you may see additional components on your syllabus template and some components may be pre-populated by your unit.
- Graduate courses: Instructors teaching graduate courses who choose to use Simple Syllabus may see slightly different names on the components. None of the content in Simple Syllabus documents for graduate courses (courses 6000-level or higher) will be public.
- Guidance components: The first component you will see is called Guidance on Simple Syllabus and will have a pink background. Guidance components (always with a pink background) provide helpful context about policies or technical tips about managing content in the following component. Guidance components are not visible to students or the public.
- Helpful Hints: On the right side of each component is a Helpful Hint message about how to complete the component. Depending on your screen size, you may need to click the red rectangle to expand the Helpful Hint. To see all Helpful Hints without expanding each one, zoom out on your screen. If you’re editing Simple Syllabus from within Carmen, you can collapse the course navigation bar by clicking the three-line hamburger button, which often gives your screen enough room to expand the Helpful Hints.
Public-Facing Components
Click on the accordions below to view instructions for completing each public-facing Simple Syllabus component.
For undergraduate courses (numbered 5999 and below), these components will be visible to people enrolled in the course and to the public from the Simple Syllabus Library. For graduate courses (numbered 6000 and above) these components will be visible only to people enrolled in the course.
Course Title
The first bit of content that you will see is the course subject and number, course title, and term/year. This content is pre-populated from the Registrar’s system and is not editable. The title details you see here should match the title details for the course in CarmenCanvas.

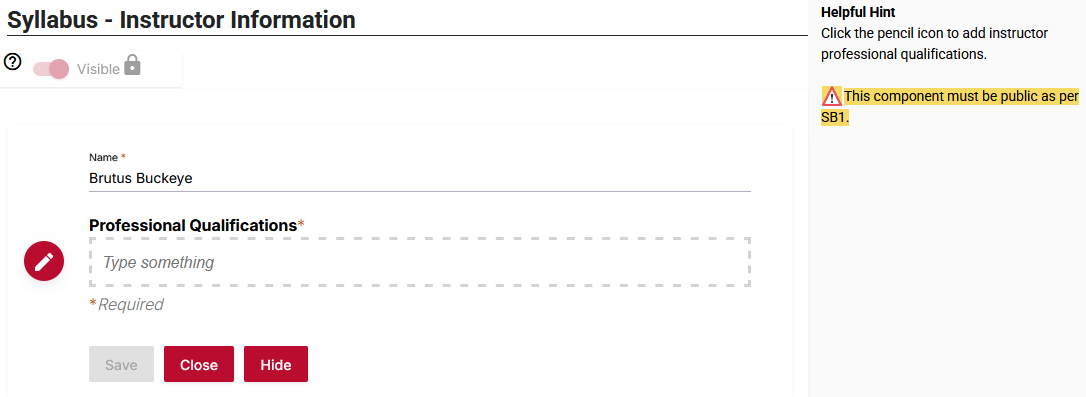
Syllabus - Instructor Information
The Syllabus - Instructor Information component will pre-populate information from the Registrar's system. An instructor (primary or secondary) with the Print box checked will appear in this component. An instructor with the print box not checked will still have editing access but their name will not be listed in this component.
Your preferred name will be pulled from the Registrar's system. You must add your professional qualifications. The Guidance on Instructor Information area (pink background) shares policy information and examples of how to list your professional qualifications. Click the pencil icon to add instructor professional qualifications or to edit your name, then click Save.
- Instructors with earned hours in a graduate discipline, or instructors still in progress of a degree (such as graduate students), can list that in the Professional Qualifications box.
- Teaching assistants and additional instructors: The “Add new instructor” box can be used but will be listed publicly if included in this component. Teaching assistants and other instructional staff can be listed in a later component called Course Details - Additional Instructional Staff.
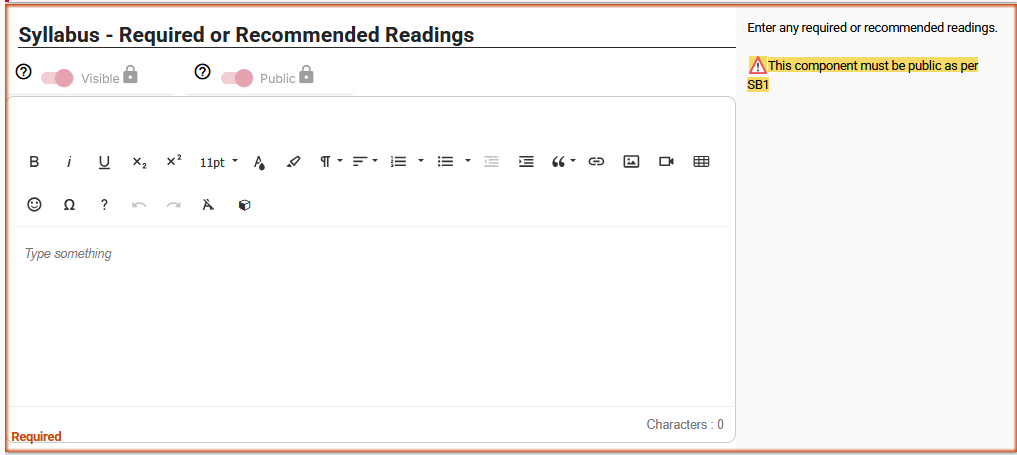
Syllabus - Required or Recommended Readings
The Syllabus - Required or Recommended Readings component is where you will enter any required or recommended readings. The Guidance on Required or Recommended Readings area (pink background) shares policy information.
- This list can be updated over the course of the semester as needed. If you add readings after the start of the semester, you can return here and add them.
- You do not need to hyperlink to actual readings; listing DOIs is sufficient. If you wish, you can use your preferred citation style (APA, MLA, Chicago, etc.)
- If your course does not use published reading material, use the open text field box to state "No Required Course Readings."
You should NOT include a reading schedule, or podcasts, videos, fictional case studies, exam readings, etc. in this location. Use the later component Course Details - Detailed Course Schedule for that.
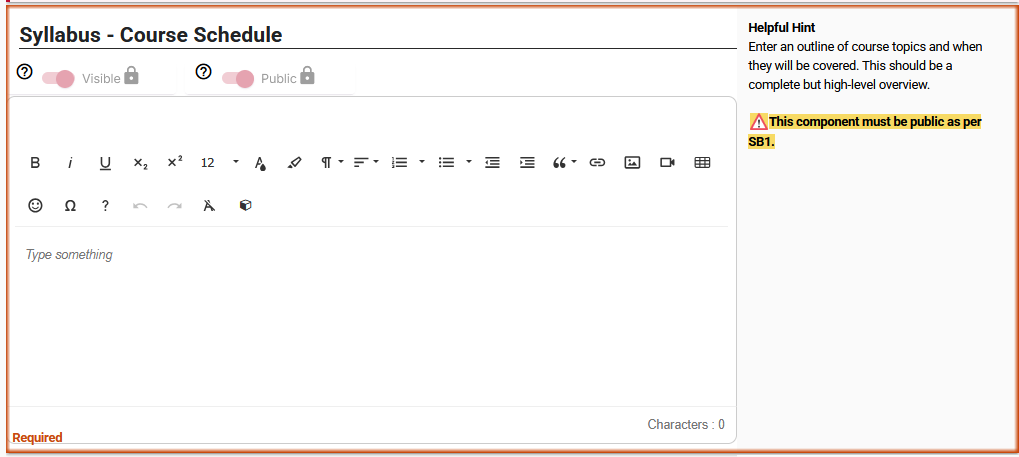
Syllabus - Course Schedule
The Syllabus - Course Schedule component is where you will enter an outline of course topics and when they will be covered. This should be a complete but high-level overview. The Guidance on Public-Facing Course Schedule area (pink background) shares policy information and examples.
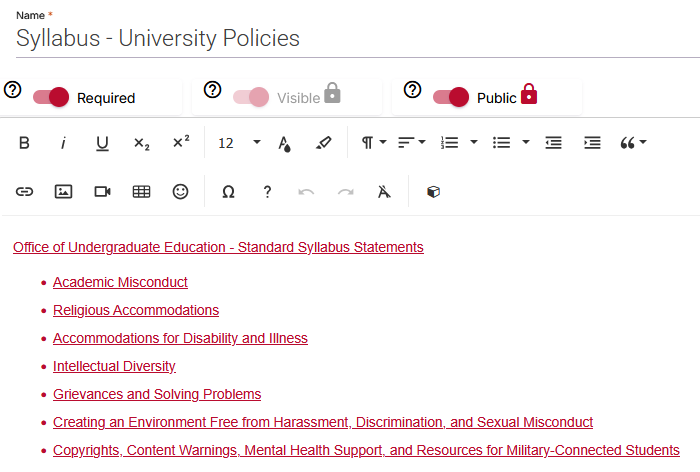
Syllabus - University Policies
The Syllabus - University Policies component is public-facing and cannot be edited. No action is needed in this component. This component is located at the end of the template but mentioned here since it is public facing.
Next steps
Once you’ve completed all three public-facing components, you can choose to complete any of the non-public components (see below) or to submit your syllabus after doing an accessibility check. Scroll down in this article to see information on the accessibility check and submitting your syllabus.
NOT Public-Facing Components
The following components are listed as “Private” which means they are NOT visible to the public. They are intended for the students enrolled in the course. Click on the accordions below to view instructions for completing each Course Details Simple Syllabus component. Click in each text box to begin typing or pasting in your content.
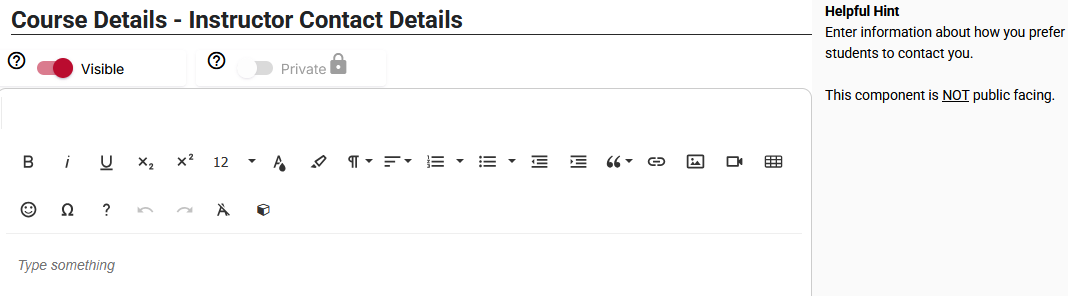
Course Details - Instructor Contact Details
Enter information about how you prefer students to contact you.
Course Details - Office Hours
Enter information about your office hours.

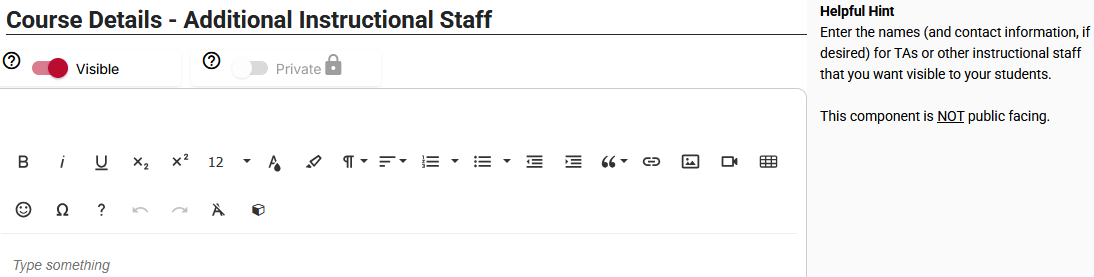
Course Details - Additional Instructional Staff
Enter the names (and contact information, if desired) for teaching assistants or other instructional staff that you want visible to your students.
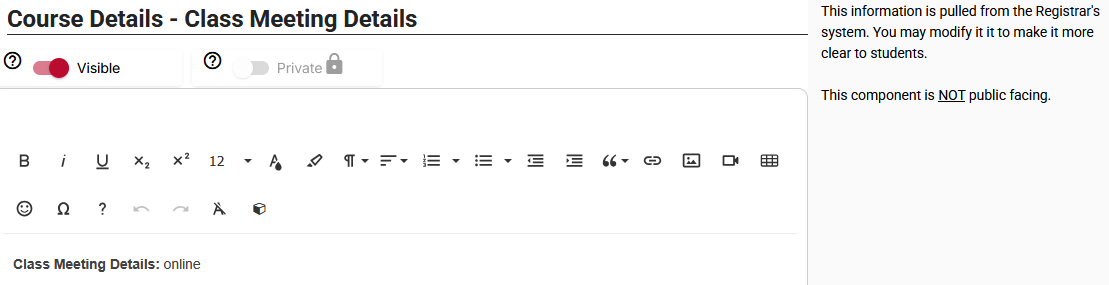
Course Details - Class Meeting Details
This information is pulled from the Registrar's system. You may modify it to make it more clear to students. The example below shows the word “online” as pre-populating from the Registrar’s office. We recommend keeping the phrase “Class Meeting Details:” and make any edits or additions after that point.
Course Details - Course Description
This information is pulled from the Registrar's system and cannot be edited. In the example below, the full text of the Registrar’s course description will prepopulate in the first line where it currently says “2nd GenEd Bookends.” Any prerequisites, corequisites, or concurrent courses will display in the second line, replacing the number “1201” in the example below.
- This component cannot be edited.
- If there is incorrect information in this component, please contact your Department Scheduler or the Registrar’s office.
- If you wish to add more descriptive information about your course, consider doing so in the Course Details - More About This Course component.

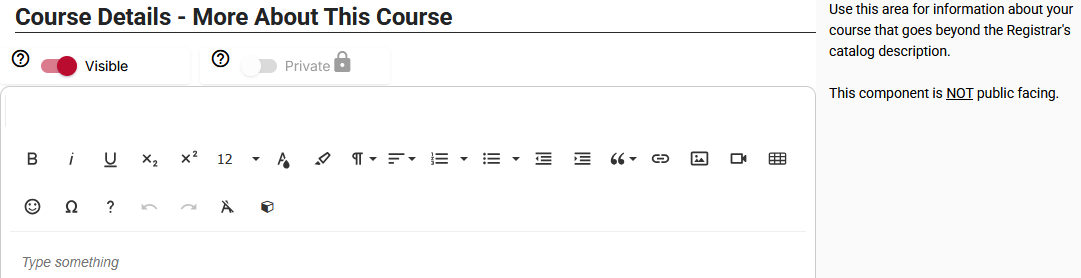
Course Details - More About This Course
Use this area for information about your course that goes beyond the Registrar's catalog description, or any other content you wish to include.
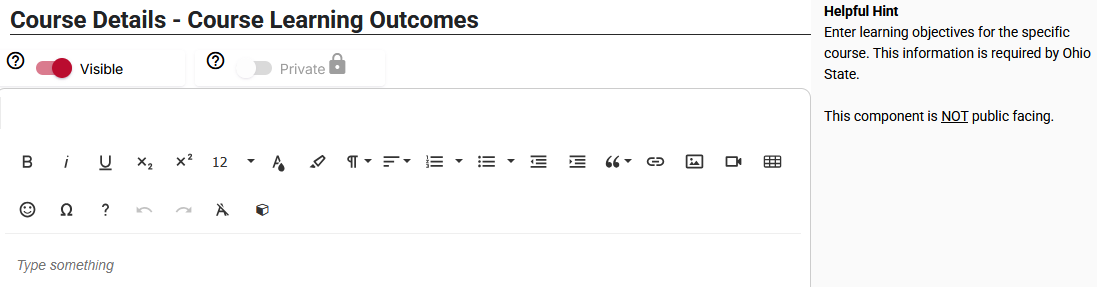
Course Details - Course Learning Outcomes
Enter learning objectives for the specific course.
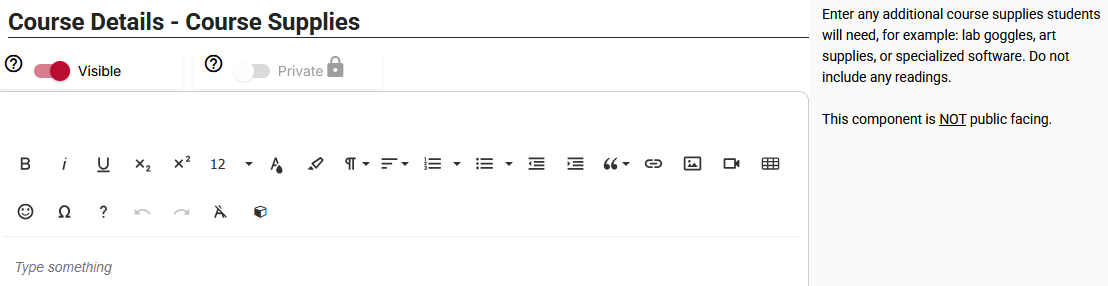
Course Details - Course Supplies
Enter any additional course supplies students will need, for example: lab goggles, art supplies, calculators, sports equipment, cooking ingredients, uniforms/scrubs, films, online videos, podcasts, or specialized software. Do not include any readings.
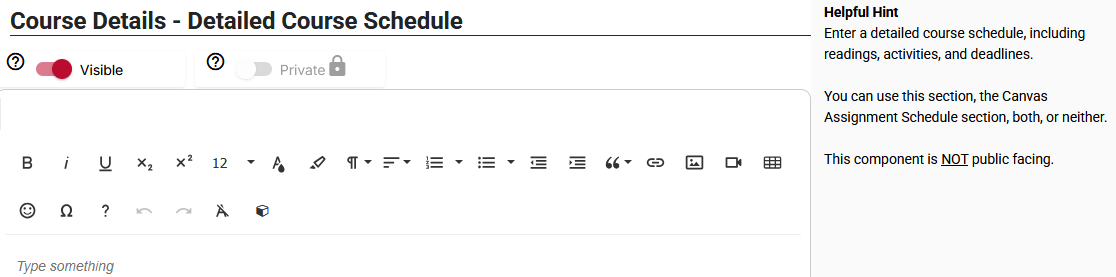
Course Details - Detailed Course Schedule
Enter a detailed course schedule, including readings, activities, and deadlines. You can use this component, the Course Details - Canvas Assignment Schedule component, both, or neither.
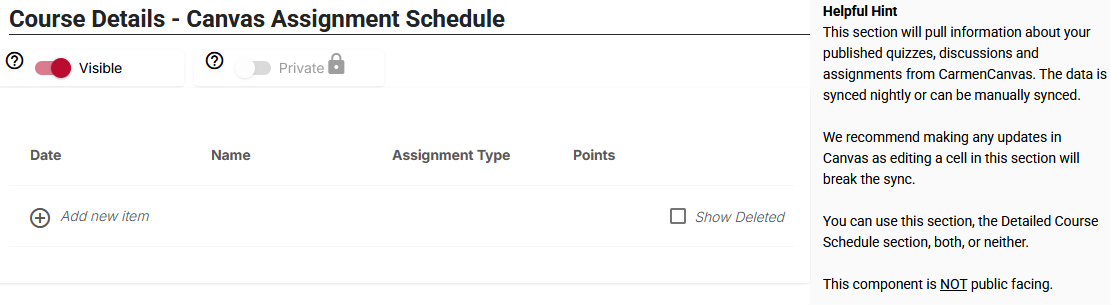
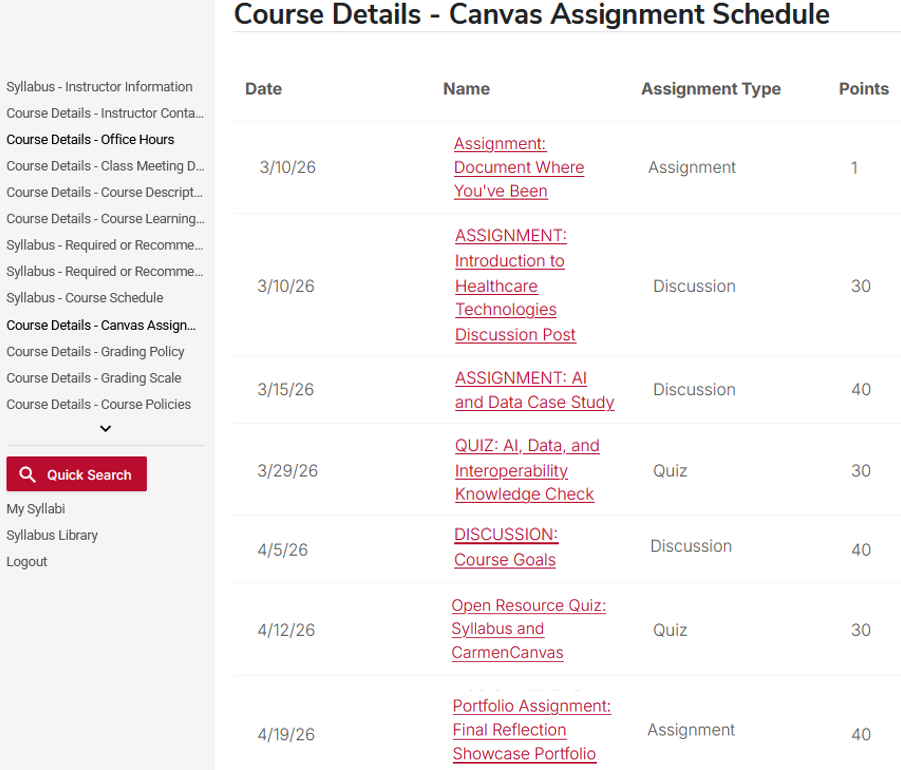
Course Details - Canvas Assignment Schedule
This component will pull information about your published quizzes, discussions and assignments from CarmenCanvas. The data is synced daily or can be manually synced using the Reset function. Changes made to assignments in Carmen will update in Simple Syllabus after the next daily sync. If you make changes to the Simple Syllabus component (such as editing the name of an assignment or adding a new assignment), those changes will not reflect in Carmen and the sync between Carmen and Simple Syllabus will be broken for this component. You can fix the connection by resetting the Simple Syllabus component.
Only assignments that are assigned to all students will sync. If an assignment is targeted to specific students, this will prevent it from appearing in the schedule component.
Unpublished assignments will not sync to the schedule, so if your Carmen assignment is not listed in Simple Syllabus, check that the assignment is published in Carmen and that it is assigned to everyone.
Below is an example of how this component looks when it is synced with CarmenCanvas assignments in the Preview view.
Resetting this component: To remove manual edits, you can reset the schedule component. This will remove any manual changes, including the reordering of assignments, and restore each cell's connection to CarmenCanvas. Upon clicking Reset, you will be able to select the schedule component from the list of editable components provided, then click Next. This action cannot be undone once confirmed.


Course Details - Grading Policy
Enter the grading policy for this course, including details about how grades will be calculated. Include information about your late policy or other factors that impact final score.

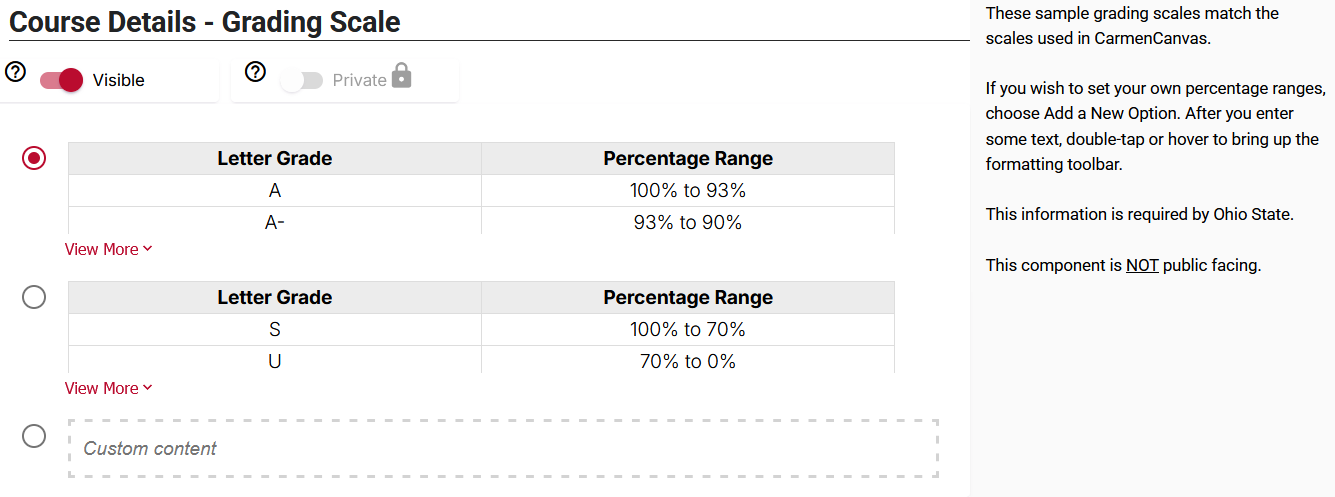
Course Details - Grading Scale
This component is to communicate your course’s grading scale. The sample grading scale provided in Simple Syllabus matches the default scale used in CarmenCanvas. The sample scale provided is not editable.
There are two options for completing this component:
- Choose the grading scale that matches the grading basis for your course by clicking the radio button on the left.
- Use the “Custom content” box to enter your department/college’s grading scale. To set custom percentage ranges, click in the dotted gray text box that says “Custom content” and start typing or paste your content. Double-click the text or hover your mouse over the text you entered to see the formatting toolbar.
Information about creating accessible tables in Simple Syllabus coming soon.
Because this component has built-in content, it will display the default sample grading scale when in student view. To remove this component from student view, toggle off the “Visible” setting in the top left to hide the content from student view.
Reminder: Ohio State does not have a university-wide grading scale (per Faculty Rules, section 3335-8-21 “Marks”), though your department or college may have one. Additionally, Ohio State’s A-E scale described in the Faculty Rules does not contain a letter grade of "D-". The university’s official A-E scale is: "A," "A-," "B+," "B," "B-," "C+," "C," "C-," "D+," "D," "E."
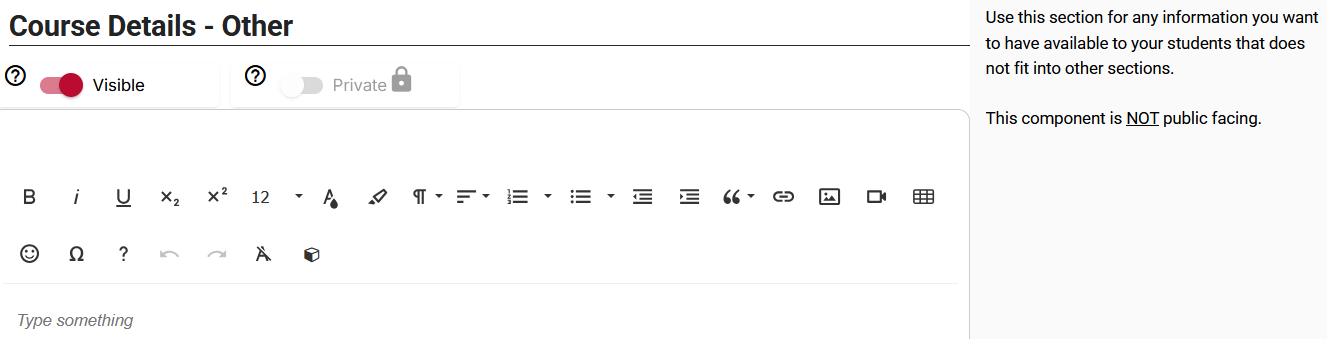
Course Details - Other
Use this component for any information you want to have available to your students that does not fit into other components.
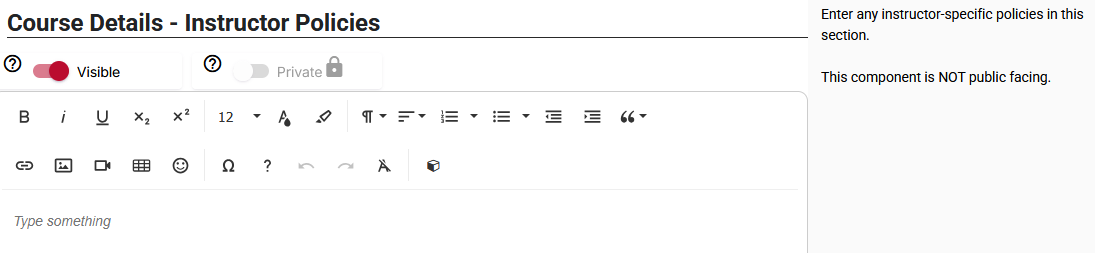
Course Details - Instructor Policies
The component relates to policies you may expect your students to follow. You may wish to review and include relevant optional syllabus statements provided by the Office of Undergraduate Education. If many people teach the same course and thus have the same course polices, this area is for policies that are unique to you.
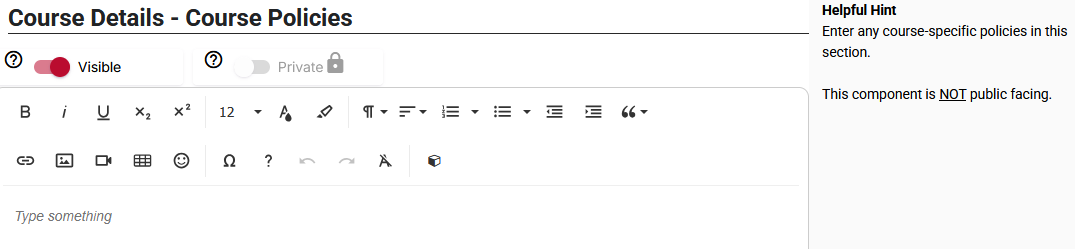
Course Details - Course Policies
The component relates to policies you may expect your students to follow. You may wish to review and include relevant optional syllabus statements provided by the Office of Undergraduate Education. If many people teach the same course and thus have the same course policies, this area may be prepopulated.
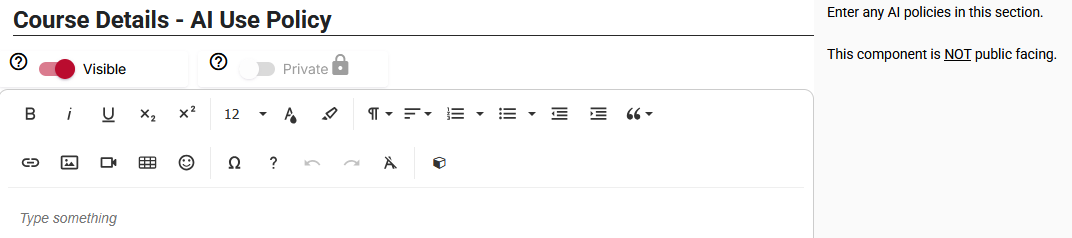
Course Details - AI Use Policy
AI policy statements help you clearly communicate how much and what kind of AI use is permitted in your course. Because permissions regarding AI can vary from course to course or even assignment to assignment, a thorough and transparent AI policy can better ensure students understand and abide by your academic integrity expectations. You have two options for completing this component:
Option 1: Choose and modify one of the AI statements provided in the Guidance on AI Use Policy area (pink background). These statements provide starting points for crafting your AI policy. They address common uses of AI in educational settings that may apply to your course. Copy and paste the text that is closest to your policy into the text box, then adjust the language to fit your course context.
Option 2: Write your own statement.
If none of the provided statements meet your needs, you can author your own following the guidance in the Guidance on AI Use Policy area (pink background).
More Resources
For further guidance drafting your AI policy and examples of finished statements, see Developing Your AI Course Policy in the Teaching and Learning Resource Center. The following articles also offer assistance in thinking through your approach to AI.
Accessibility check
Simple Syllabus includes a dedicated accessibility checker. Locate the red icon with the white outline of a person in the bottom right corner of the screen. If there is a black circle with a number next to the red icon, that is the number of accessibility issues that need corrected before you can submit the syllabus. Click the red icon to be guided through fixing the accessibility issues.

When the black circle with a number disappears and only the red circle icon remains, no accessibility issues were detected, and you can now submit the syllabus.

Submitting your syllabus
To submit your Simple Syllabus, click the red Submit button (bottom left) and wait for the confetti to appear in the bottom corners of the screen. If the Submit button is grayed out and not clickable, check for:
- Missing information: Ensure that any components outlined in orange (required components) have content listed, such as the instructor’s professional qualifications.
- Accessibility issues: Click the red accessibility icon in the bottom right corner to review any accessibility issues. Resolve those issues, then submit your syllabus.
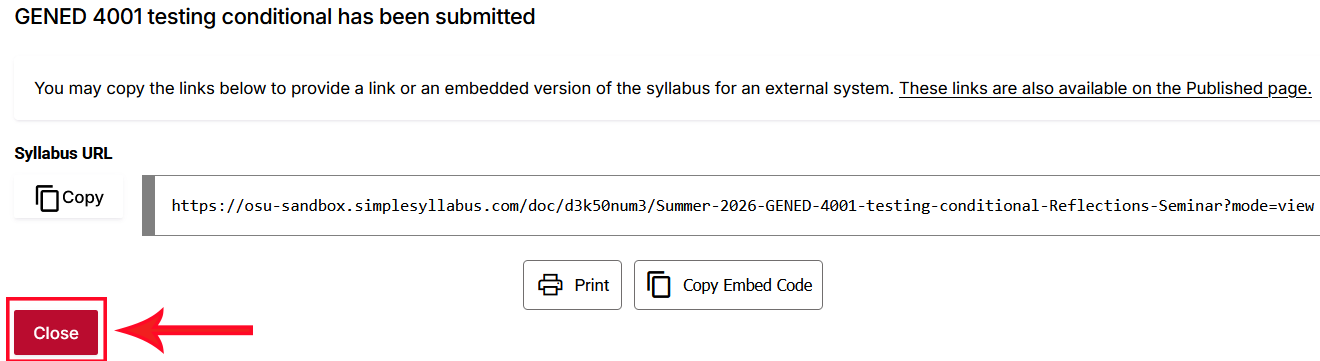
Once you click Submit and see the confetti, a pop-up box will appear stating that your syllabus has been submitted. No action is required in that pop-up box or with any of those links; simply click the red Close button on the left.
Leave without submitting your syllabus
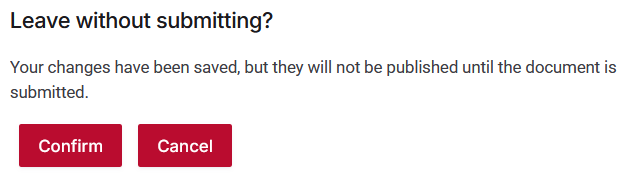
If you need to return later to finish your syllabus and are not ready to submit it, click the red Close button at the bottom left. You will see a pop-up box asking you if you want to leave without submitting: “Your changes have been saved, but they will not be published until the document is submitted.”
Preview your syllabus (student view)
To see your syllabus from a student view, click the red Preview button at the bottom of your syllabus. This will open a new browser tab and show you the syllabus from a student perspective.