

Tables are useful for communicating relationships between data, especially when those relationships can be best expressed in a matrix of rows and columns. Tables should not be used to control layout. If your data is best presented in a table, try to keep the table simple. If the table is complex, consider dividing it into multiple smaller tables with a heading above each. A key to making data tables accessible to screen reader users is to clearly identify column and row headers. Use the CarmenCanvas Rich Content Editor (RCE)'s built-in Table functionality to format tables accessibly.
Create a table
Tables should have captions and headings to assist screen readers in reading the data correctly.
To create a table:
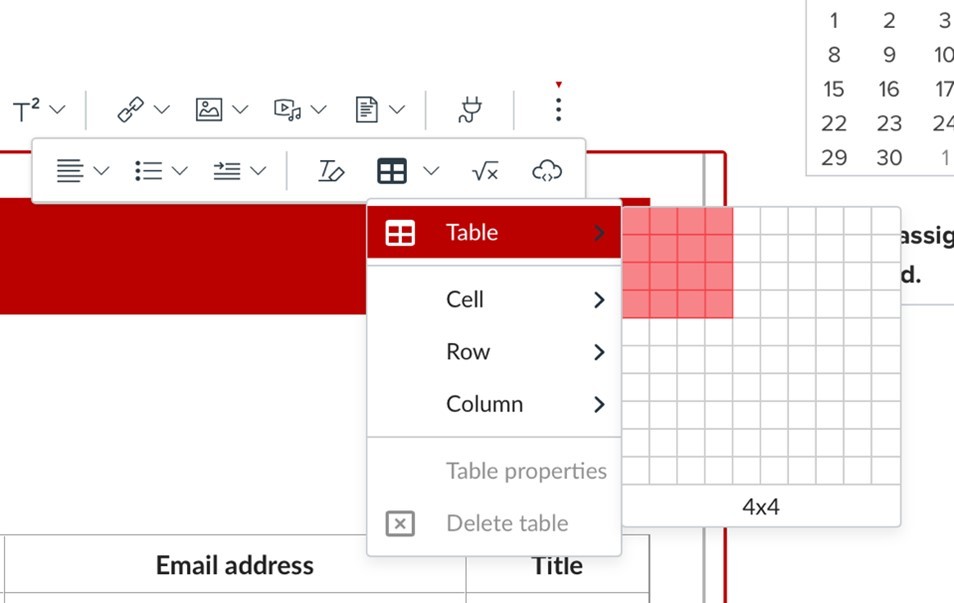
Click the three-dot icon

on the formatting toolbar to show more options.
Click the table icon

to open its menu.
- Click Table to open a grid panel.
Hover your mouse over the grid to select the desired configuration of columns and rows, then left-click to add table.
Add a table caption
Captions can be used to associate a short description to the table. Captions are not required, but they may be helpful in providing additional context. Captions provide more context to tables and appear in a row above your table's content. Keep captions clear and concise.
To add a caption to an existing table:
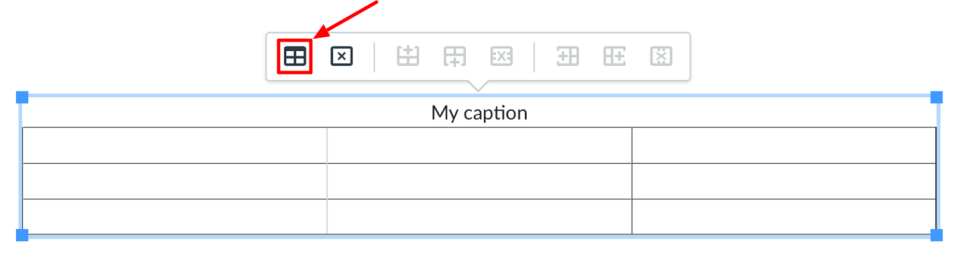
- Click on a cell in a table in your Carmen content. The table's floating toolbar will appear.
Select the table icon on the floating toolbar. The Table Properties box will open.
In the Table Properties box, under Caption, check the Show caption box.
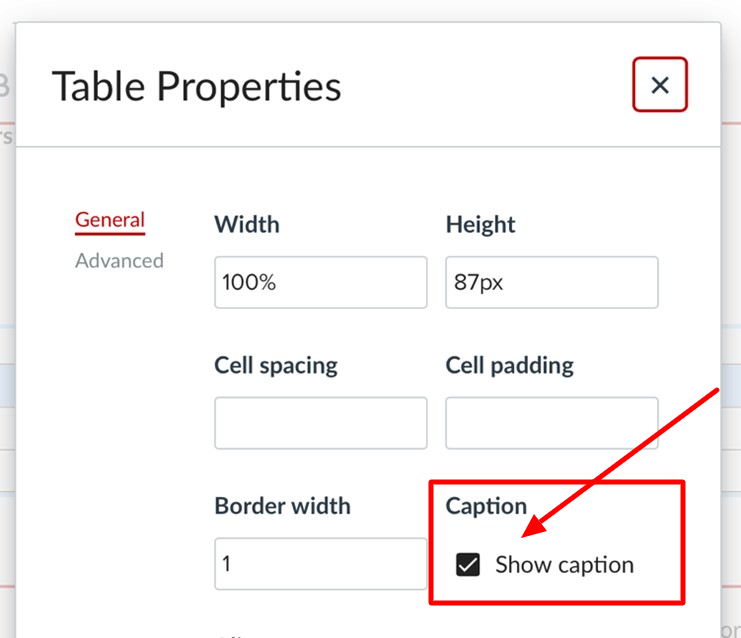
- Click Save. Space will be added above the table for the caption.
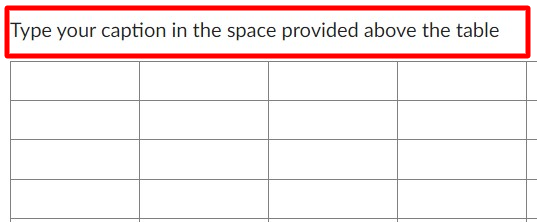
Add your caption in the added space above the table.
Designate header row and header cells
Table headers help describe how table contents are related. Whenever possible, make your tables simple: one header row, one column of header cells, no merged cells. If this is not possible, consider whether you could divide it into multiple smaller tables with a heading above each.
Designate a header row
- Select to highlight cells in the header row.
Click the three-dot icon
on the formatting toolbar to show more options.
Click the table icon
to open its menu.
[insert image]- Click Row.
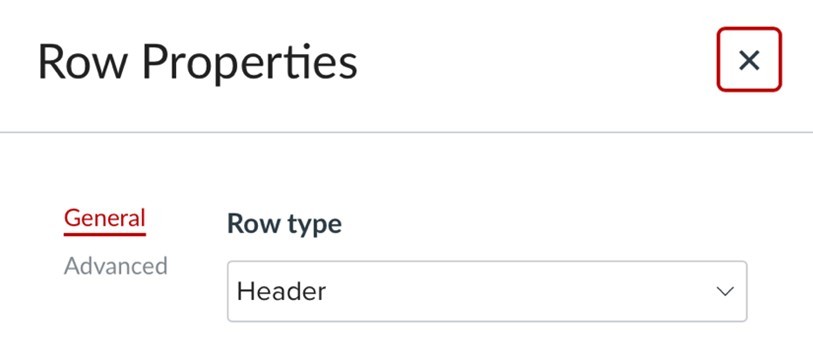
Click Row Properties. The Row Properties box will open.
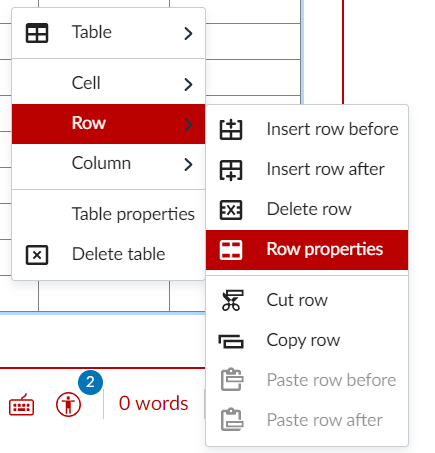
Under Row type, click Header.
- Click Save.
Designate a header cell
- Select to highlight one or more cell(s).
Click the three-dot icon

on the formatting toolbar to show more options.
Click the table icon
to open its menu.
- Click Cell
Click Cell Properties. The Cell Properties box will open.
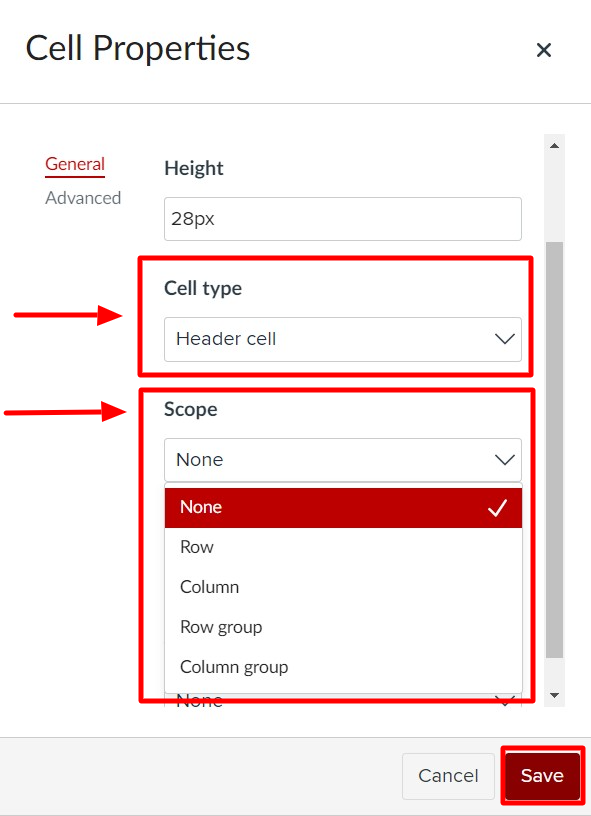
Image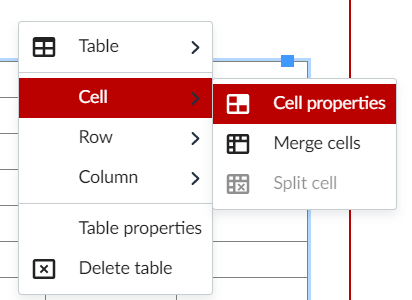
- Under Cell type, click Header.
- Under Scope, click Row (i.e., the header cell describes data cells in the same row) or Column (i.e., the header cell describes data cells in the same column),
Click Save.
Learn more about creating tables in Carmen