The Asset Store in PebblePad refers to the places where Assets are stored and managed. Once you create a page in the Get Creative space or upload an asset they get added to your Asset Store.
Your Asset Store provides extensive information about each Asset. Managing your Asset Store is important. All your Assets are added into the same bucket in the Asset Store, so filtering will be important. Therefore, naming conventions and tags will become essential for finding projects.
Search Assets in Your Asset Store
There’re a few different ways to search for your Assets in your Asset Store.
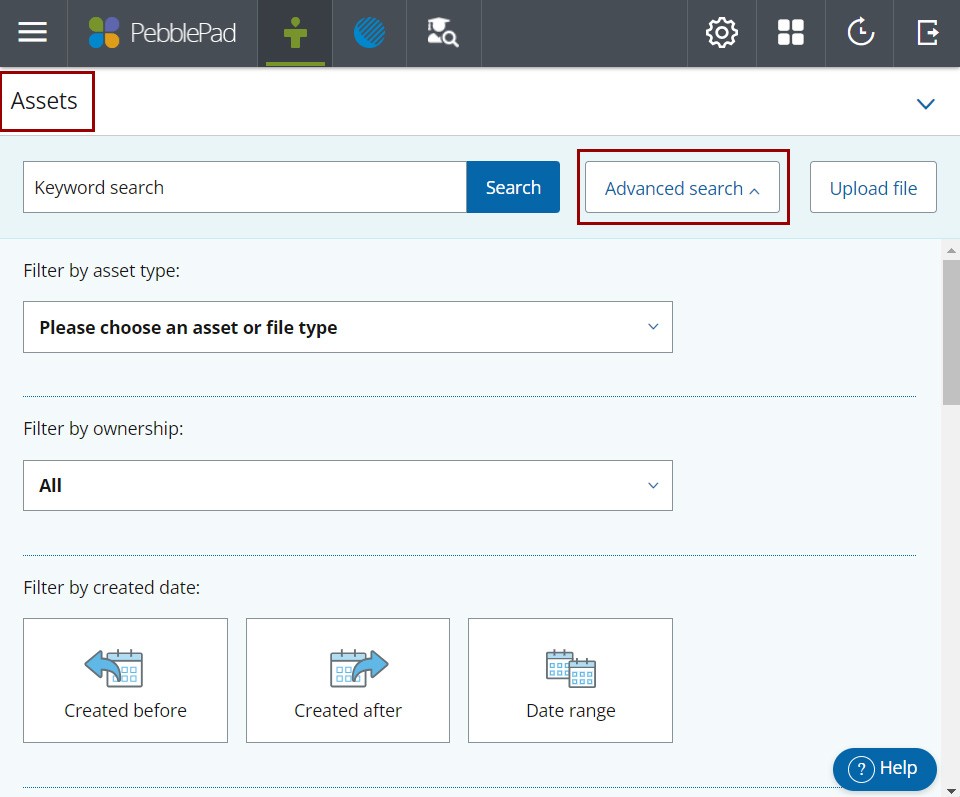
- Keyword search: You can search for Assets by entering keywords in the Keyword search textbox in your Asset Store.
- Advanced search: Allows you to filter by Asset type, ownership, date created, and tags.

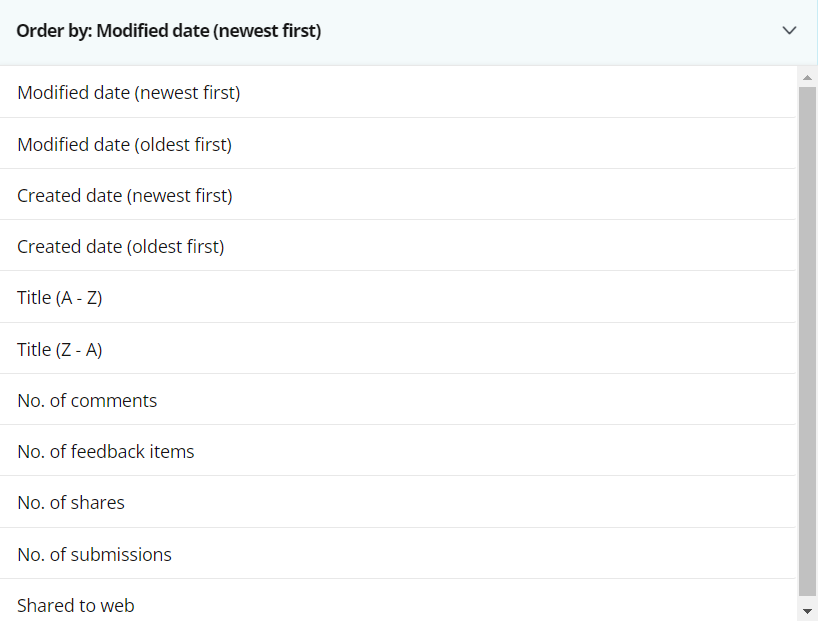
You can sort and order your search result by:
- Modified date (newest first)
- Modified date (oldest first)
- Create date (newest first)
- Create date (oldest first)
- Title (A-Z)
- Title (Z-A)
- No. Of comments
- No. Of feedback items
- No. Of shares
- No. Of submissions
- Shared to web

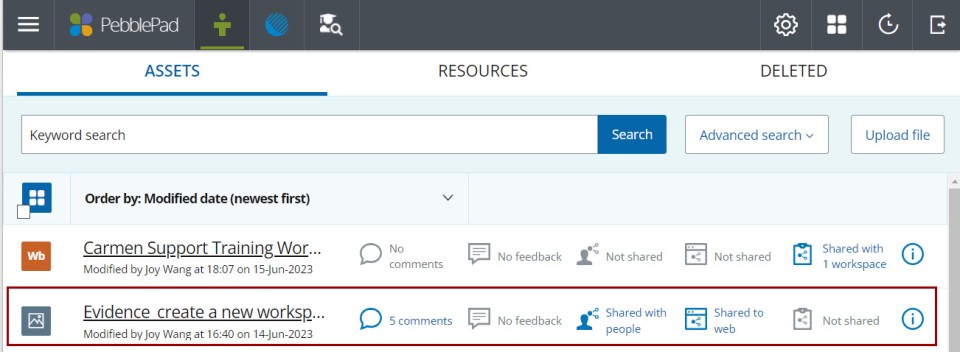
In the search return of your Asset Store, the following information is listed for each of the assets.
- Comments
- Feedback
- Shared with people (collaborators)
- Shared with the web
- Shared with Atlas

You can click on the information icon
listed on the right side of the page to make the following edits to any of the Assets listed in your Asset search return.
- Edit: the title, change the description, add or remove tags.
- Leave comments: For collaboration to discuss version history, next steps, etc.
- Review Feedback: For assignments submitted through Atlas. Not all assignments submitted through Atlas will have feedback.
- Mapping: Adding an Asset to an existing Workbook or template.
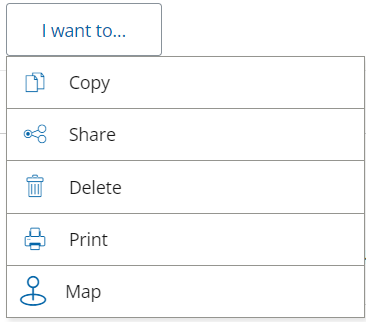
- I want to button: Allows you to copy, share, delete or map. Deleted Assets get added to the Delete tab in the store where they will remain until you either recover or purge them.

Upload files to the Asset Store
While in the Asset Store, you can upload files from your computer:
- Click the Upload file button on the top righthand side of the page.
- Then follow the steps to upload an Asset.


