Top Hat is a web-based student response system that allows you to create an interactive lecture experience for your students. You can use Top Hat to poll the class, present discussion prompts, display lecture material, track attendance, and sync grades with CarmenCanvas.
Students can respond to Top Hat questions and prompts using the devices they already own, such as smartphones, laptops, or tablets. There are both browser-based and app options for this tool.
Getting Your Top Hat Course Ready
While Top Hat can be used in conjunction with Carmen, it does not have to be. Below are steps on creating a standalone Top Hat course. To sync a Top Hat course with Carmen, follow the steps in Using Top Hat 1.3 in your CarmenCanvas Course. You can sync your courses at any time.
Creating a Top Hat Course
- Log in to Top Hat and create your course. See the First Time Login and Course Creation page within this instructional guide for more information.
- Build your course content. Top Hat Support offers detailed help articles for setting up Top Hat tools, including the following:
- Activate your Top Hat course to make it available to students. See the Activate Your Top Hat Course page within this instructional guide for more information.
- Click on Course Settings in the main Top Hat menu. Under General Settings set the value of Course Availability to Private.
Using Student View
Student View allows instructors to view a presentation from the student perspective without needing to have a separate set of login credentials or use multiple browsers.
Navigate to your course and choose a presentation. Click the Present or Present Slides button.
Image
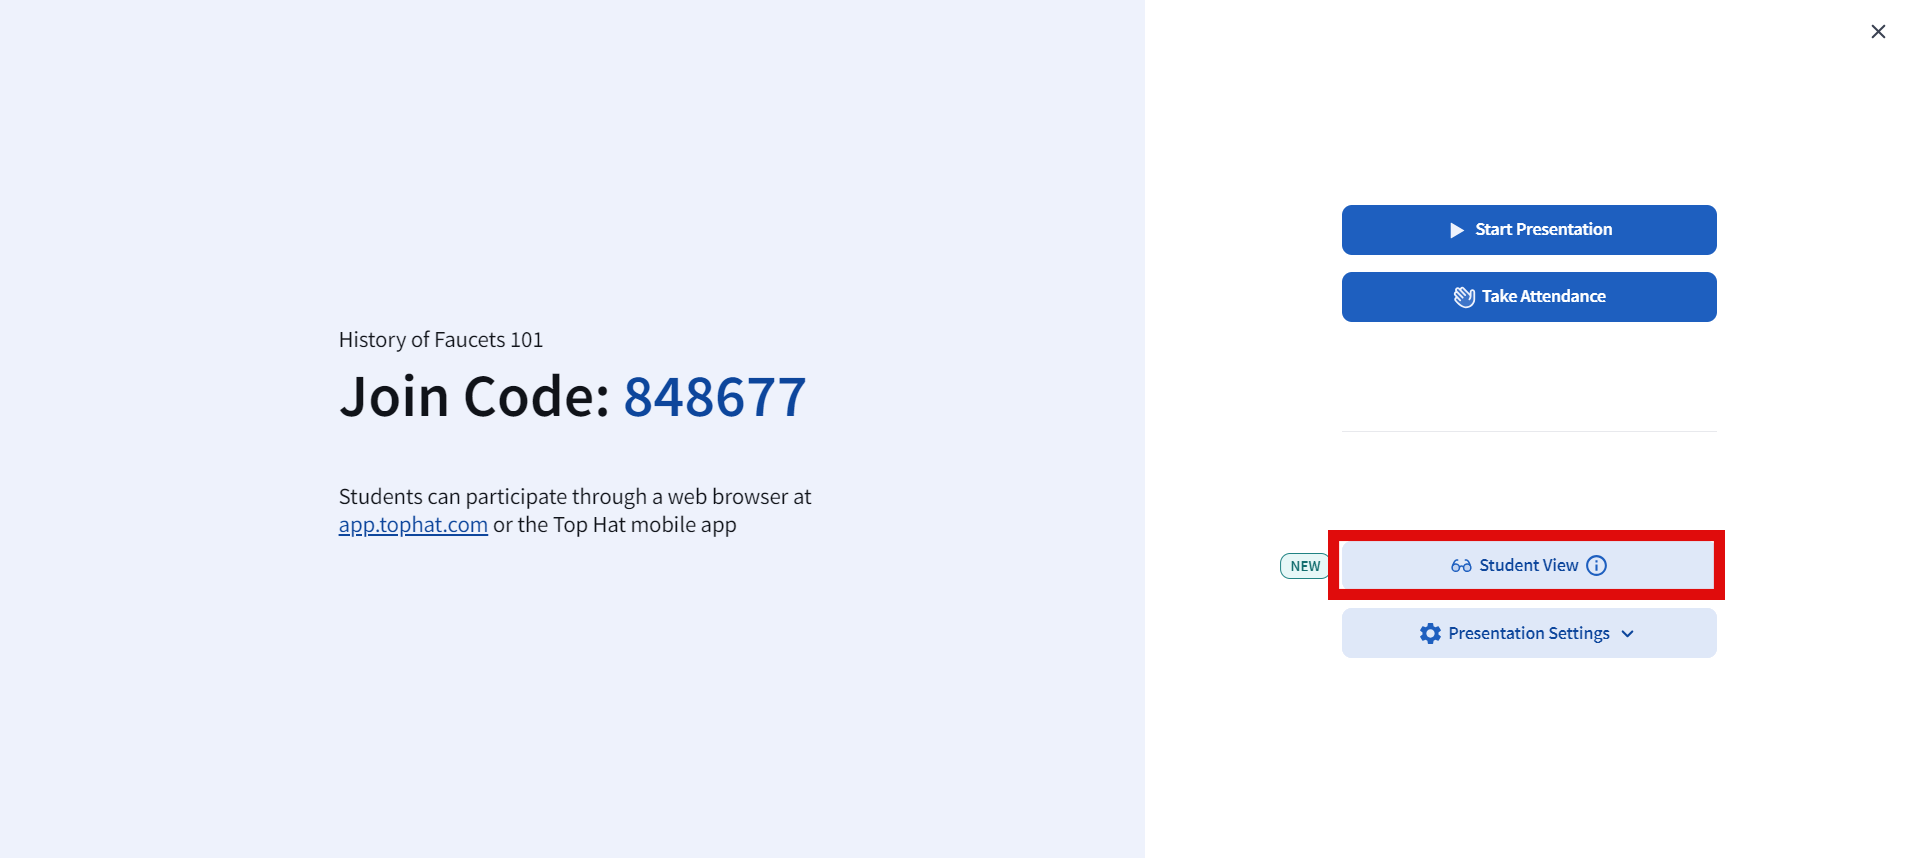
Then click Student View on the presentation screen.
Image
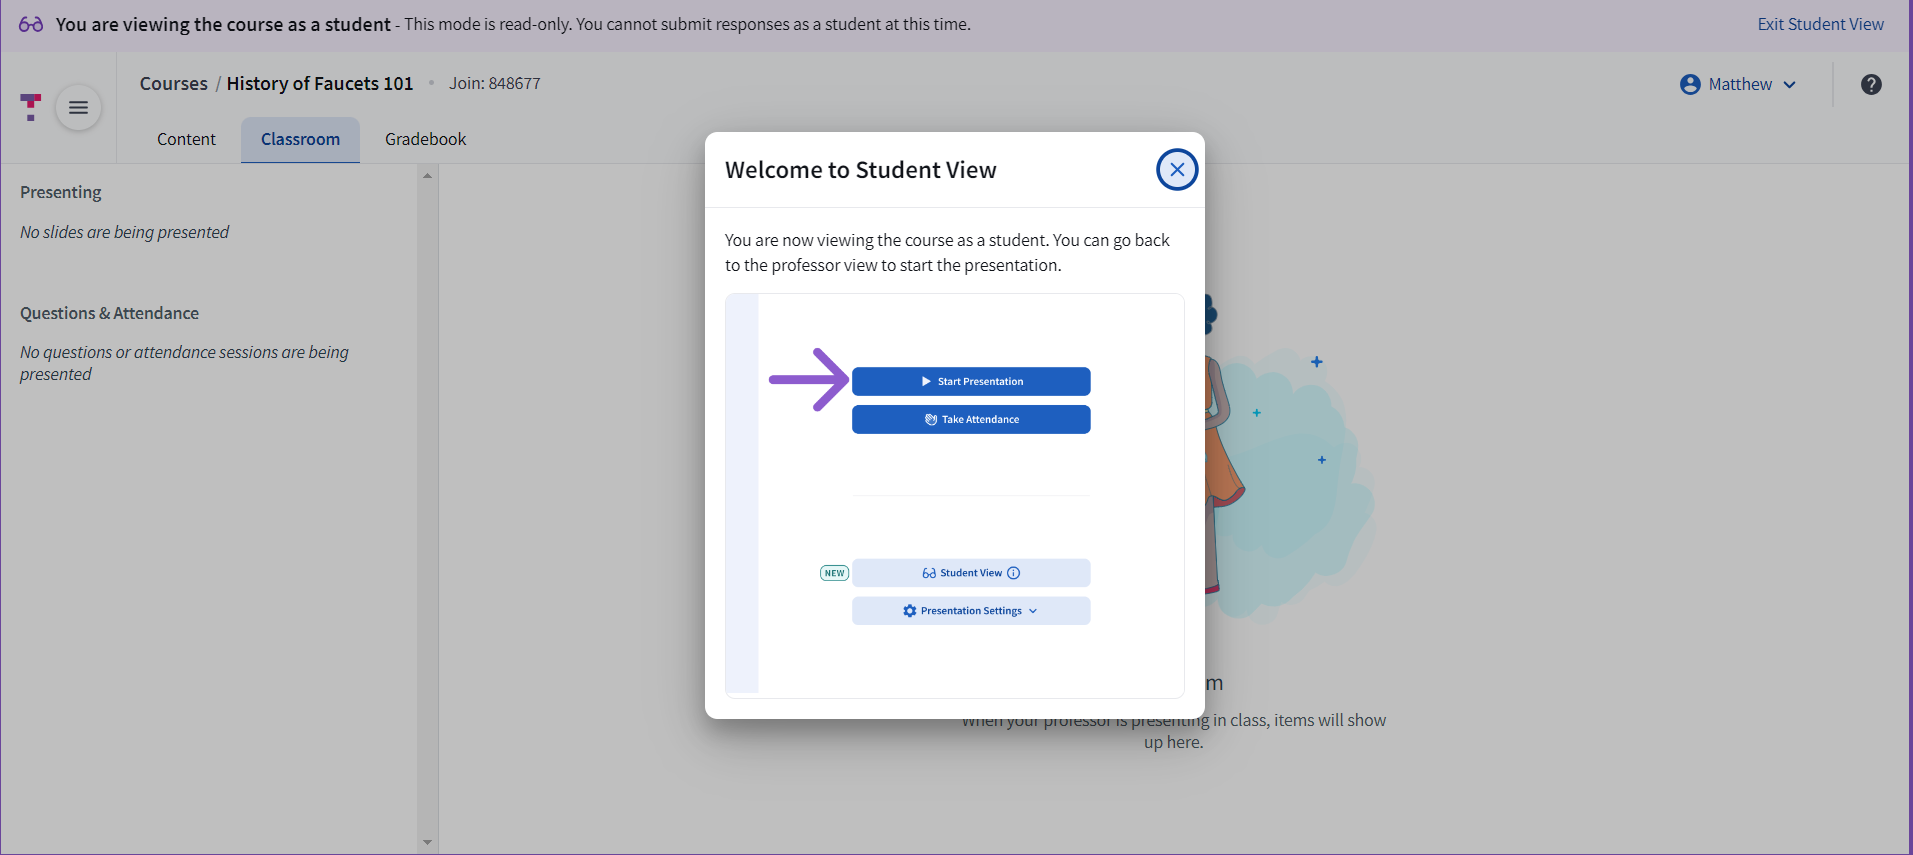
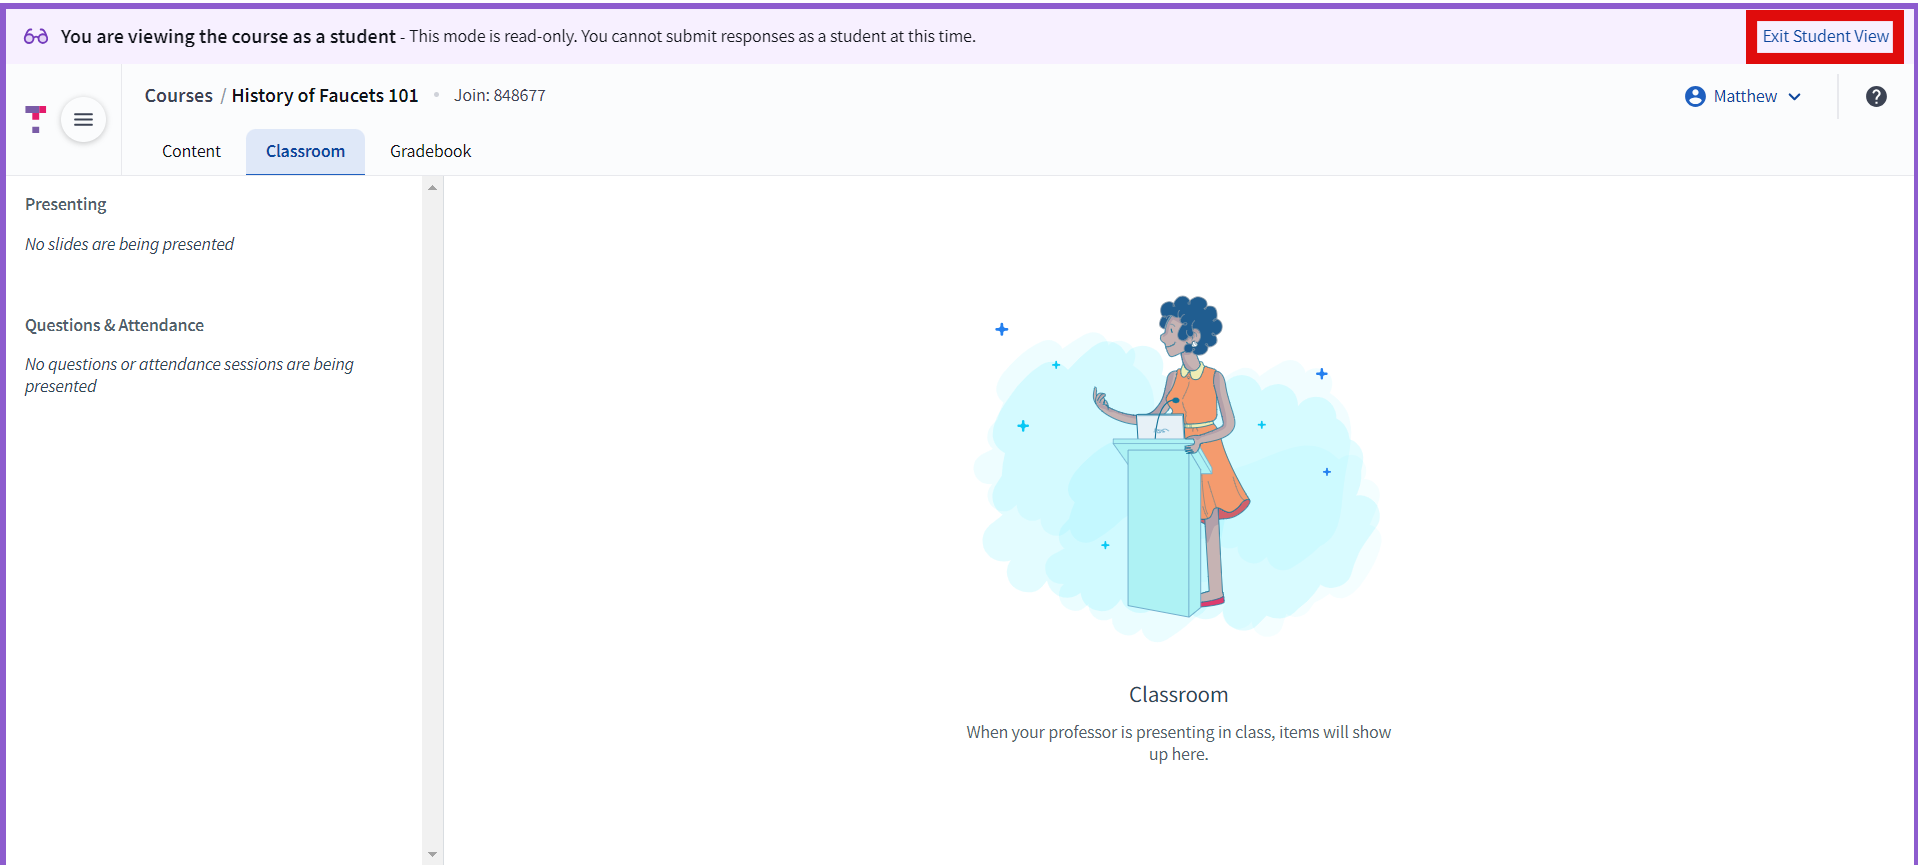
A new Student View tab will open. This can be differentiated from the Instructor View by the purple Student View banner that reads, "You are viewing the course as a student." You will need to return to your original Top Hat instructor tab to begin your presentation.
Image
- As you move through slides or questions from your Top Hat instructor tab, you will be able to view them as a student would in the Student View tab.
- You may also start an attendance session and view it as a student.
To end a presentation and exit Student View, simply end the presentation from the instructor tab and then close the Student View tab, or click Exit Student View to return to the instructor tab.
Image

