

While modifying your presentation, you can edit both the presentation frame and the recording. For information about editing the recording, see Using the Mediasite Web Editor.
The frame of your presentation is how it will appear to viewers and what functionality will be available to them. To edit your presentation frame, choose the presentation from the MyMediasite Portal and click Edit.
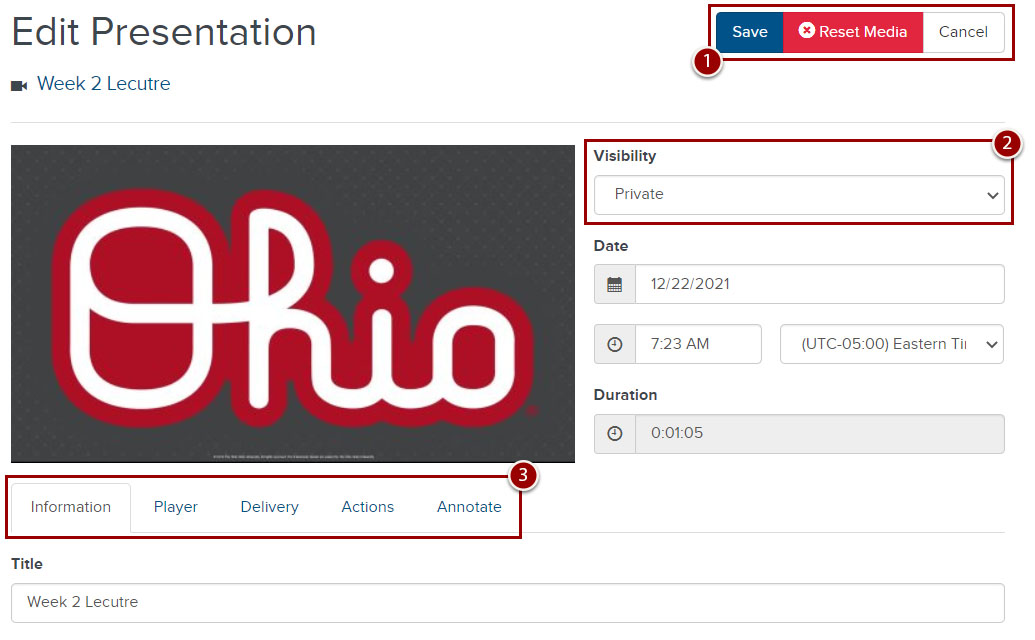
- Save / Reset Media / Cancel - Click the Reset Media button only if you wish to delete your video. The Reset Media button will only remove your video; it will not reset your other editing settings.
- Visibility options - In order for viewers to play your presentation, you must change your visibility settings from Private to Visible. You can also modify your visibility settings from the MyMediasite Portal in the drop-down menu below the presentation.
- Editing details - Editing options include five sub-tabs which are described in more detail below: Information, Player, Delivery Actions and Annotate. The Information tab opens by default.
Editing Details Tabs
Information
The Information tab includes the details you want viewers to know about your presentation. This includes all information that helps make your recording searchable.
- Title - Give your presentation a descriptive title.
- Description - Type a description of your recording and any additional information for your viewers.
- Tags - Add tags to your presentations.
- Presenters - Here is where you can add yourself, as well as any co-presenters. Click Add Presenter to add a presenter. Then, click Create new Presenter or select someone already in the system. Click the x button to remove a presenter.
Links - You can add links to your recording if you want to include additional resources to your presentation. Click Add Link, then type the link the name and URL in the appropriate text boxes. Then, click Add New Link. Click the trash icon to delete the link or the pencil icon to edit the URL.
- Modules - If you are accessing Mediasite through the CarmenCanvas integration, modules are created to associate presentations with specific Carmen courses.
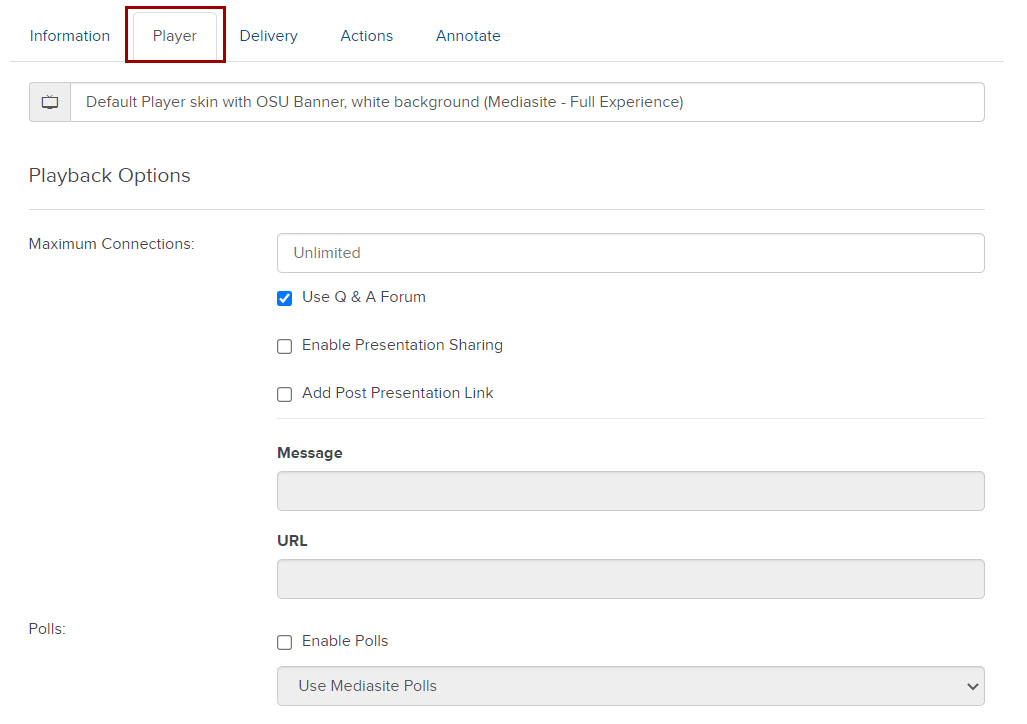
Player
The Player tab includes features you can enable within your presentation frame layout options. Click Player to change how your presentation displays to viewers and playback options (i.e., enabling Q&A, Polls and Smooth Streaming). See Choosing & Setting Up a Player for details.
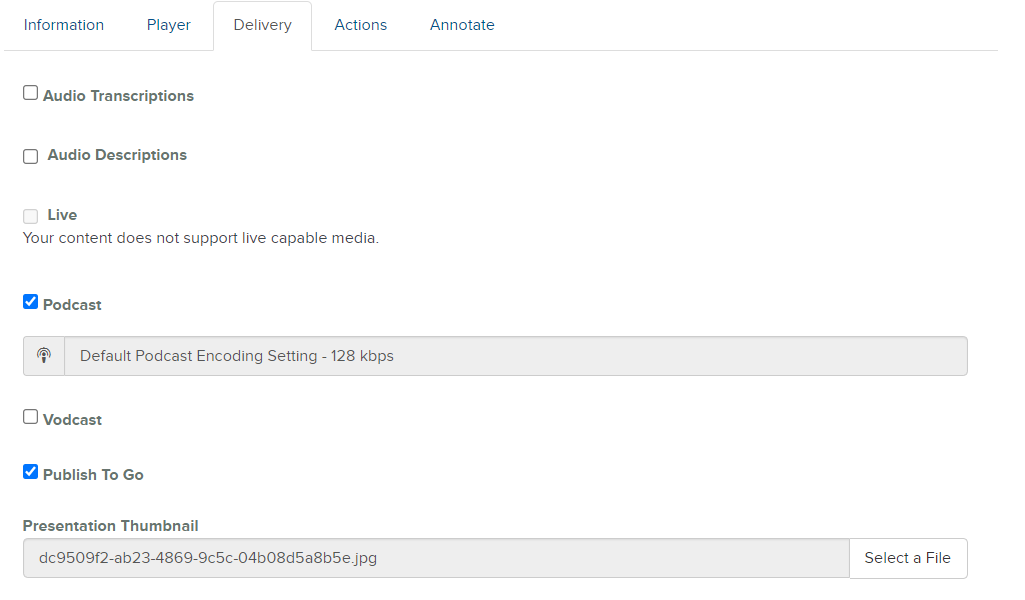
Delivery
From the Delivery tab, choose different ways that viewers can interact and access your presentation. For example, if you would like viewers to download your presentation, you must enable downloading. See Downloading your Presentation, Captioning Presentations and Creating a Podcast for more information about working with the Delivery tab.
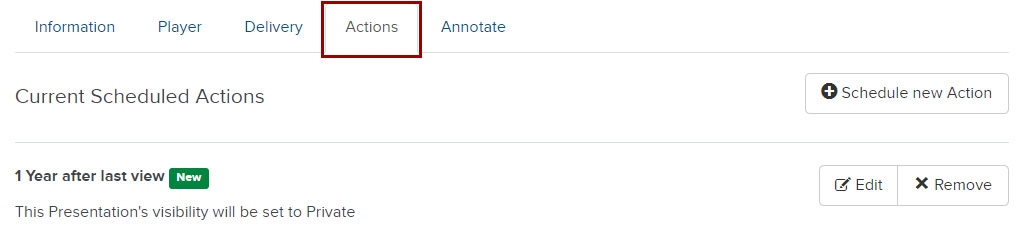
Actions
The actions tab allows you to schedule visibility update actions to manage when content becomes available to your users or schedule for a presentation to move to the Recycle bin. Click Schedule new Action to create a new action. Click Edit to update a current action or Remove to delete the action.
Annotate
This function is currently unavailable.