

There are two main areas of your site that will require modifications to generate a slideshow: the Edit Post page and the Customizer.
Set Up Your Posts
Setting up your posts consists of two tasks: uploading a featured image and adding a descriptive tag to the post.
We recommend you upload featured images and assign tags as you create posts.
- Log in to your U.OSU site.
- Navigate to the Edit Post page.
- Upload a featured image to the post. This will be the image that appears in the slideshow.
Note: featured images for the slideshow should be at least 1092px in width. - Add a descriptive tag to the post.
Activate the Slideshow
Once content is added to the posts, featured images are uploaded and tags assigned to specific posts, you can easily activate the slideshow.
- Log in to your U.OSU site.
- Click Appearance in the left-side Main Menu.
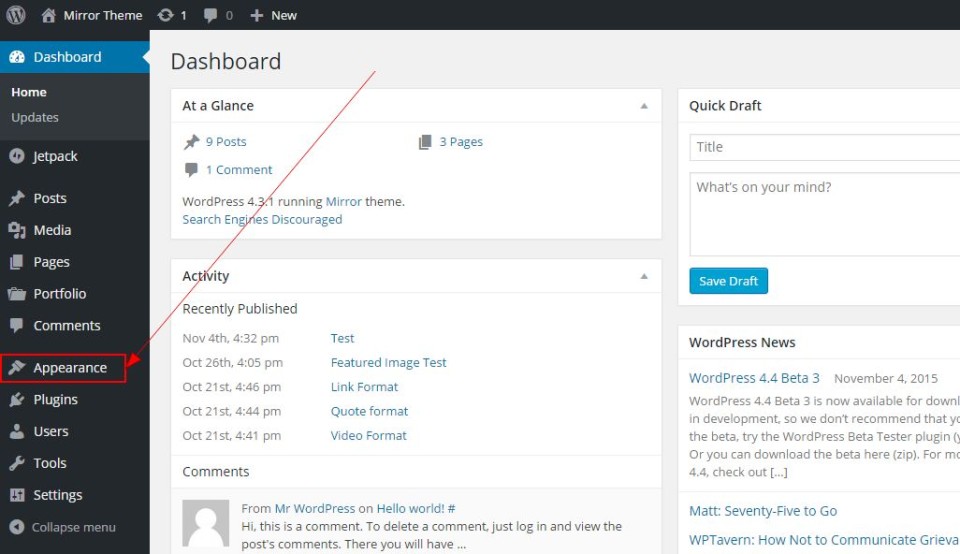
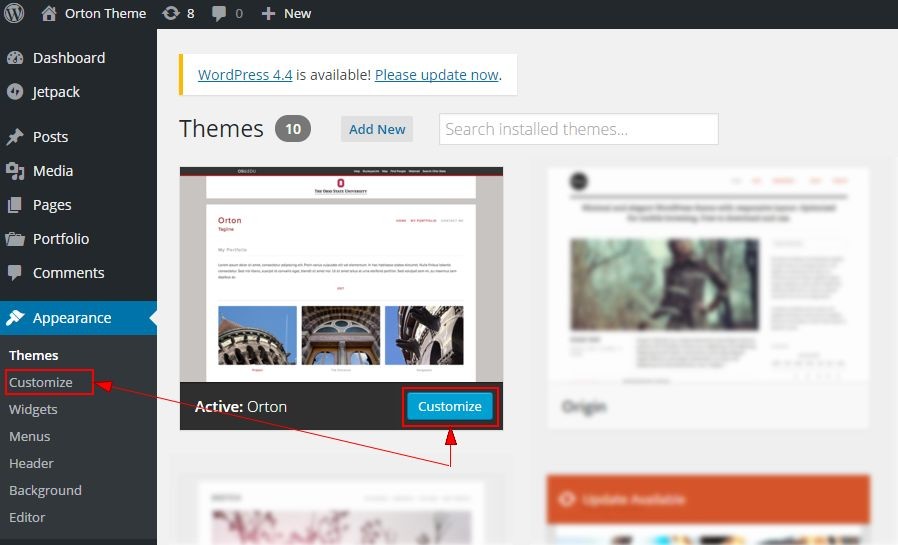
- Select Customize from the submenu. The Customizer opens with additional options for the Orton theme. See Customizing the Orton Theme for more Orton-specific customizing options.
- Click Featured Content.
- Type the tag name of the group of posts you would like featured in the slideshow.
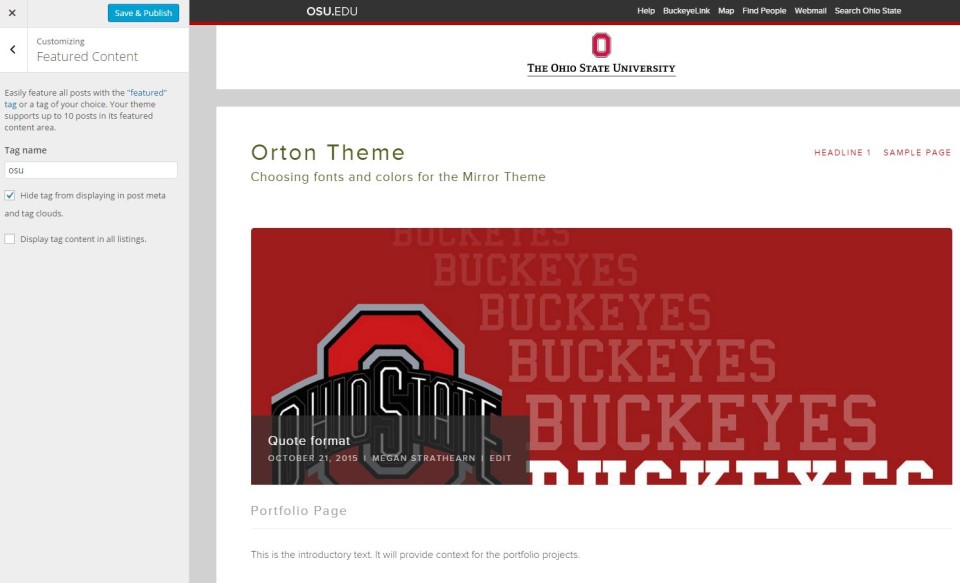
- Choose if and where you would like this tag name displayed on your site:
- Check "Hide tag from display in post meta and tag clouds" to hide this tag from appearing in those areas of your site.
- Check "Display tag content in all listings" to display the tag name in all areas of your site.
- Click Save & Publish.